"Progress," Basement Edition
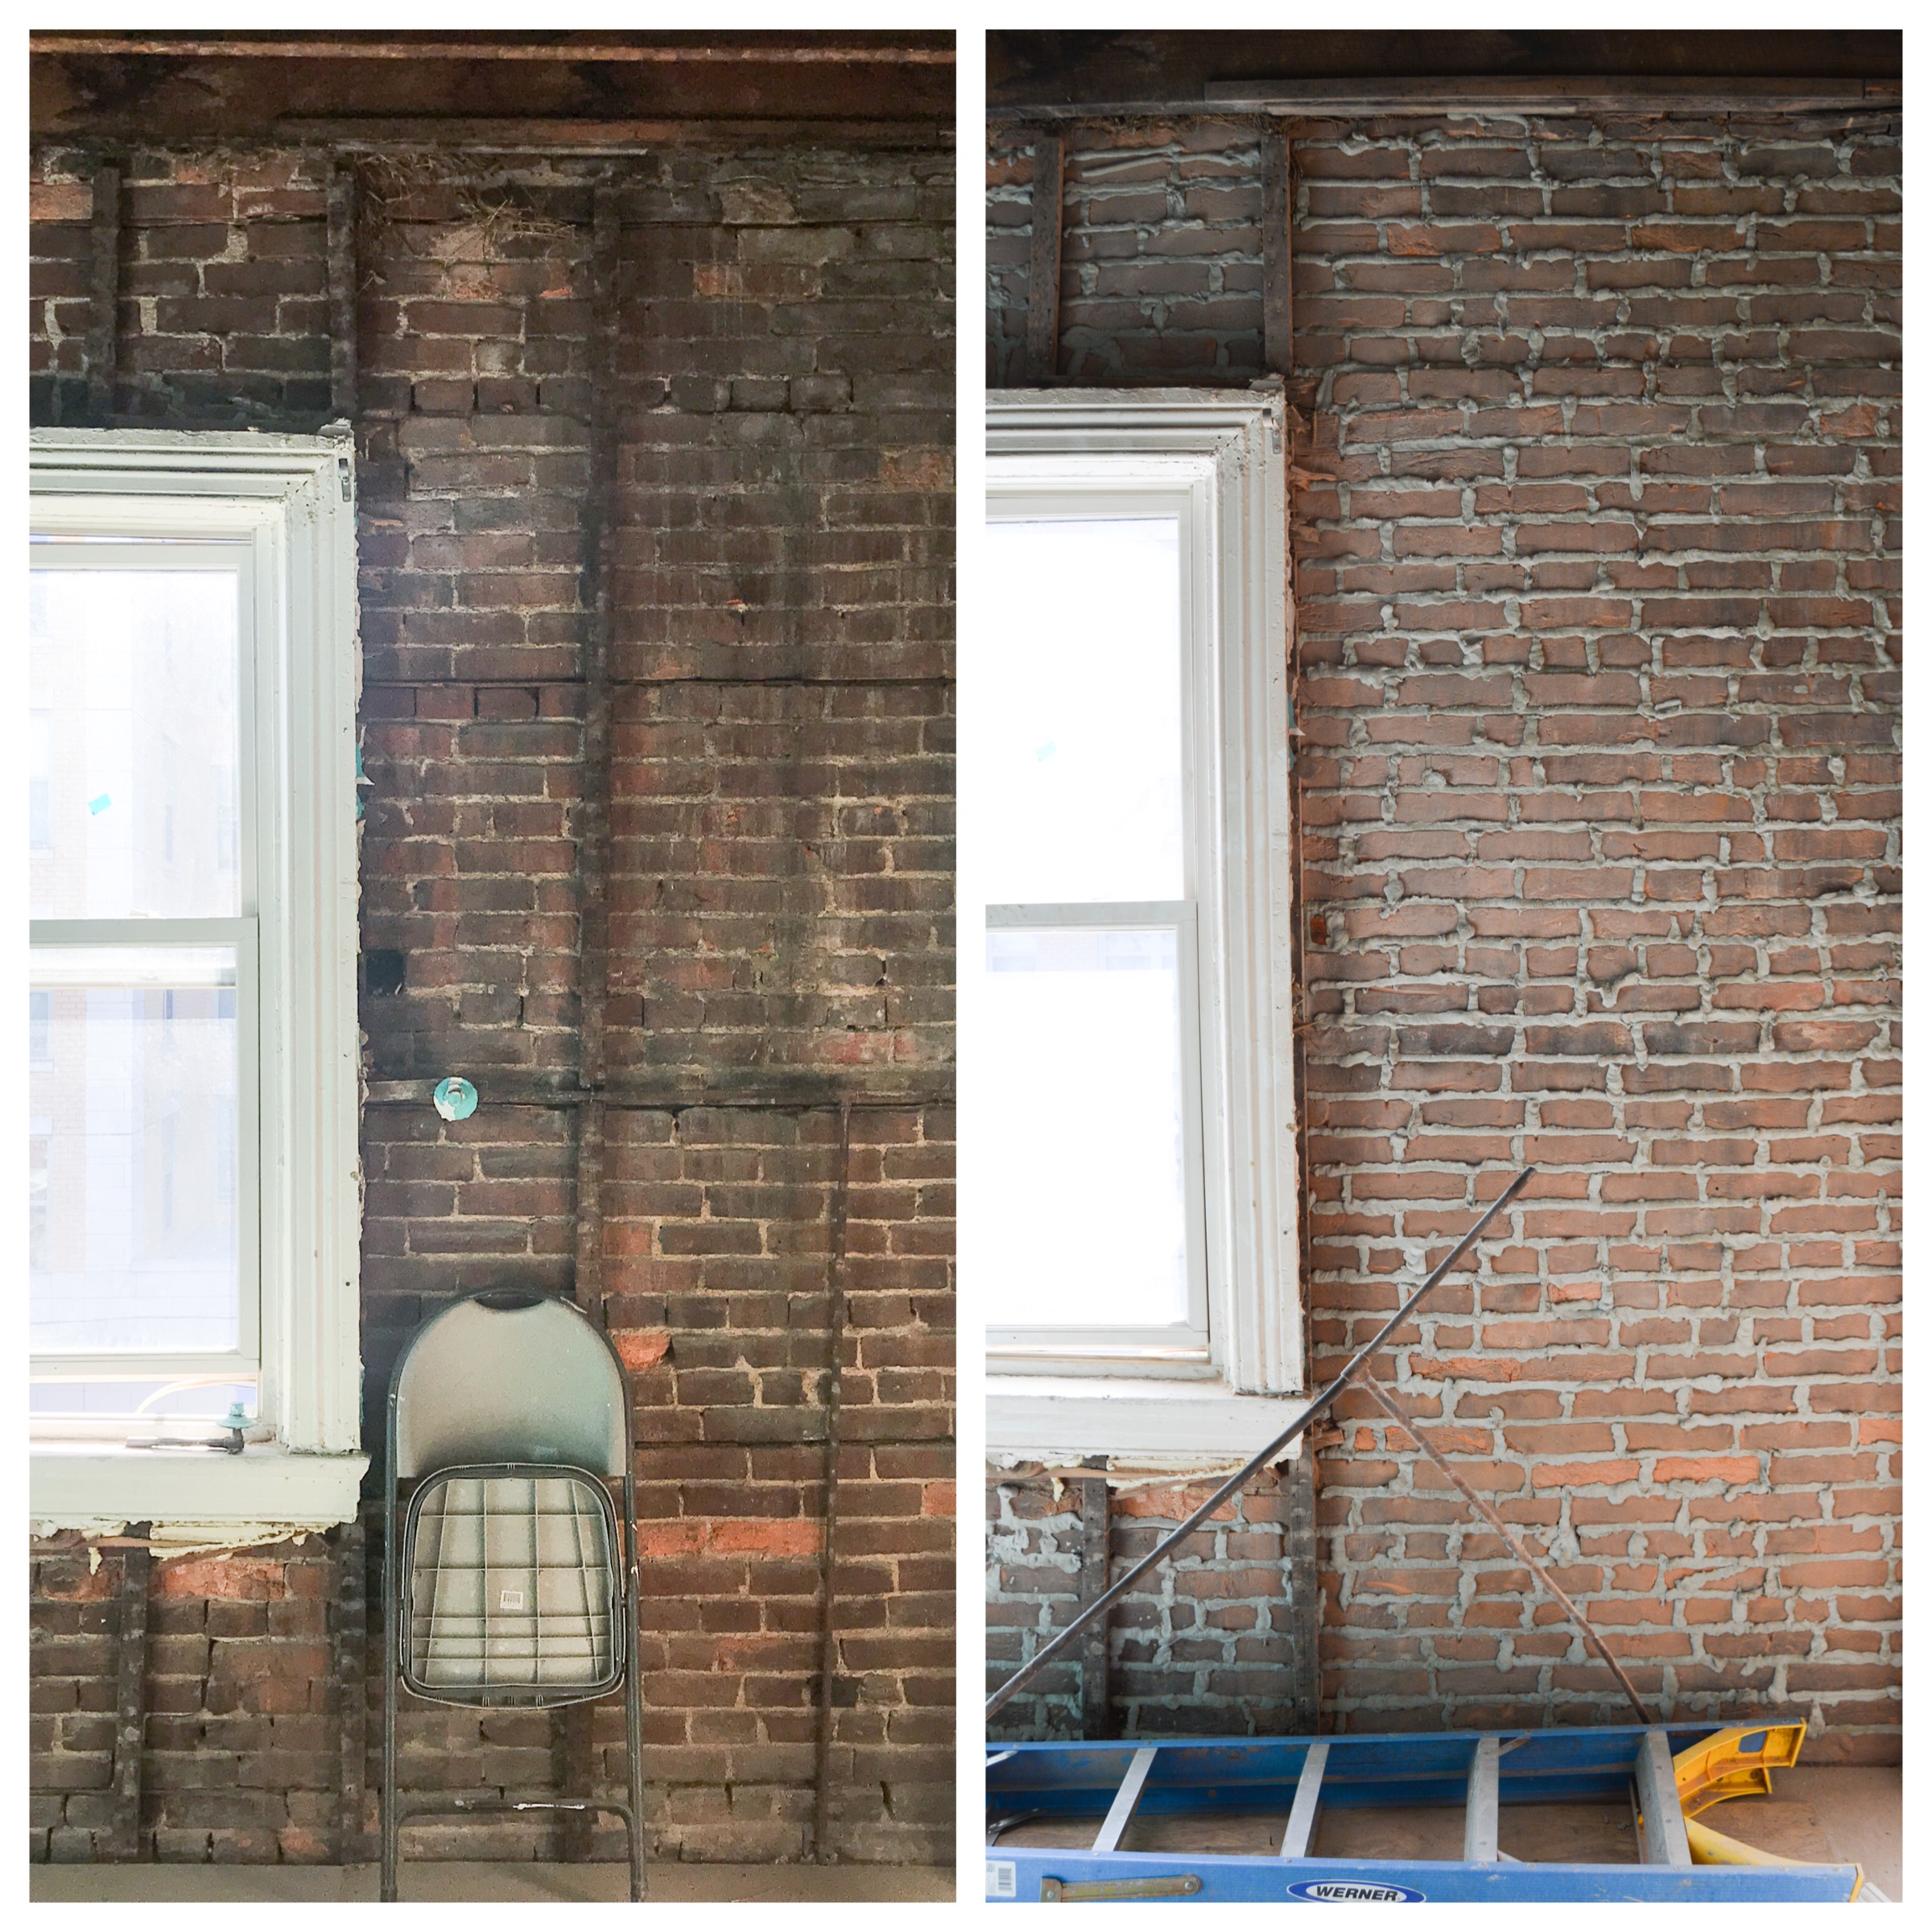
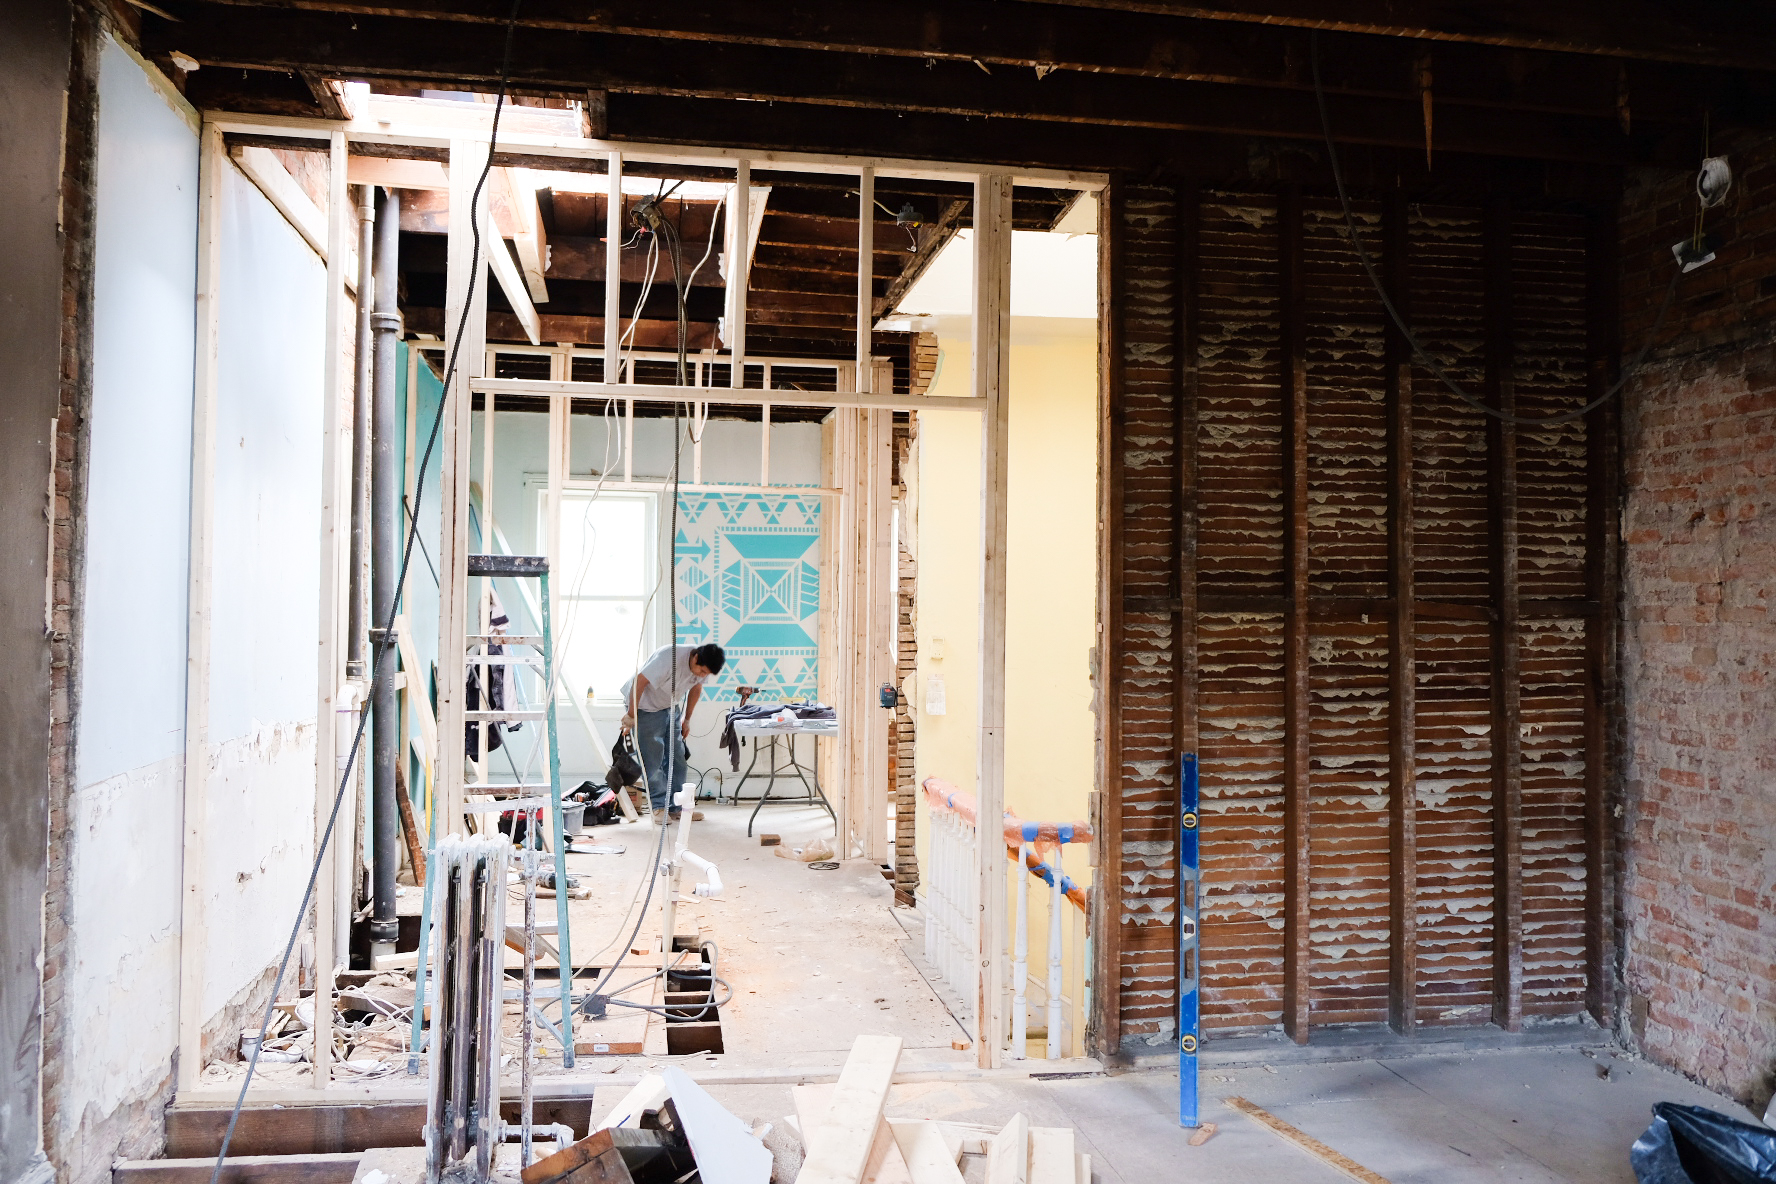
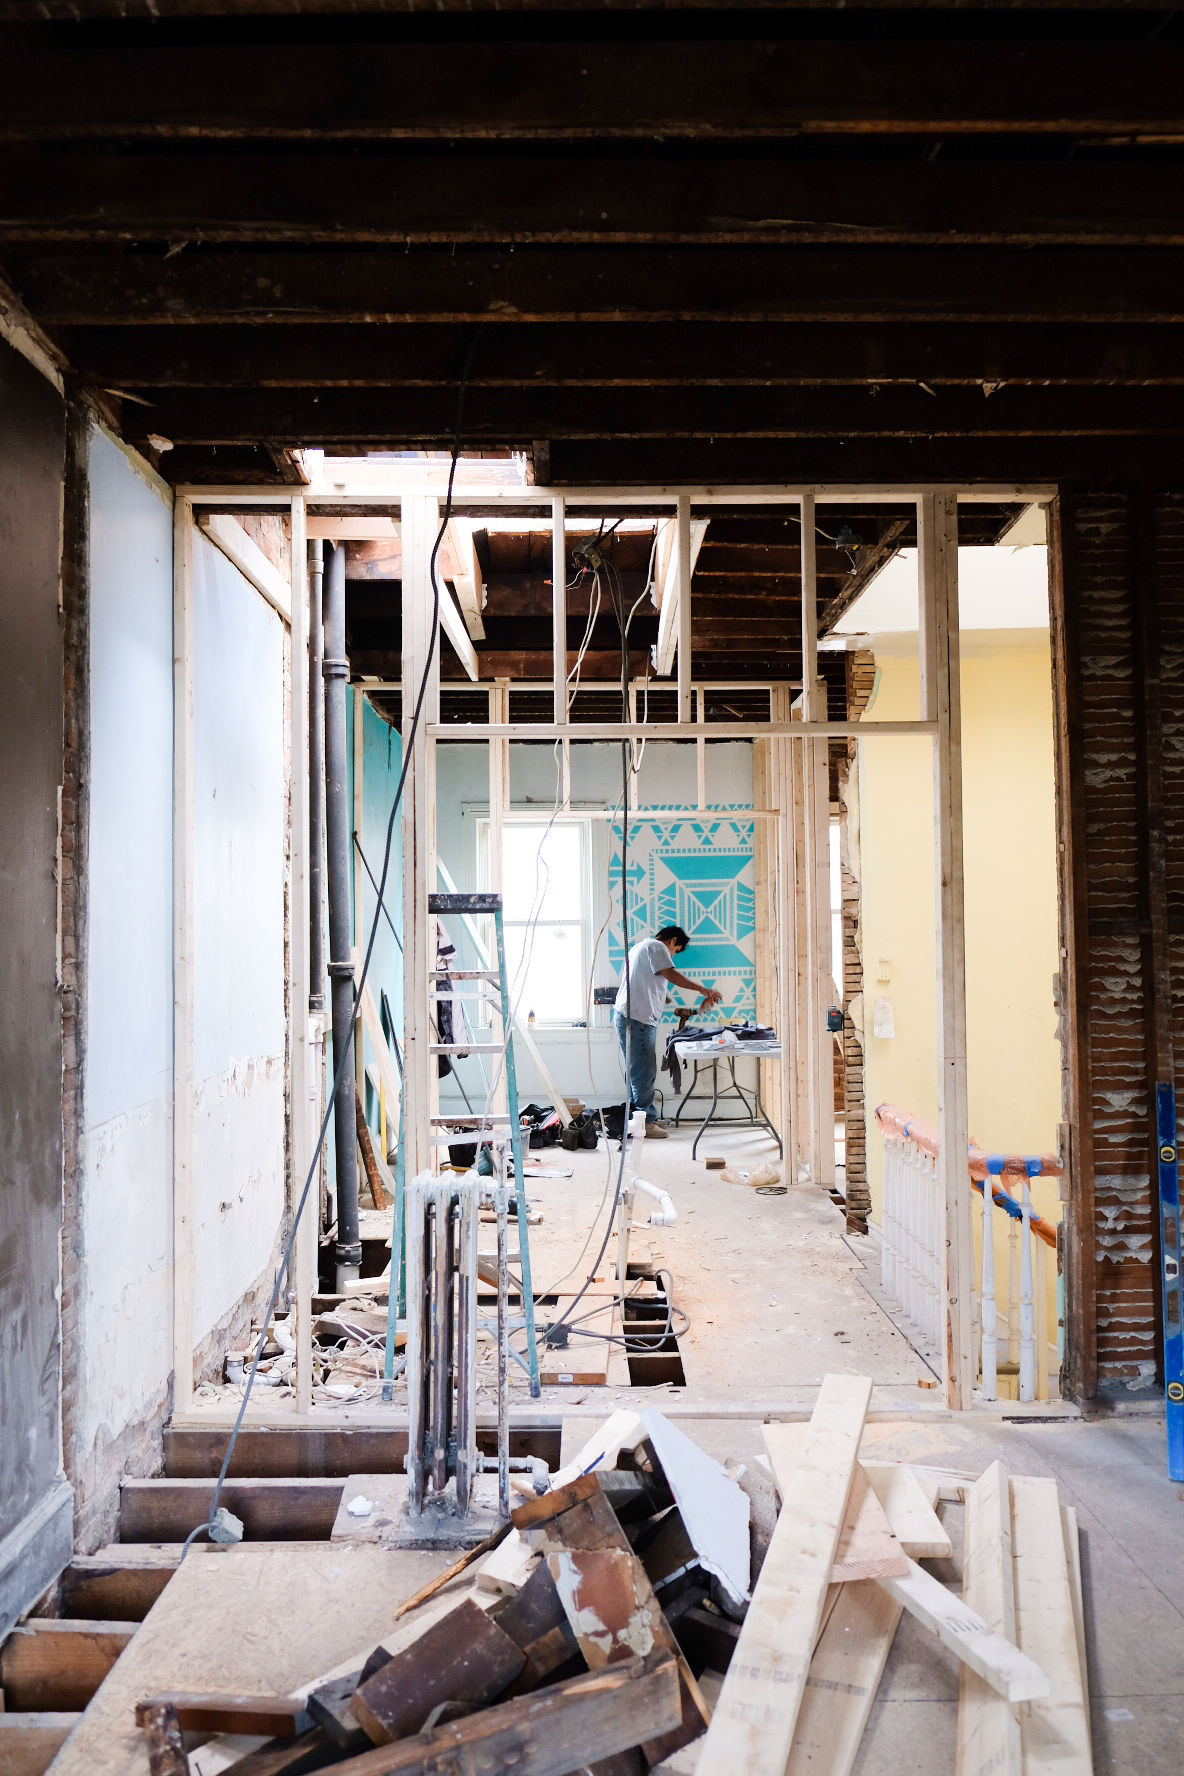
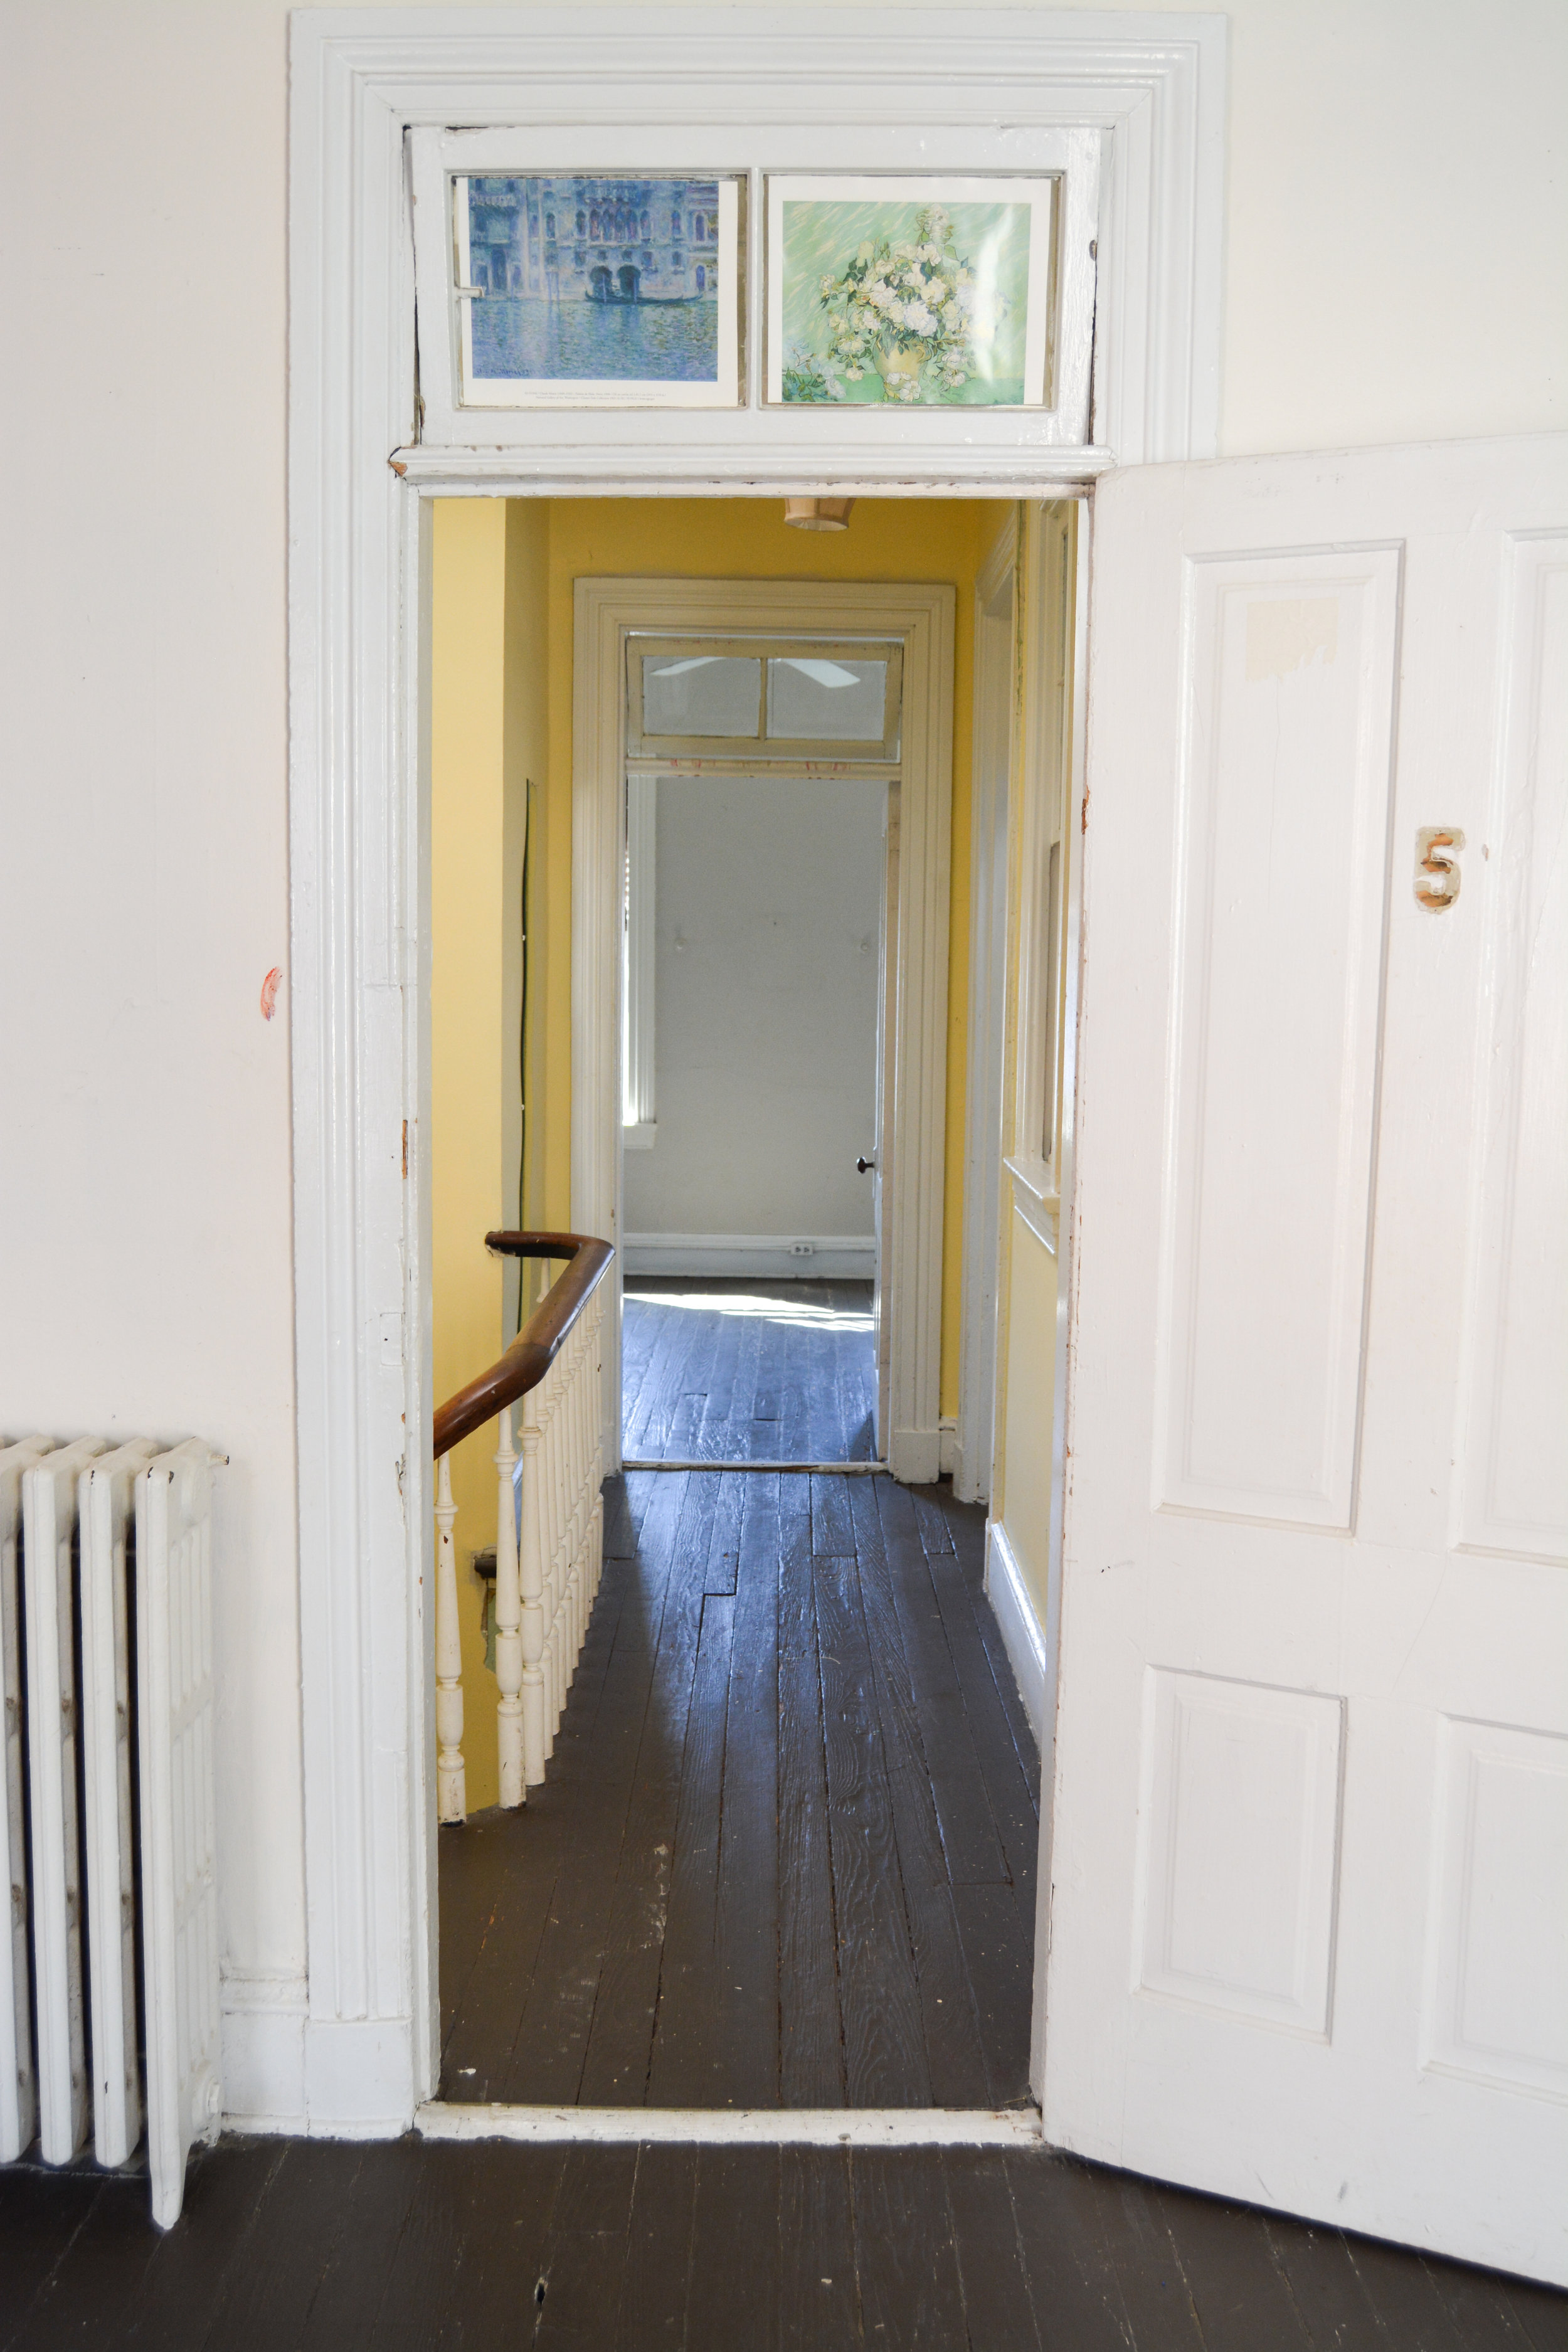
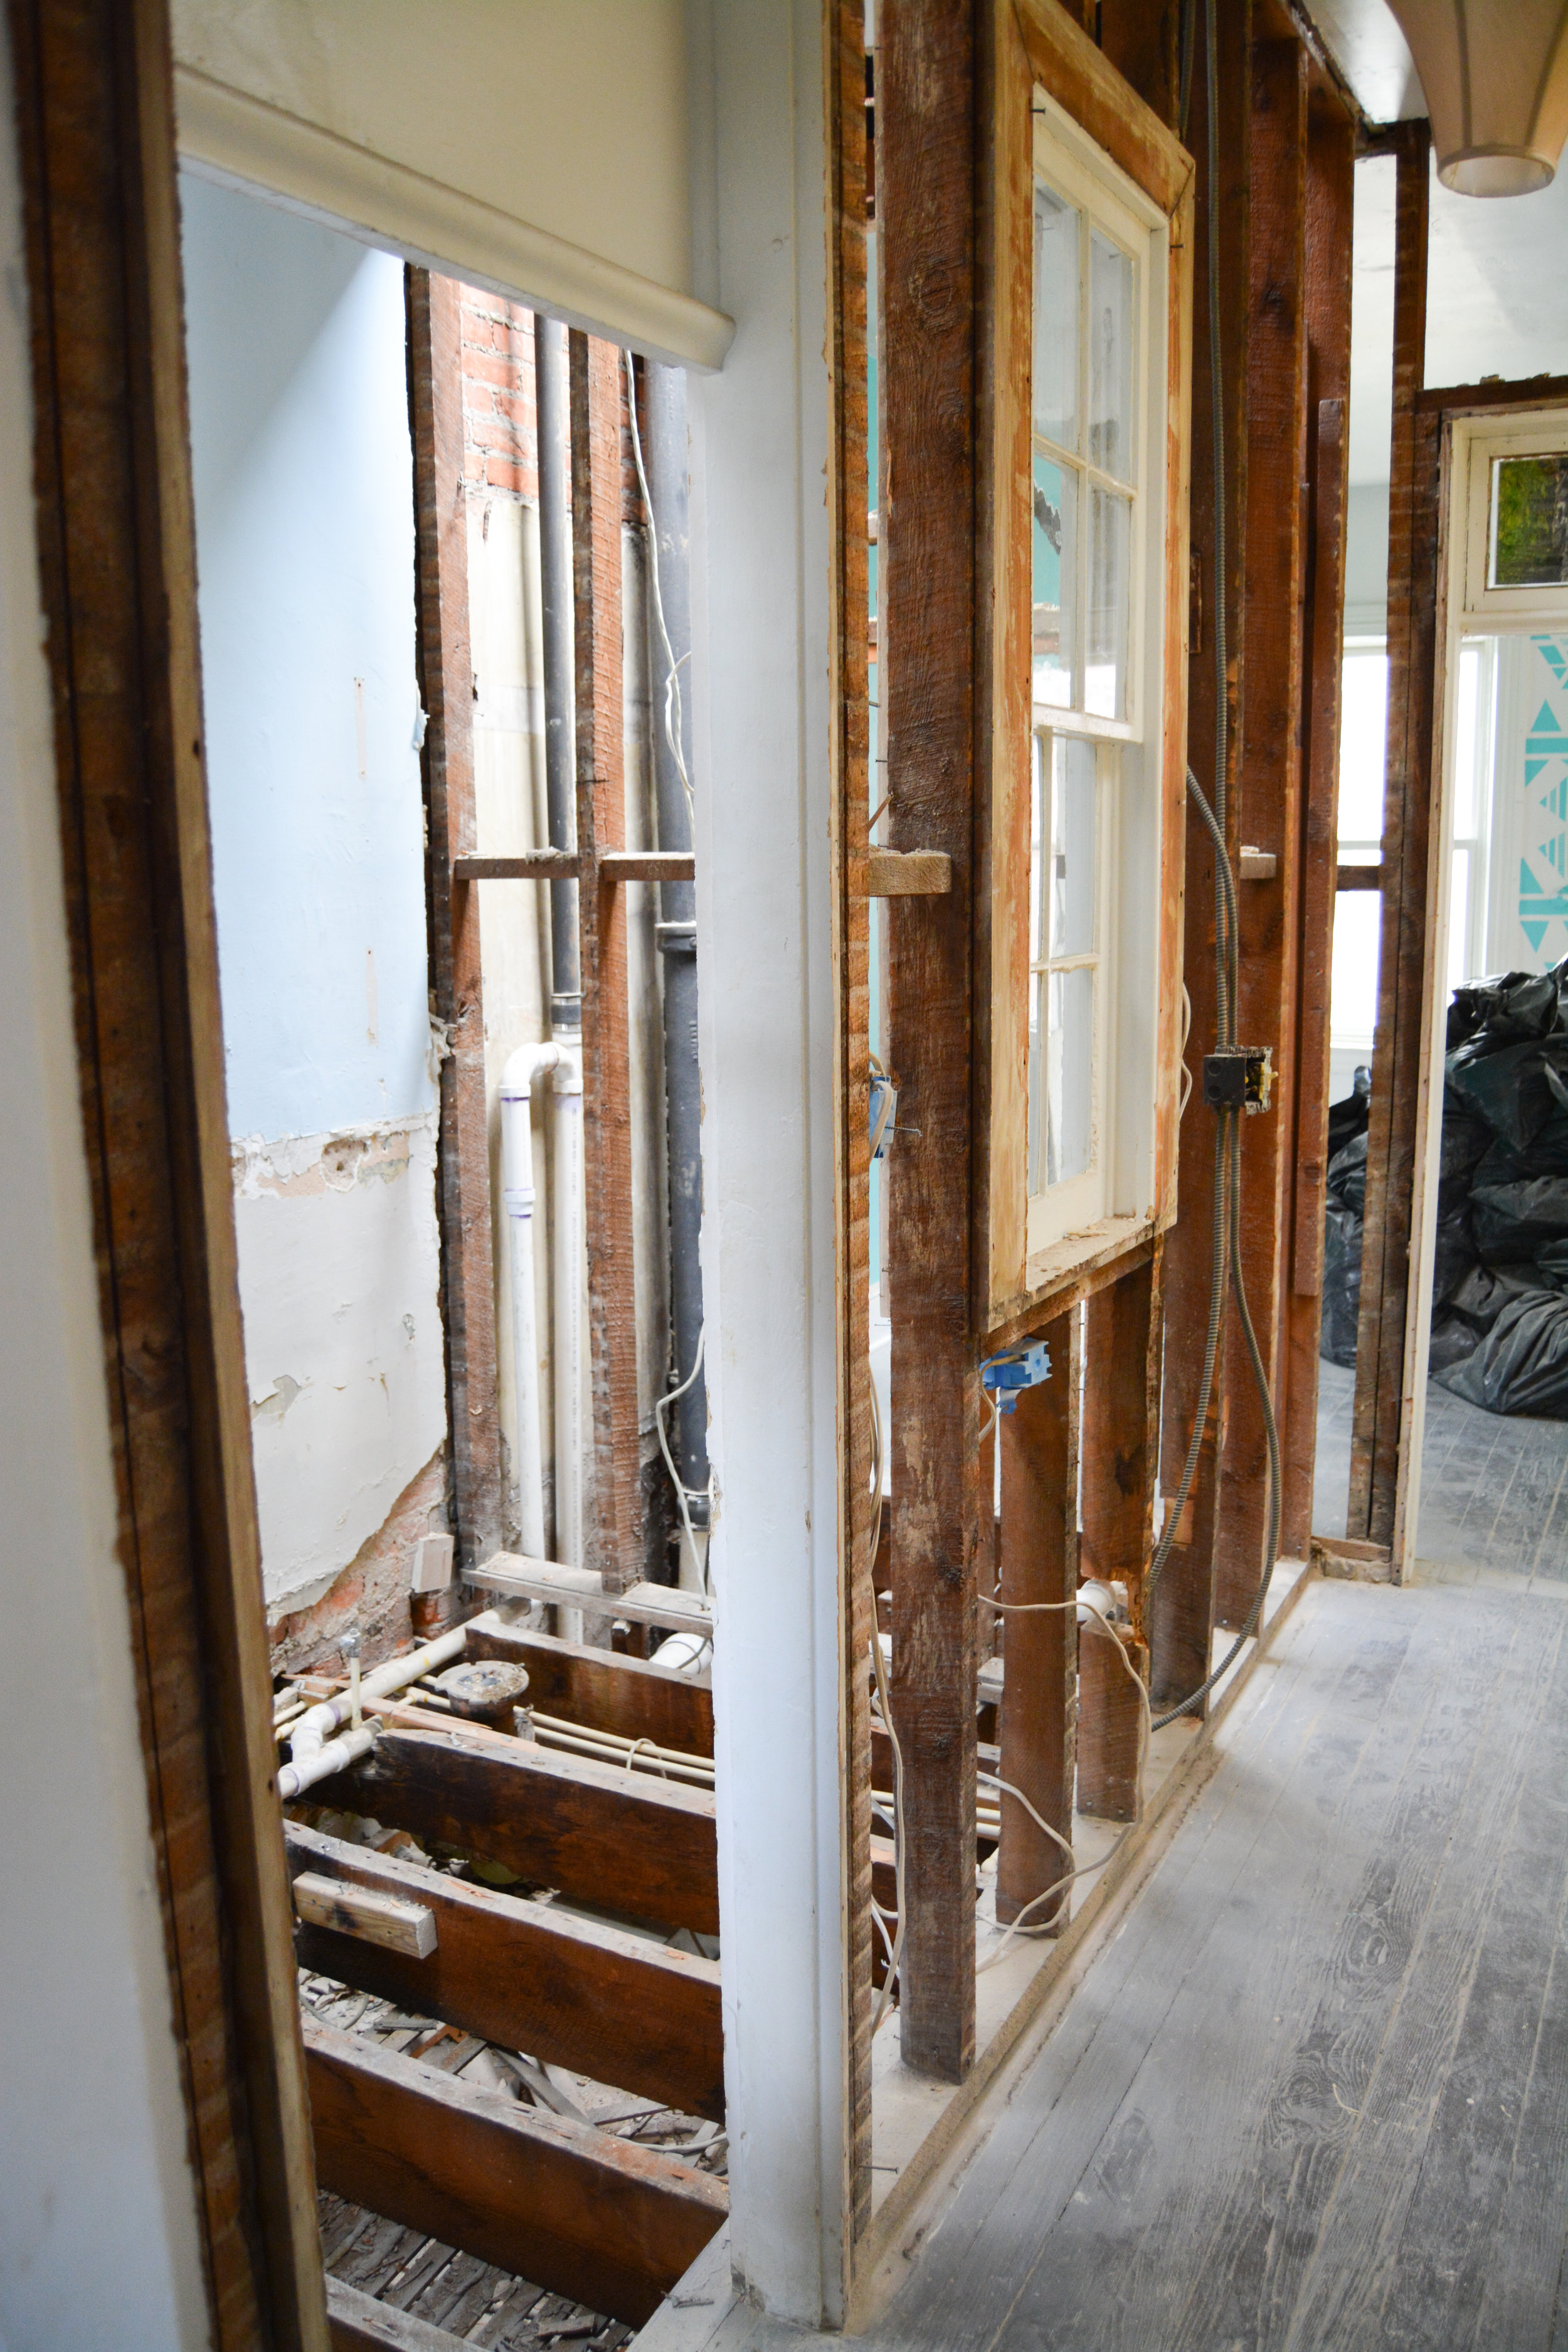
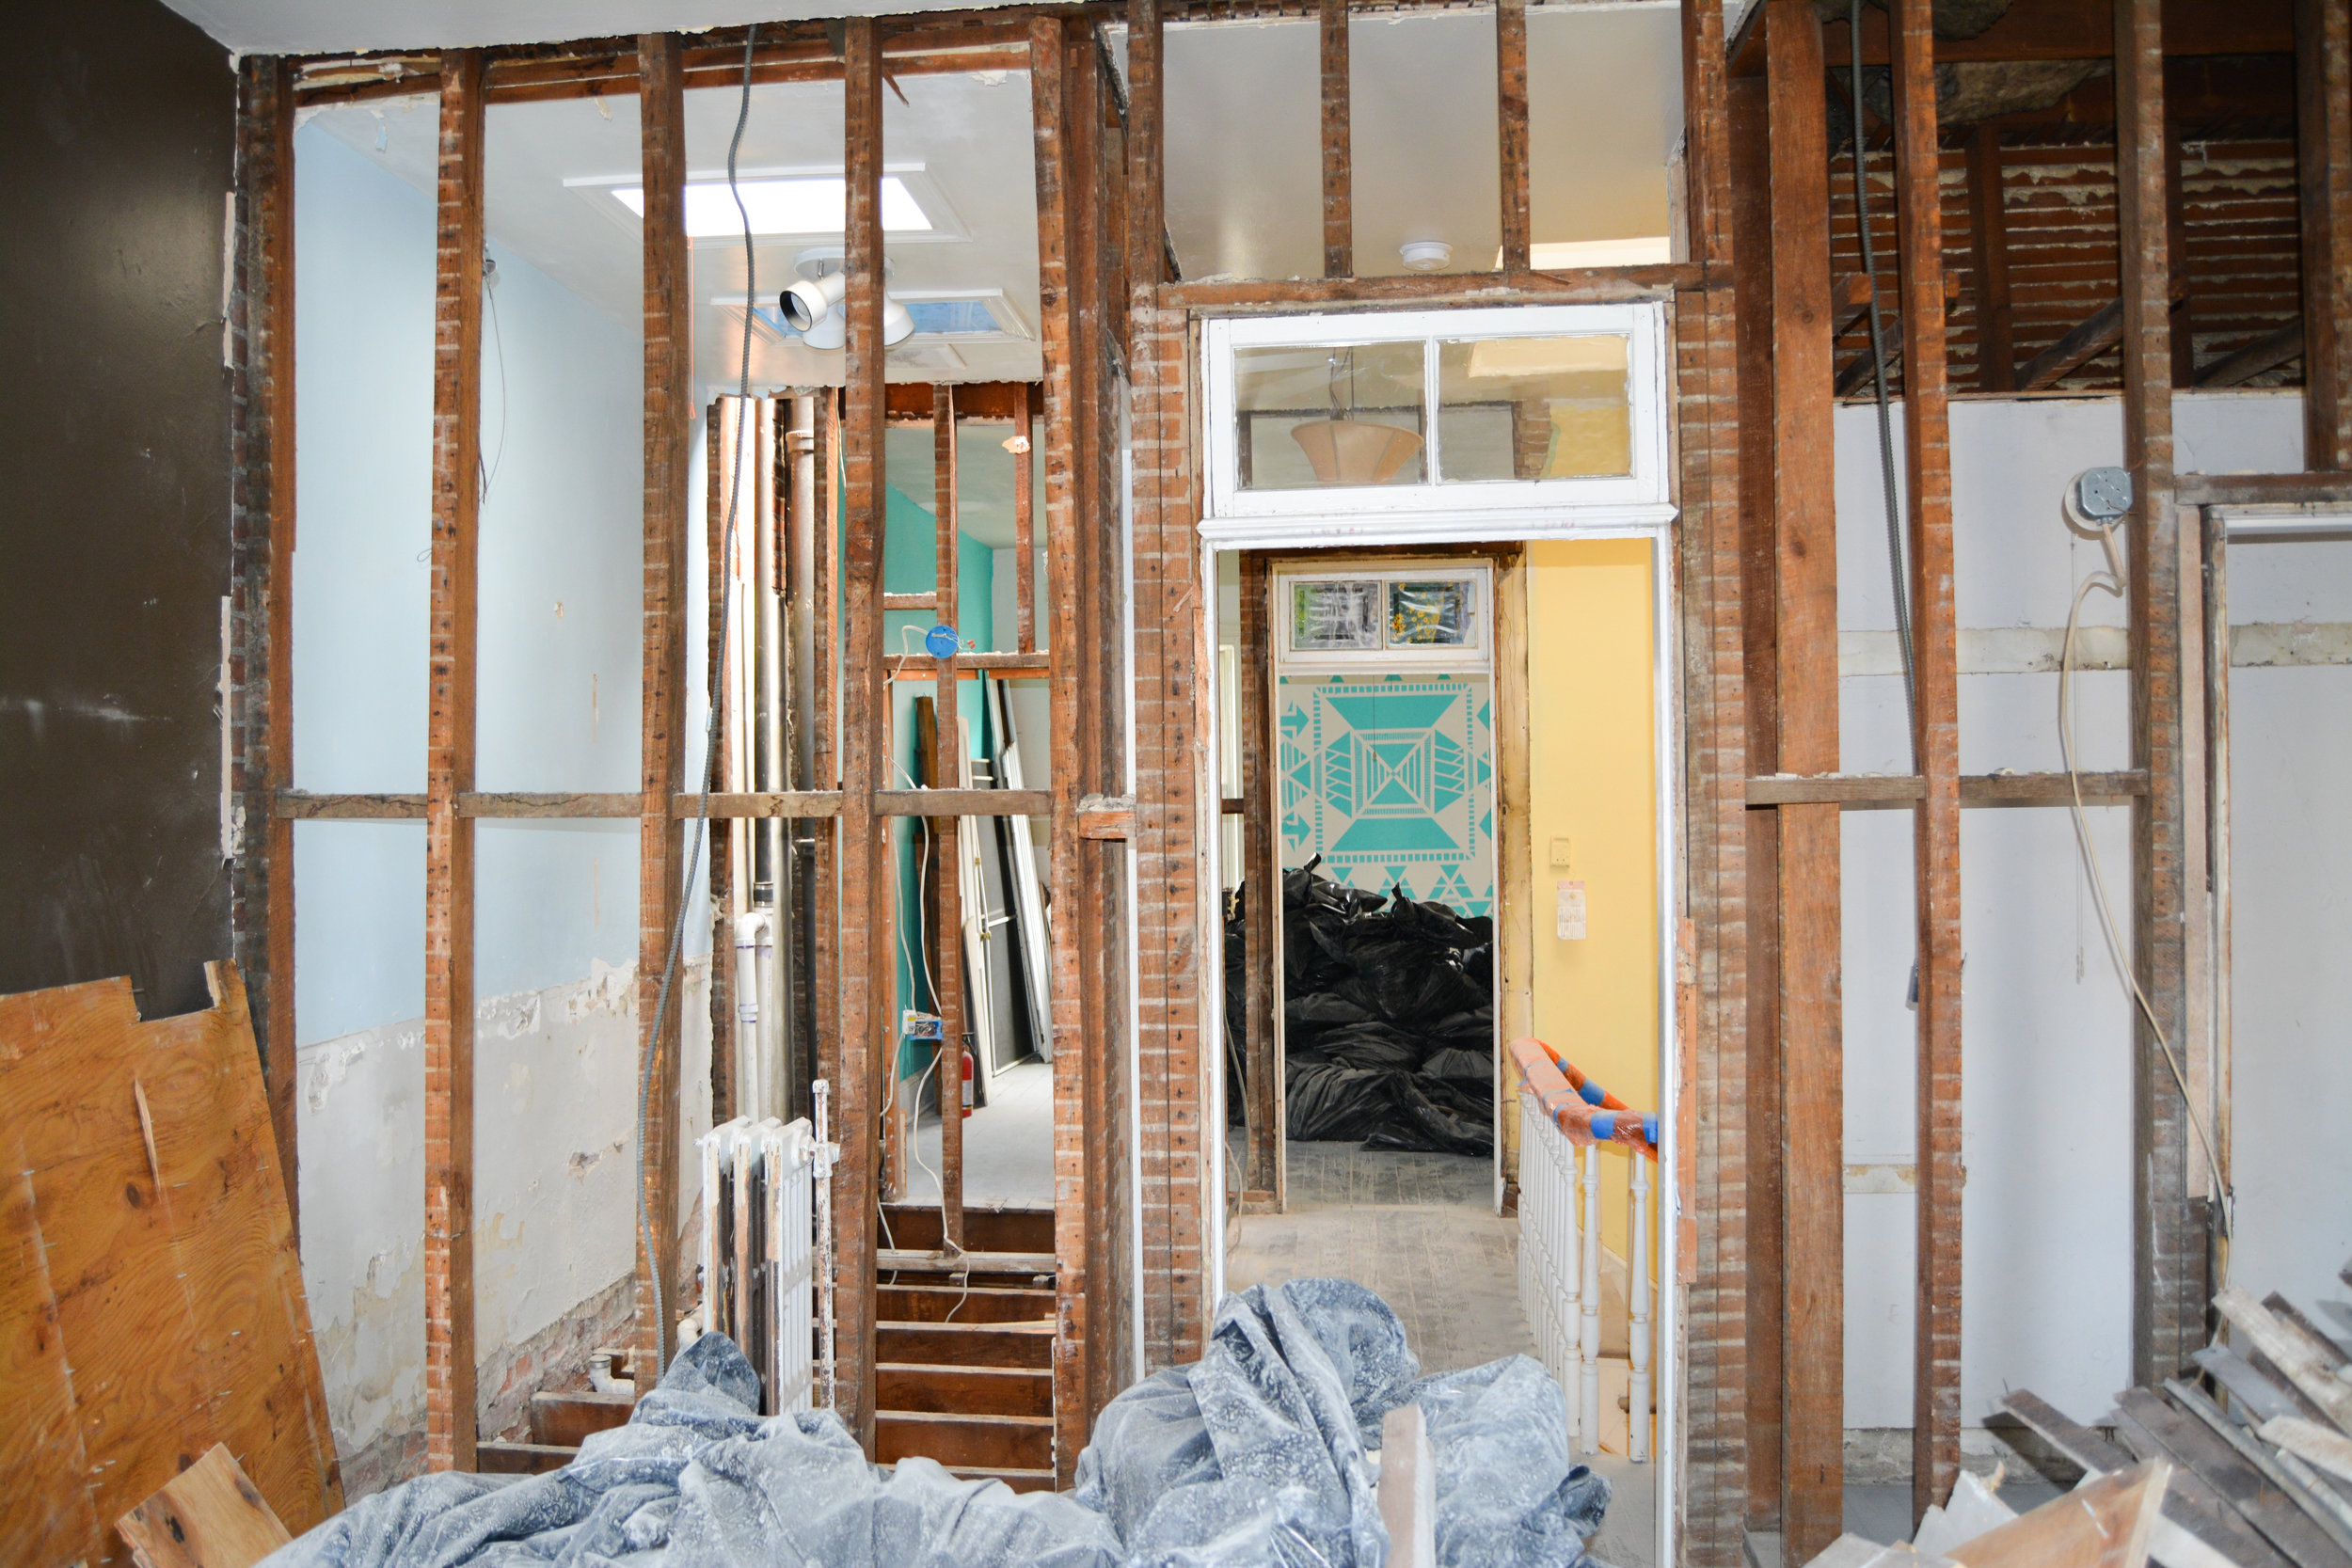
We have posted a lot of incredible progress in our house. The top three floors look awesome and we are so excited. The basement, however, is another story. 

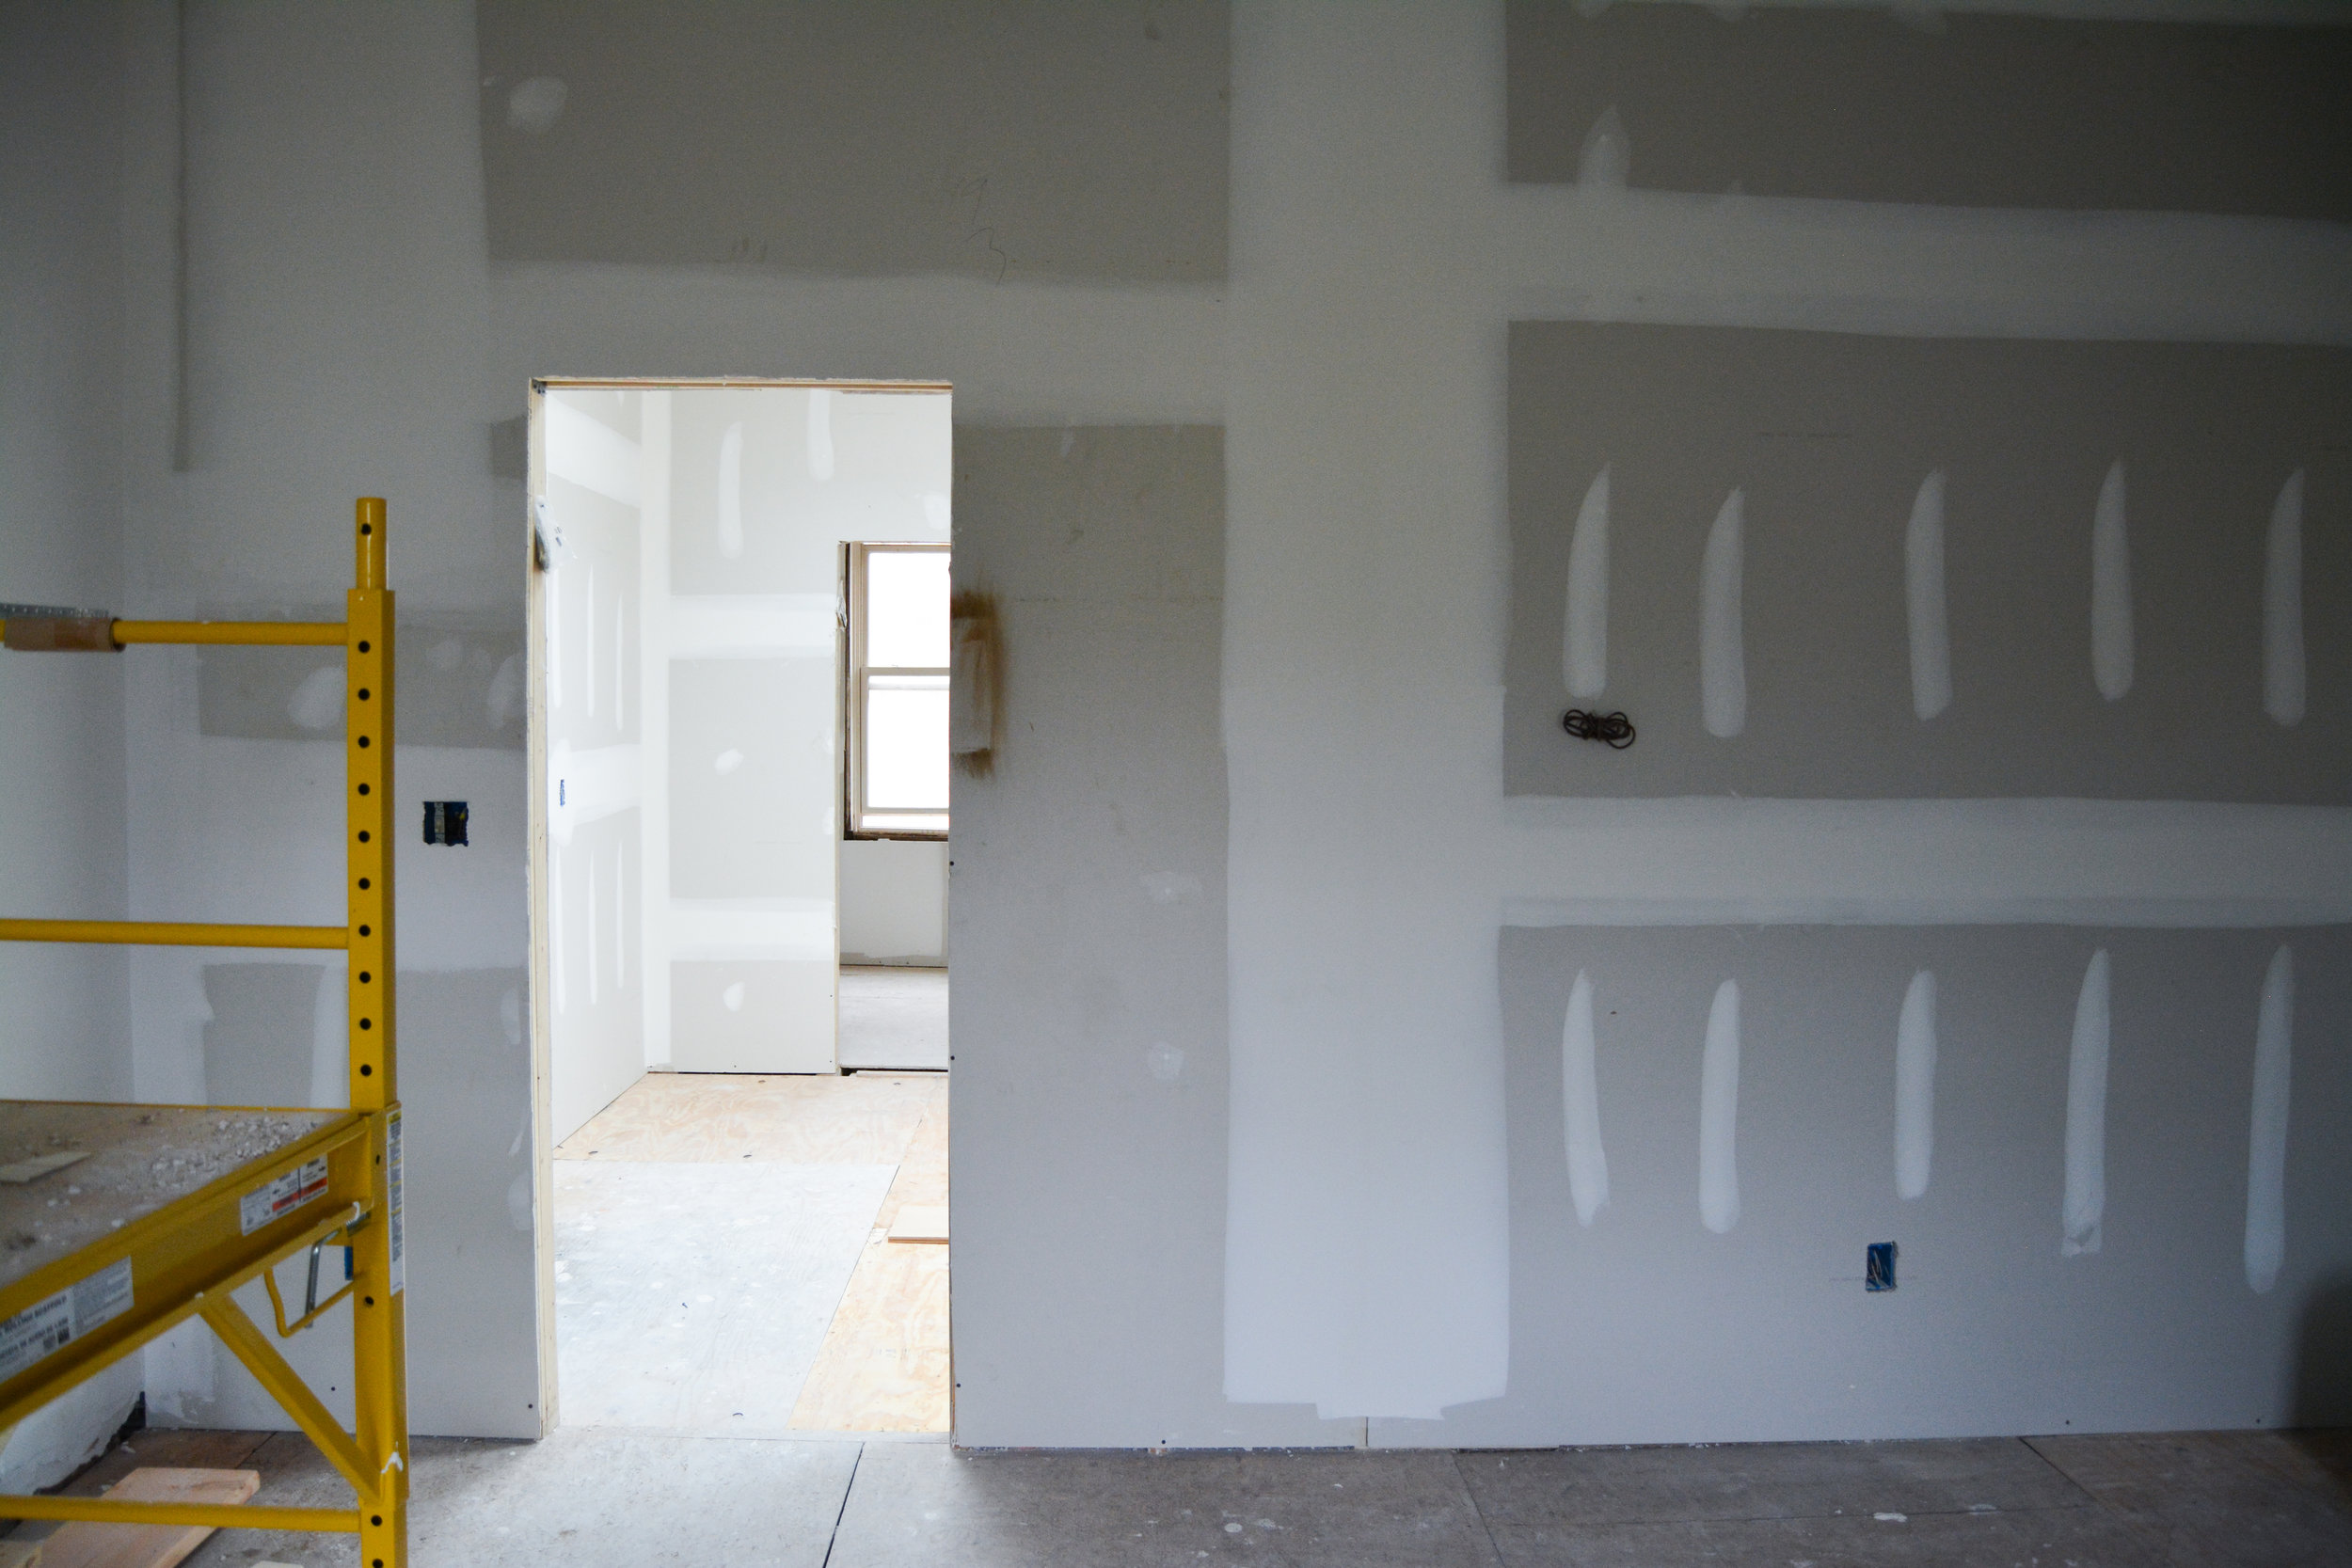
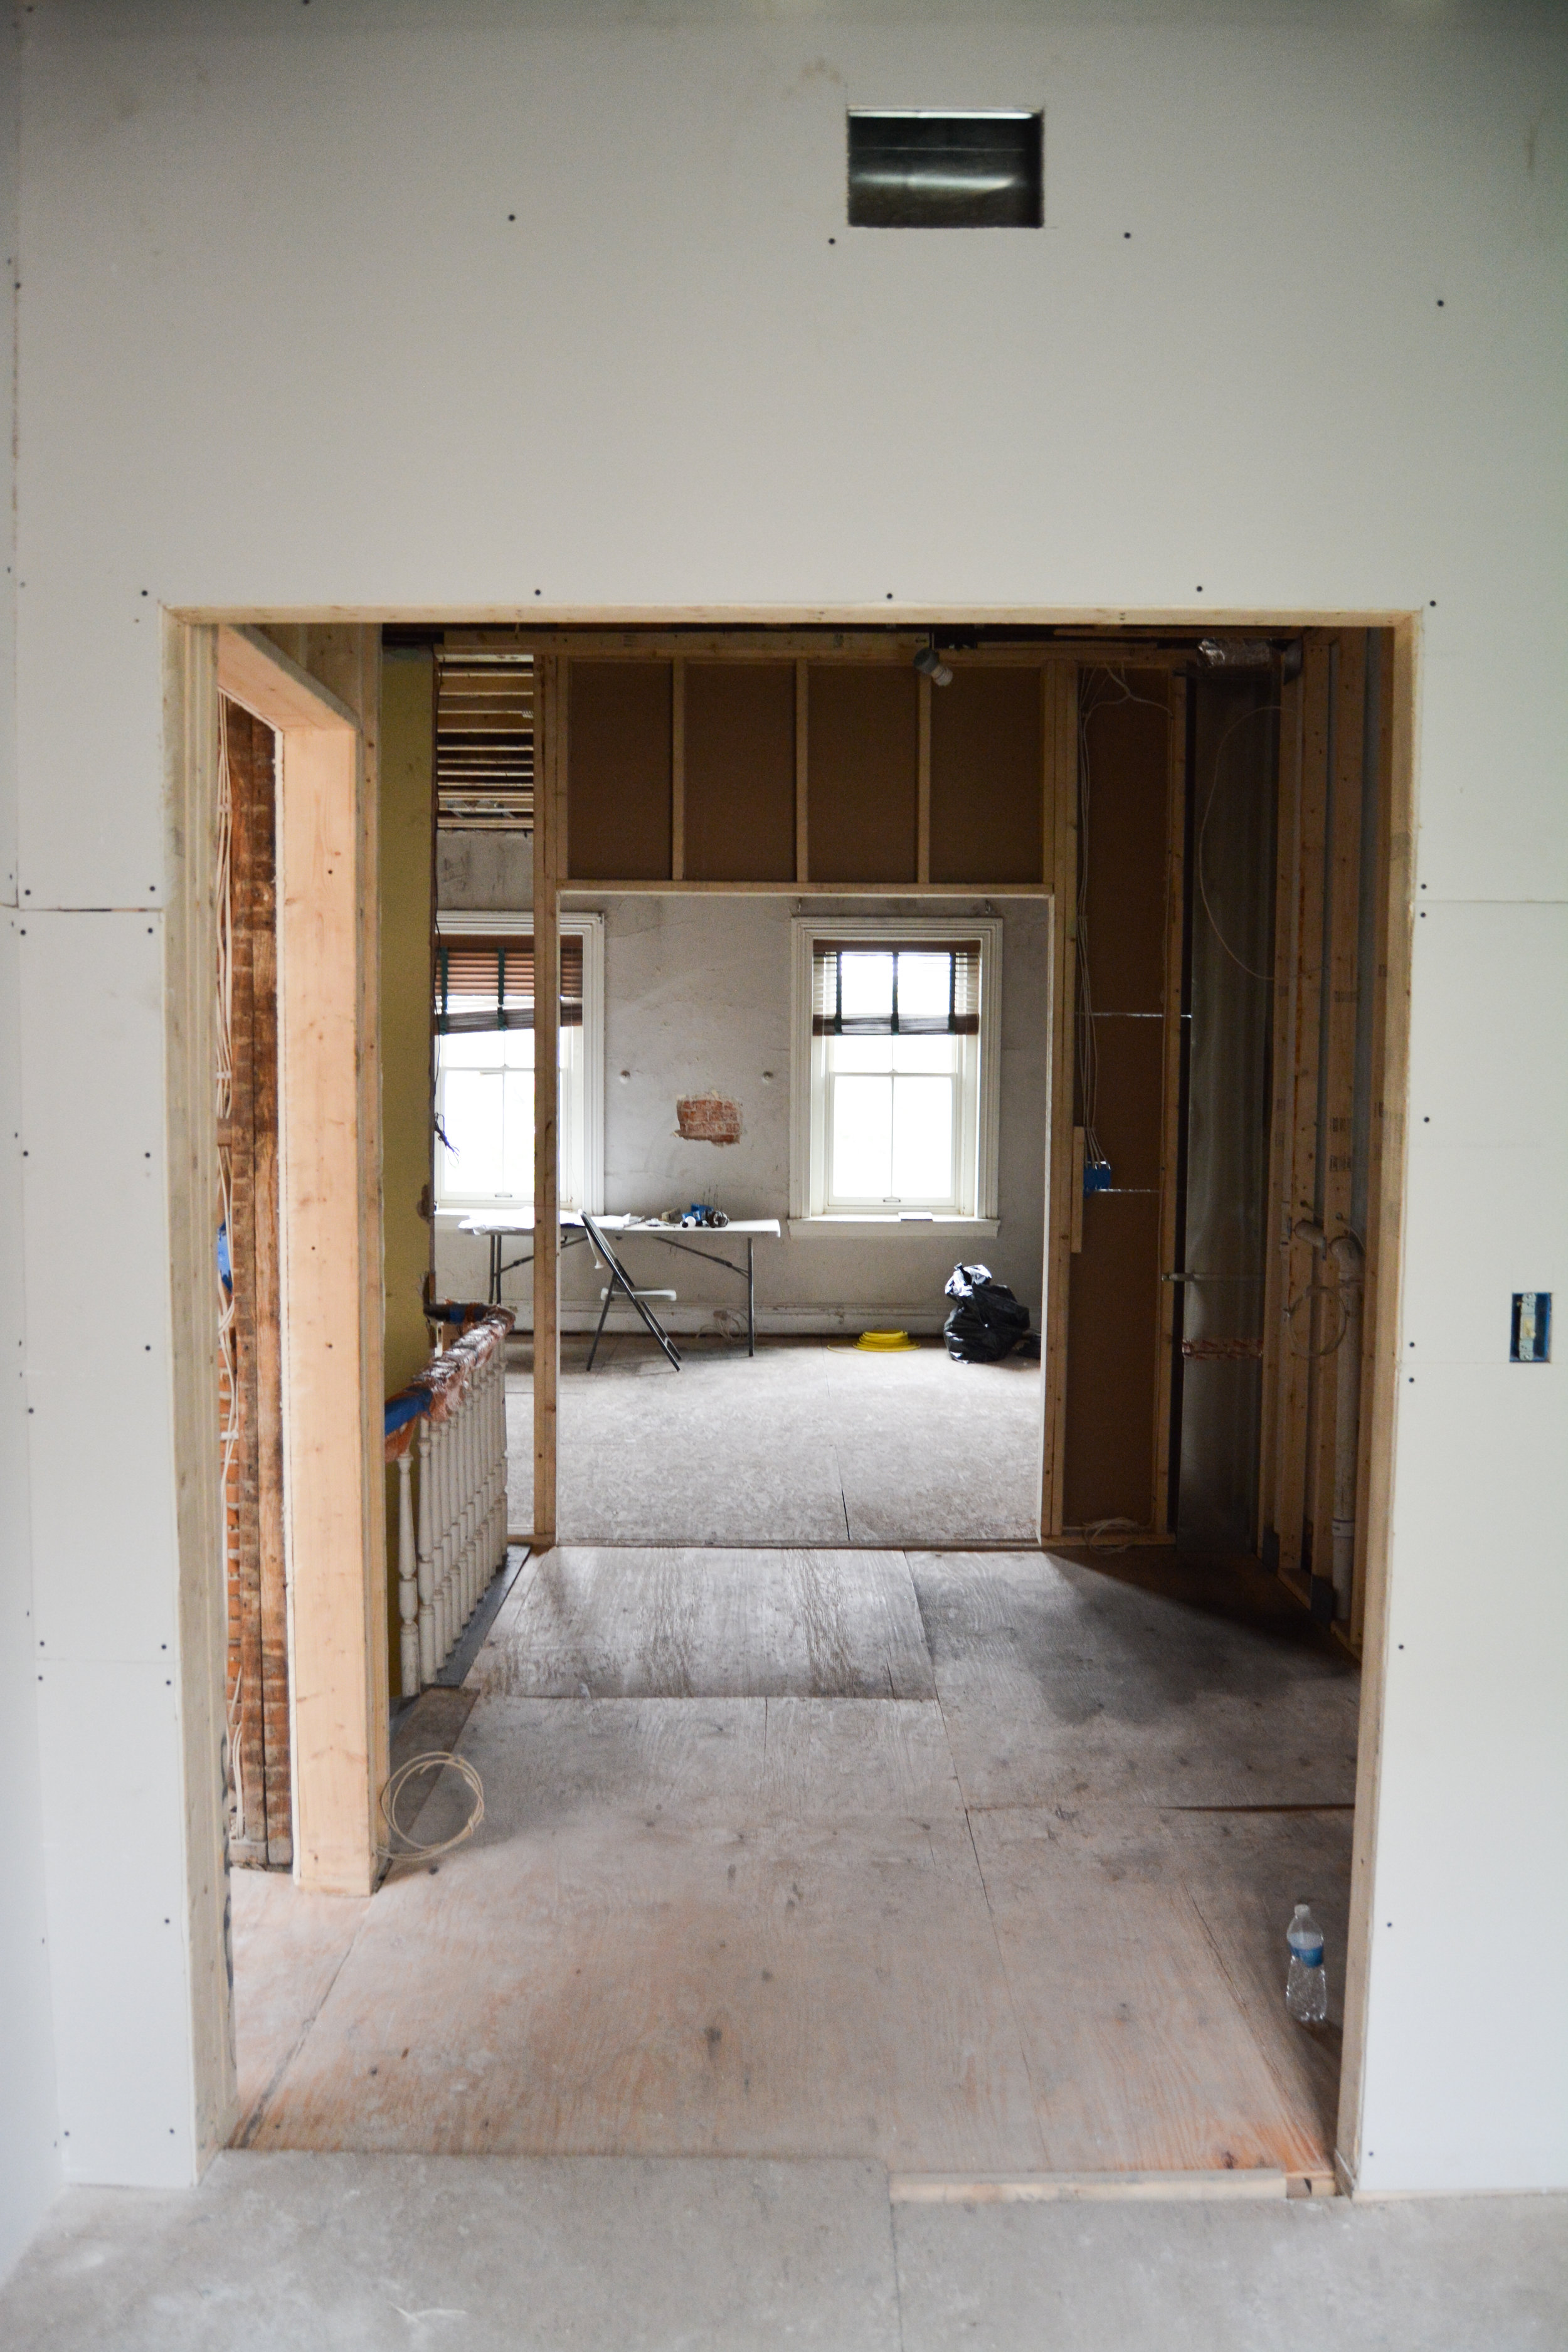
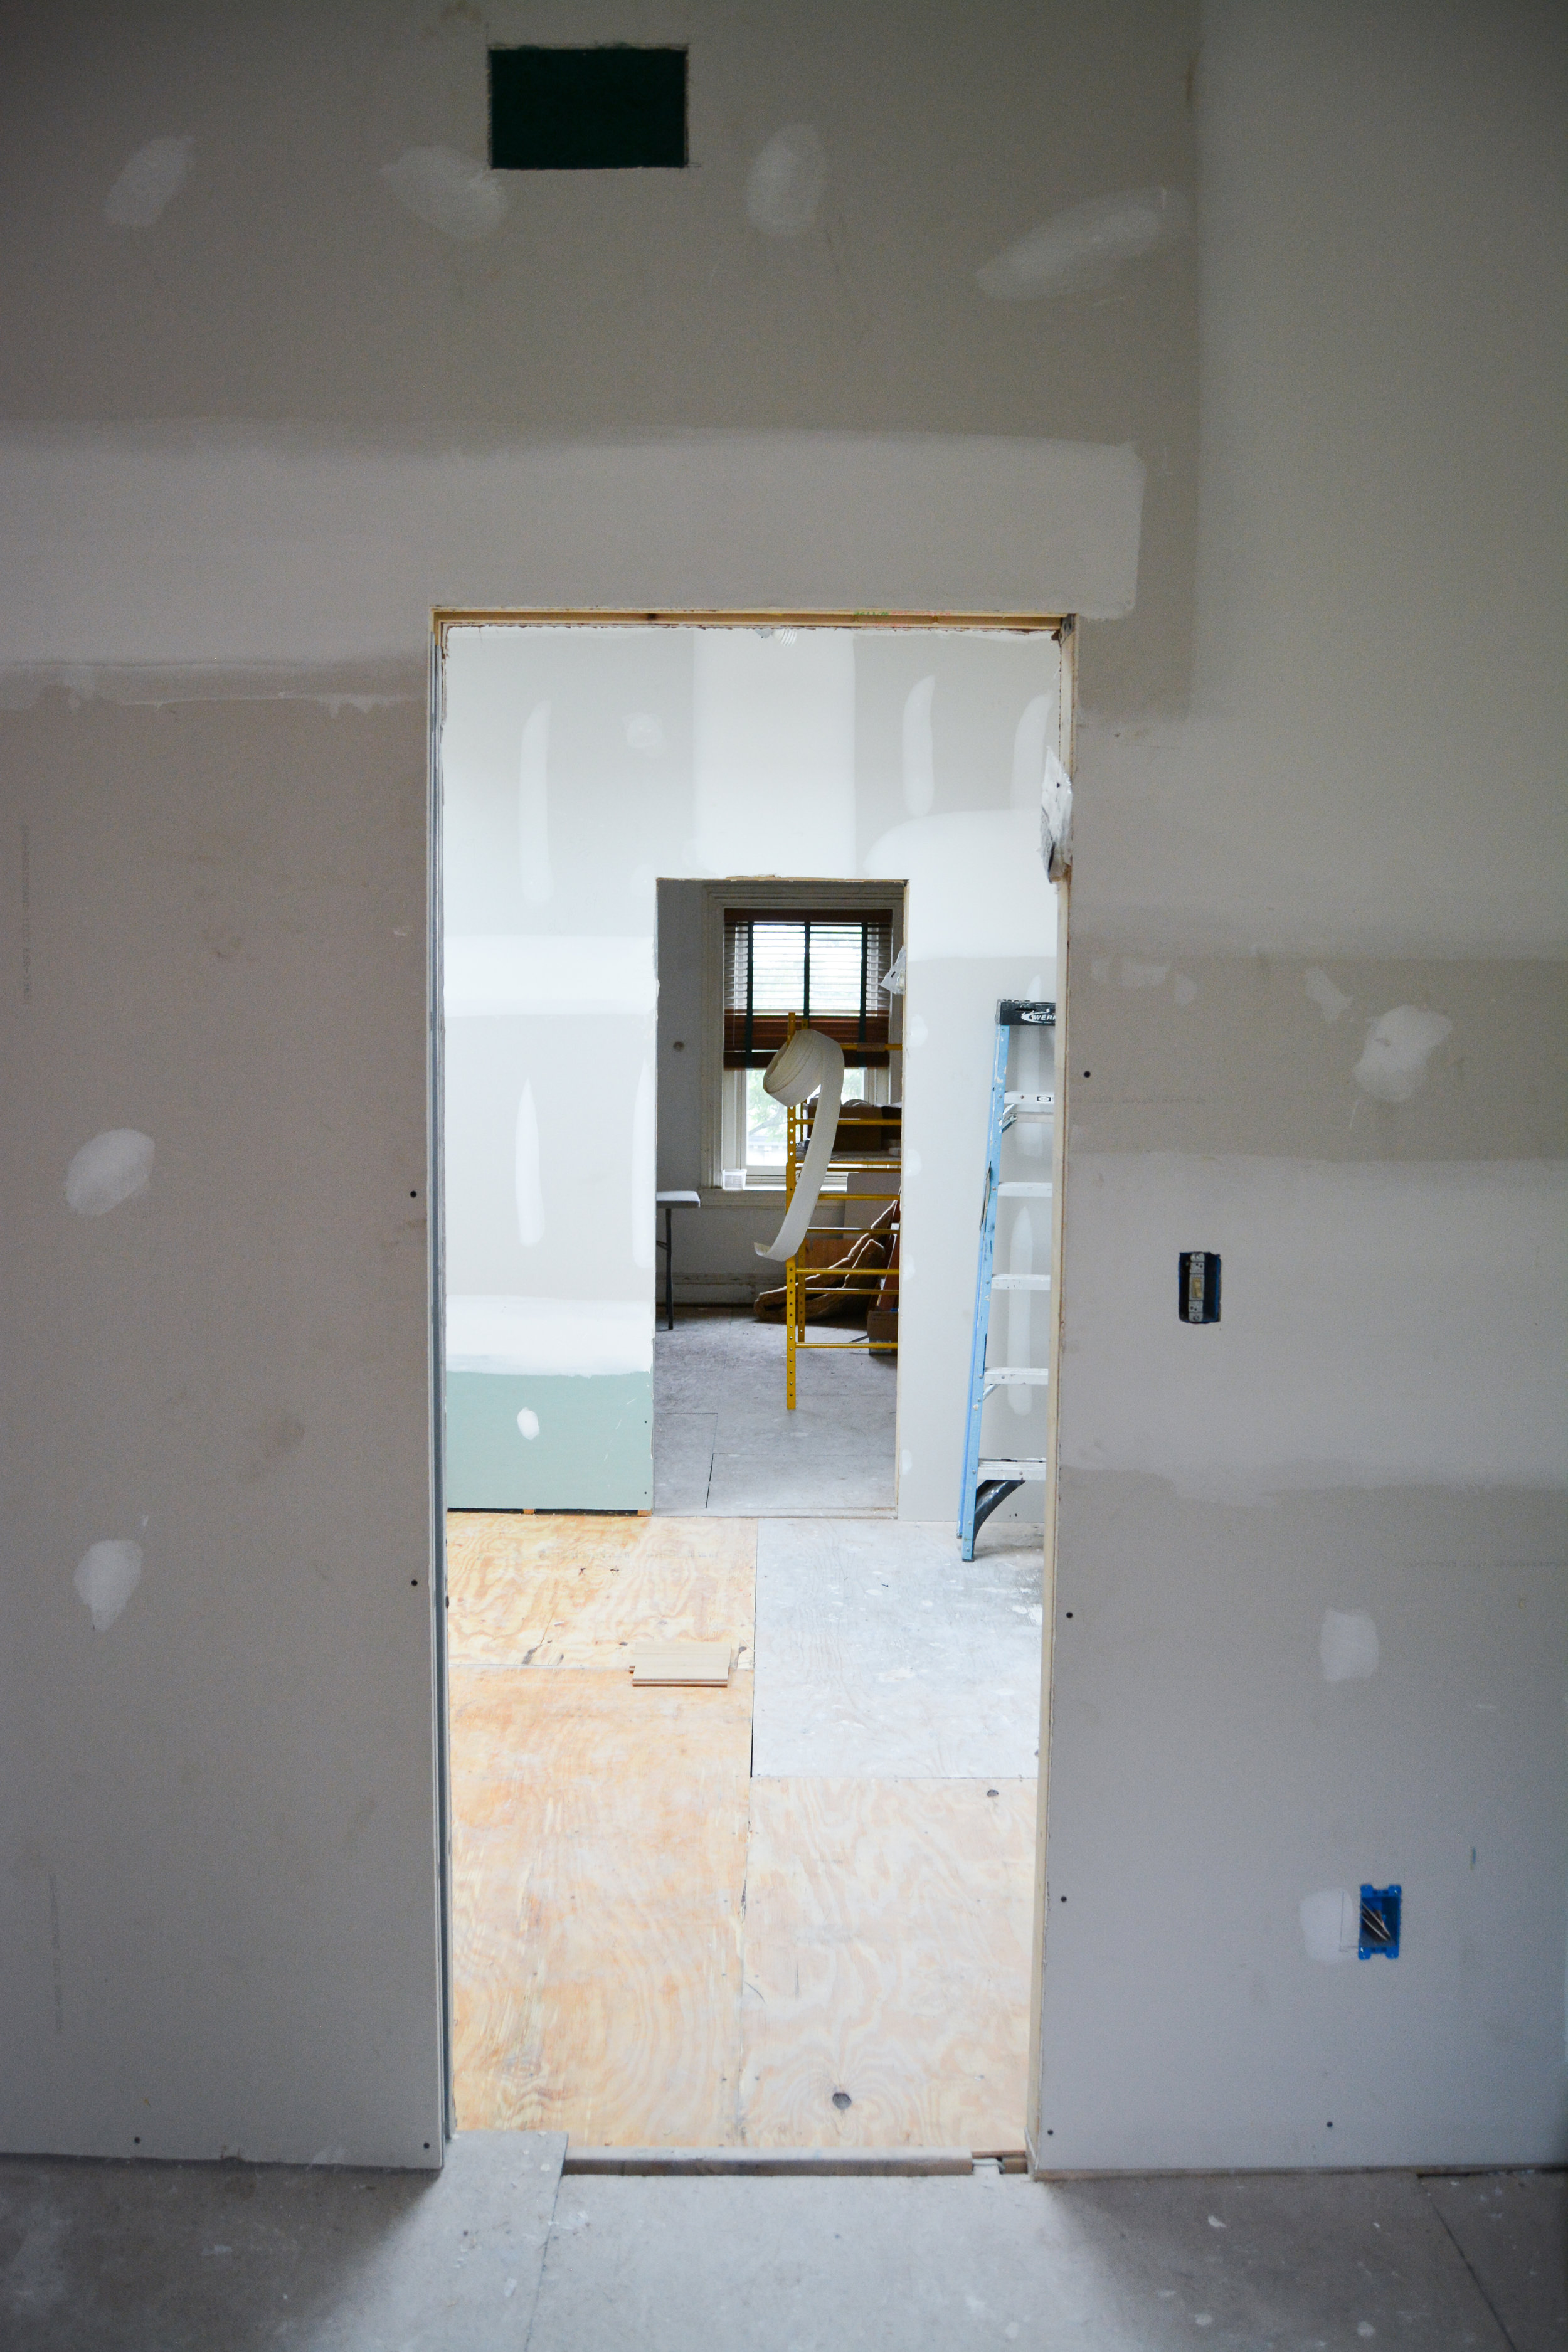
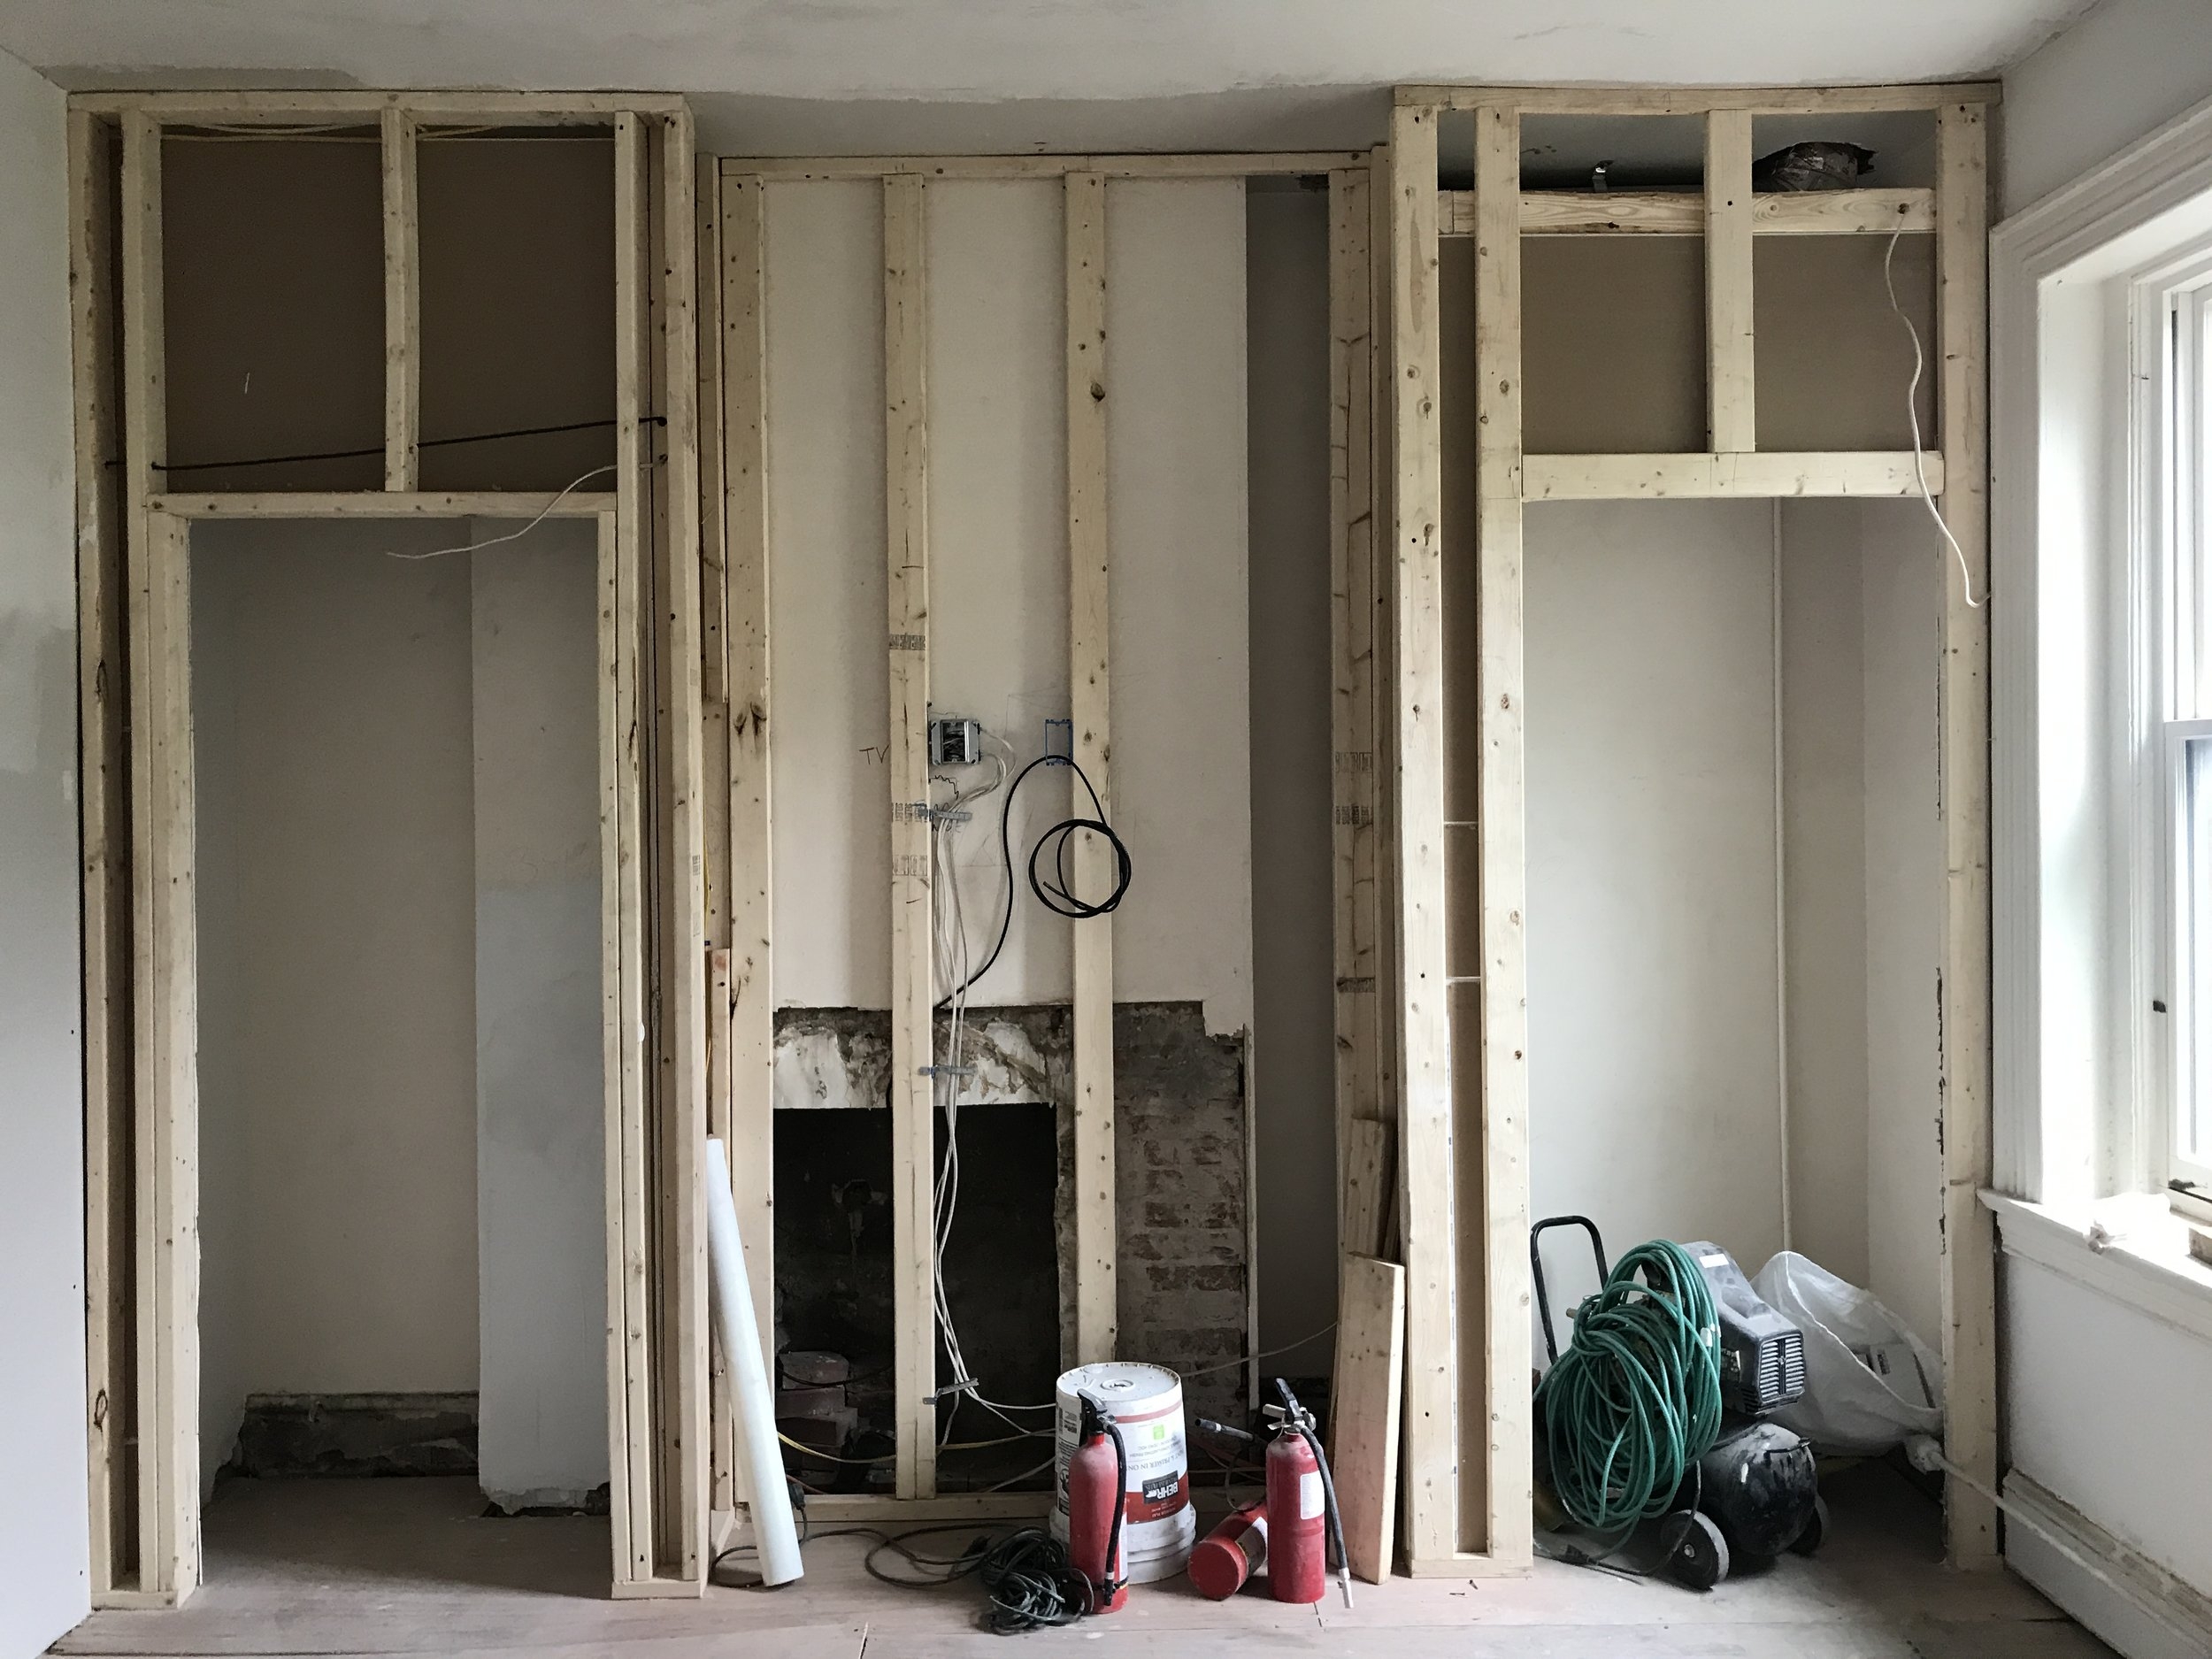
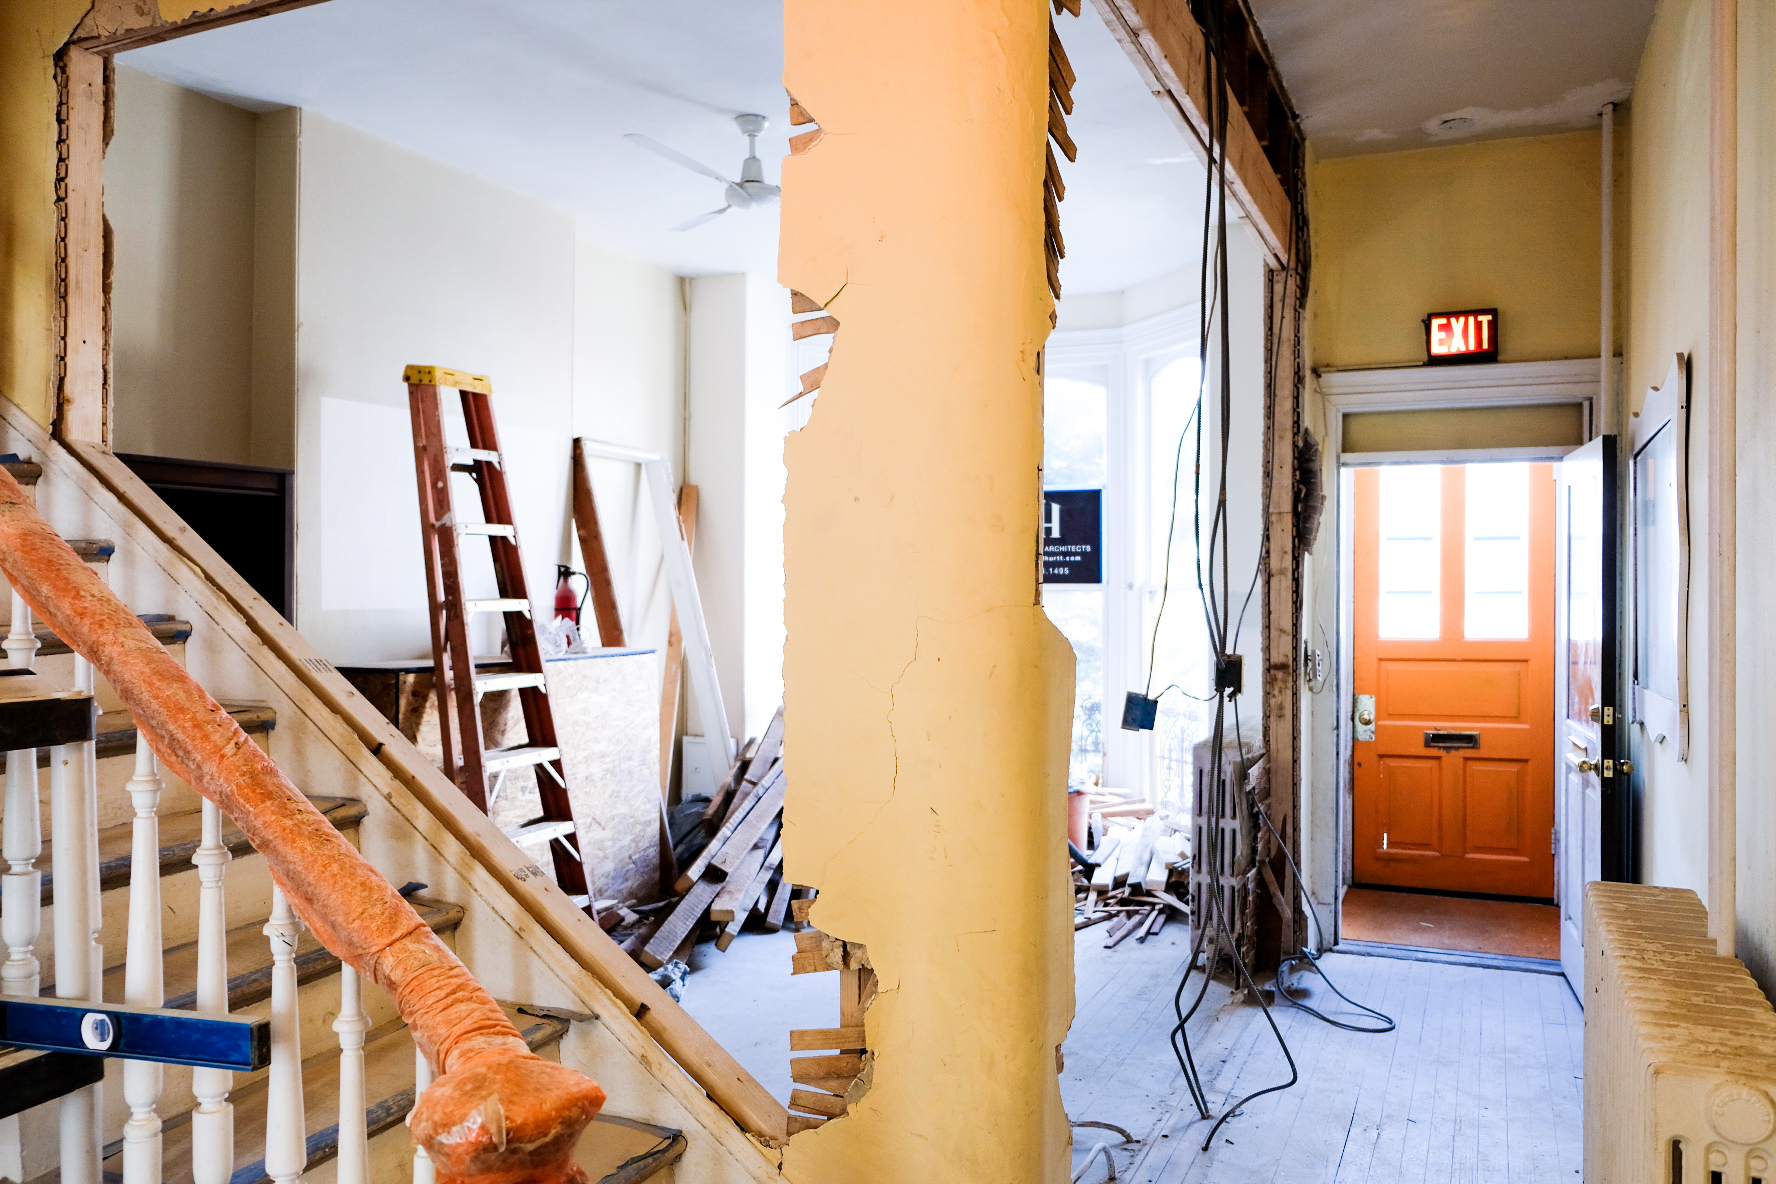
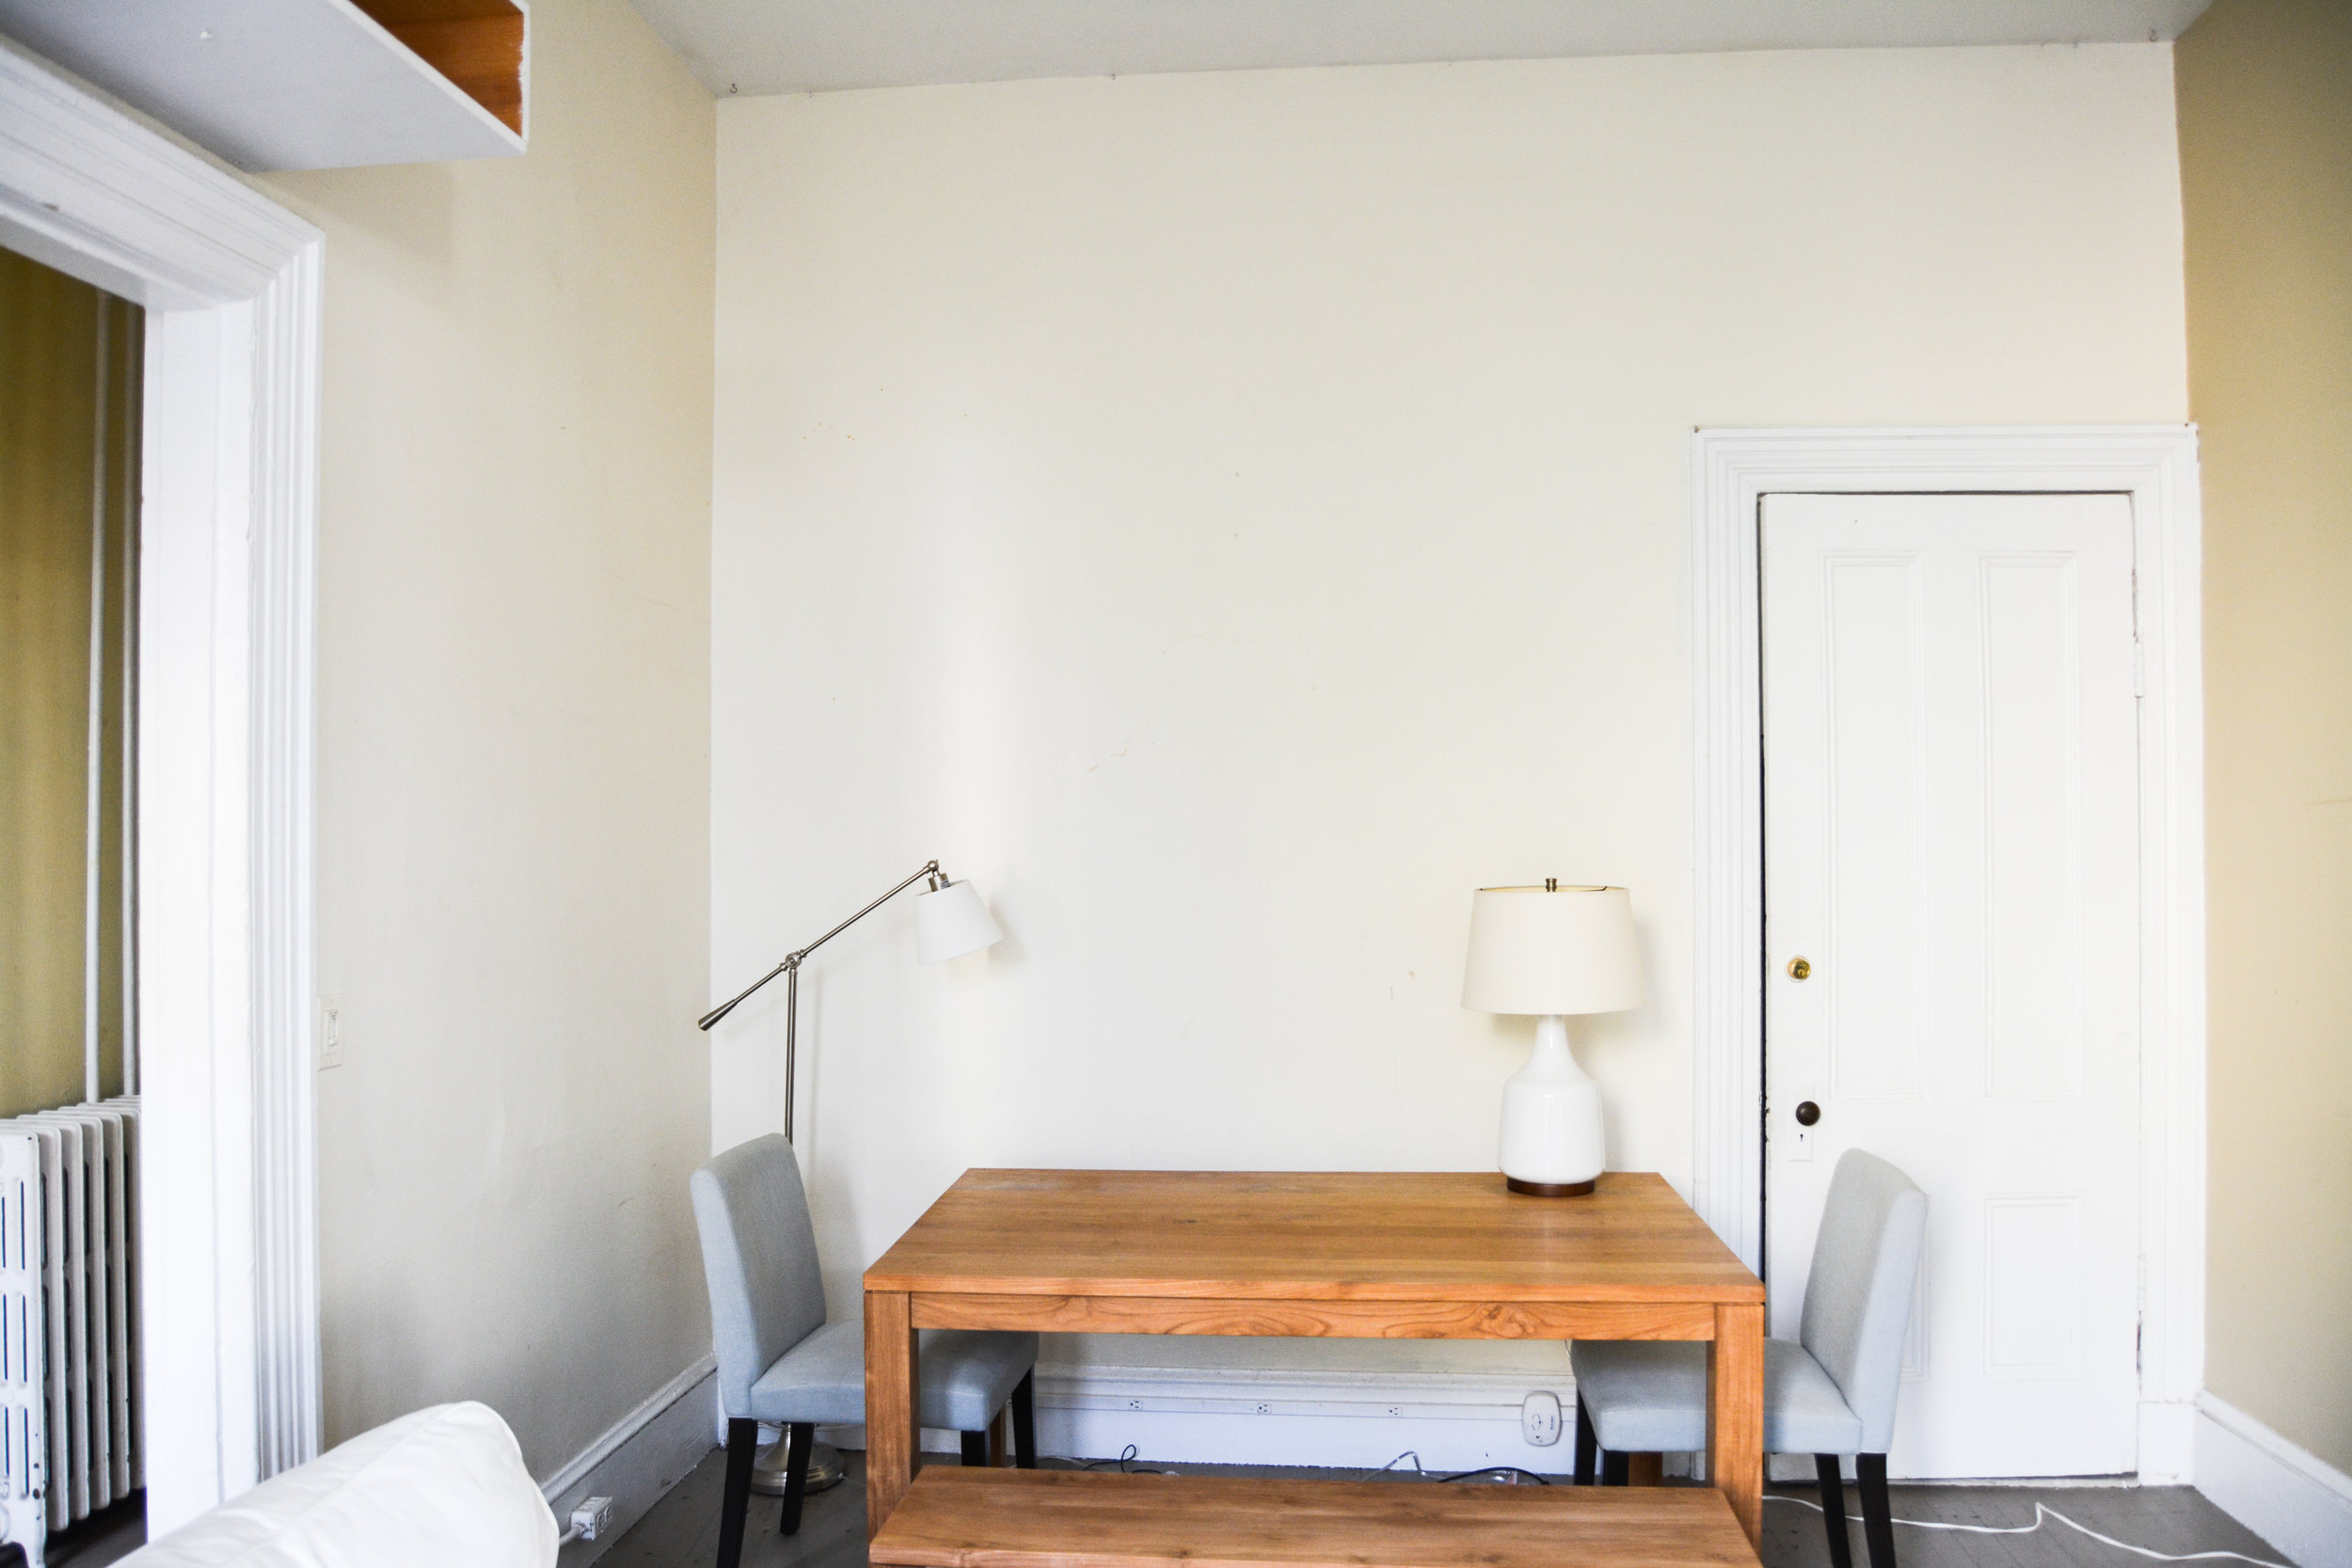
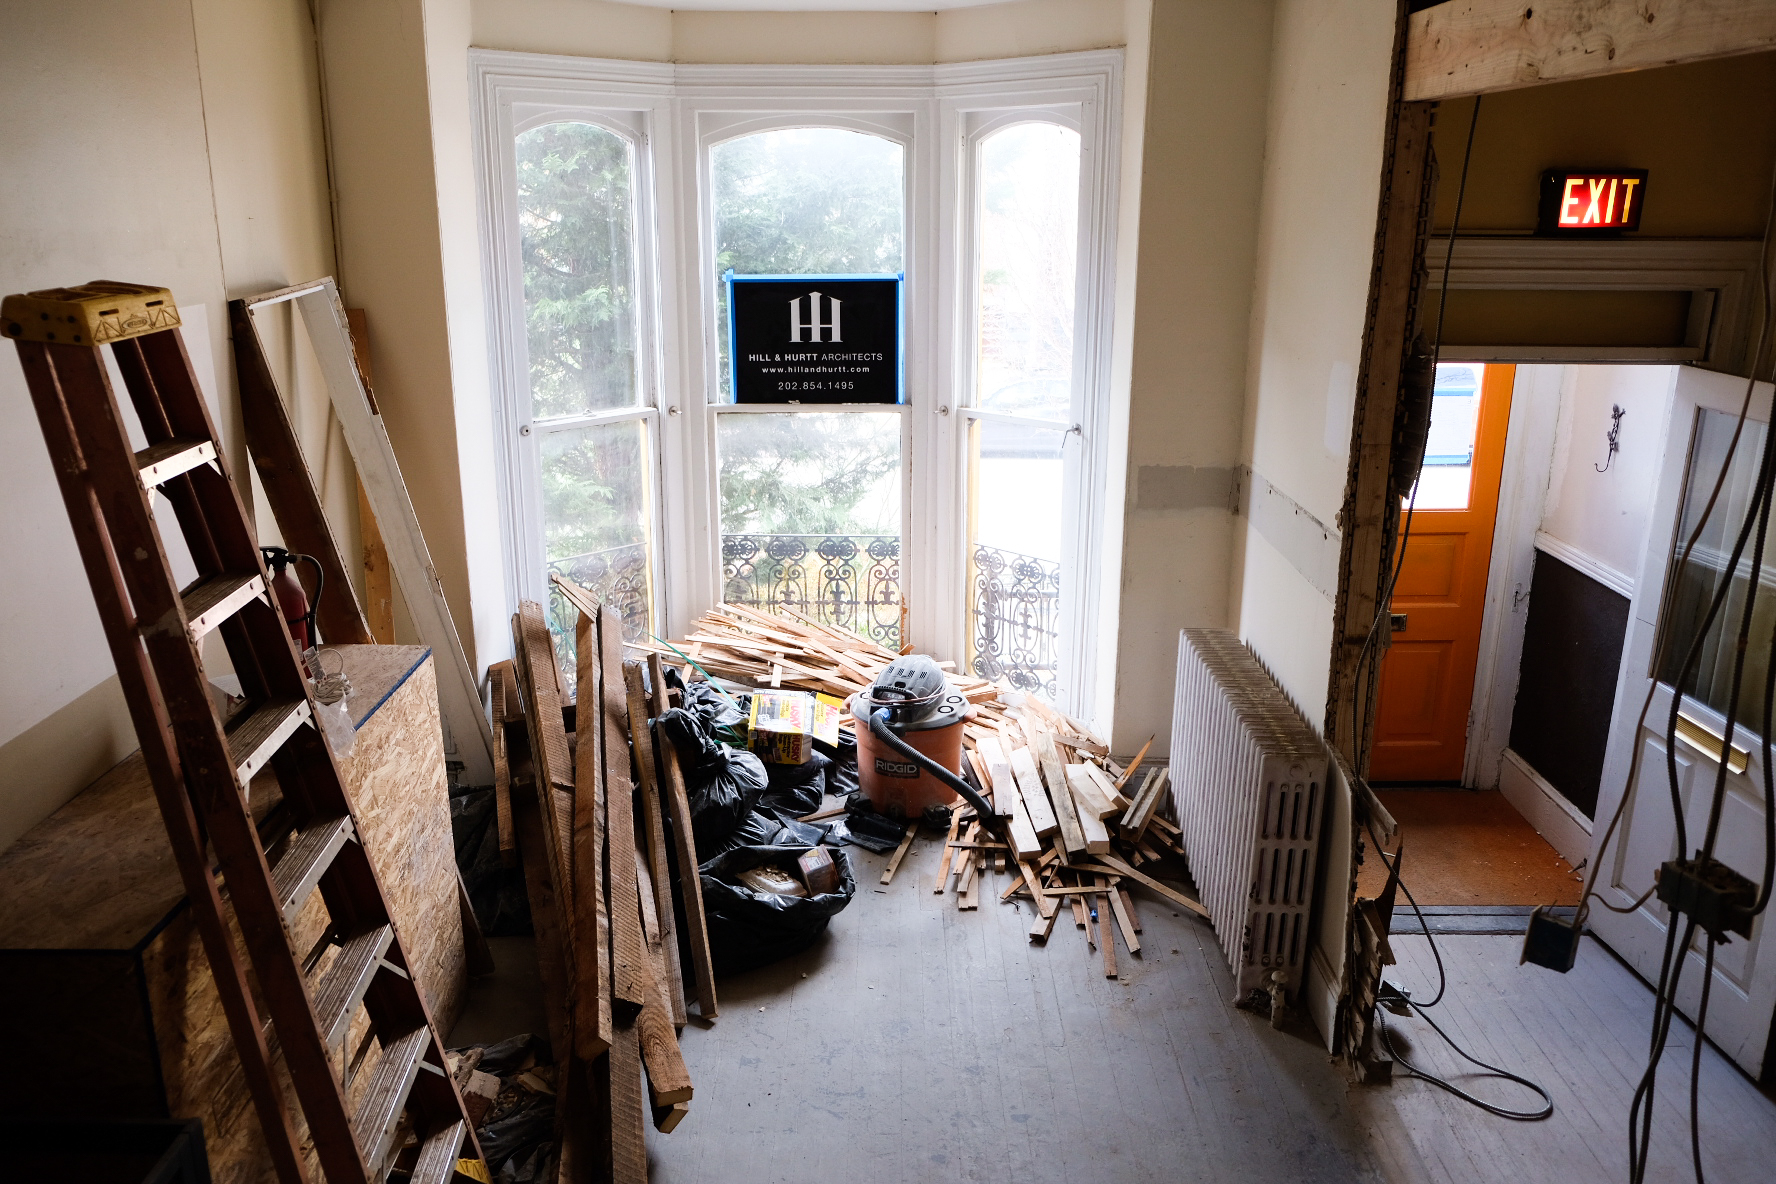
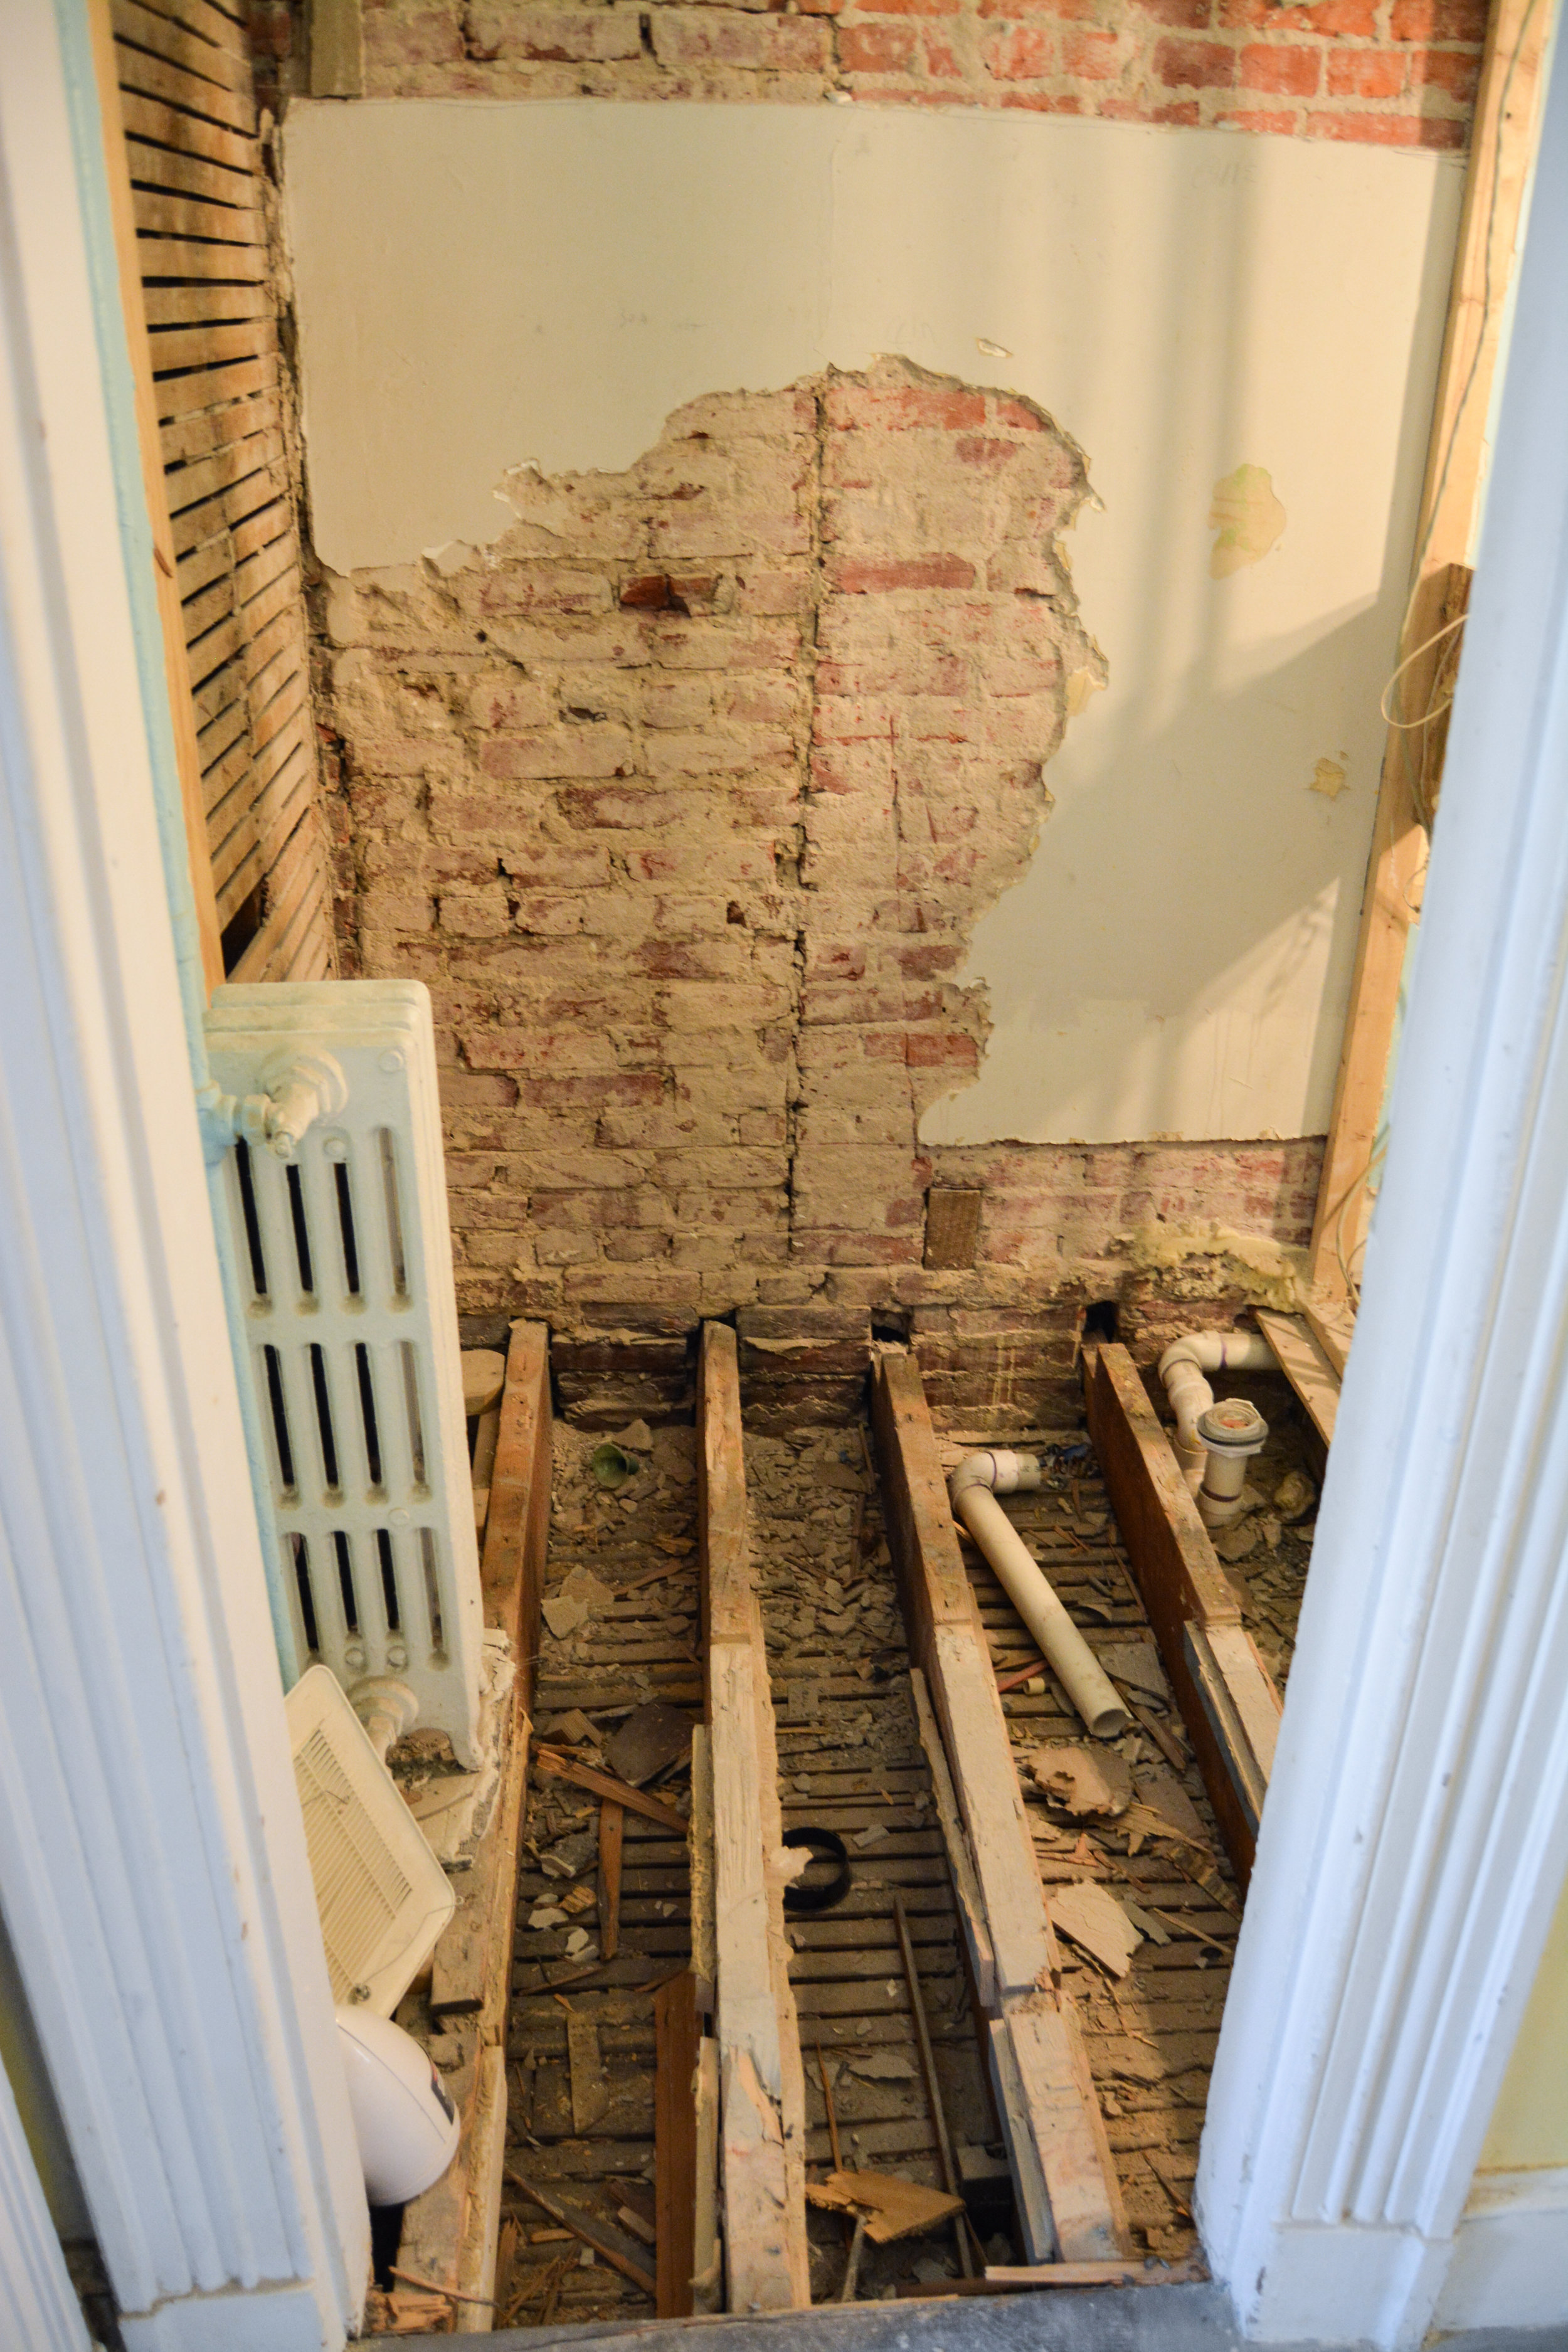
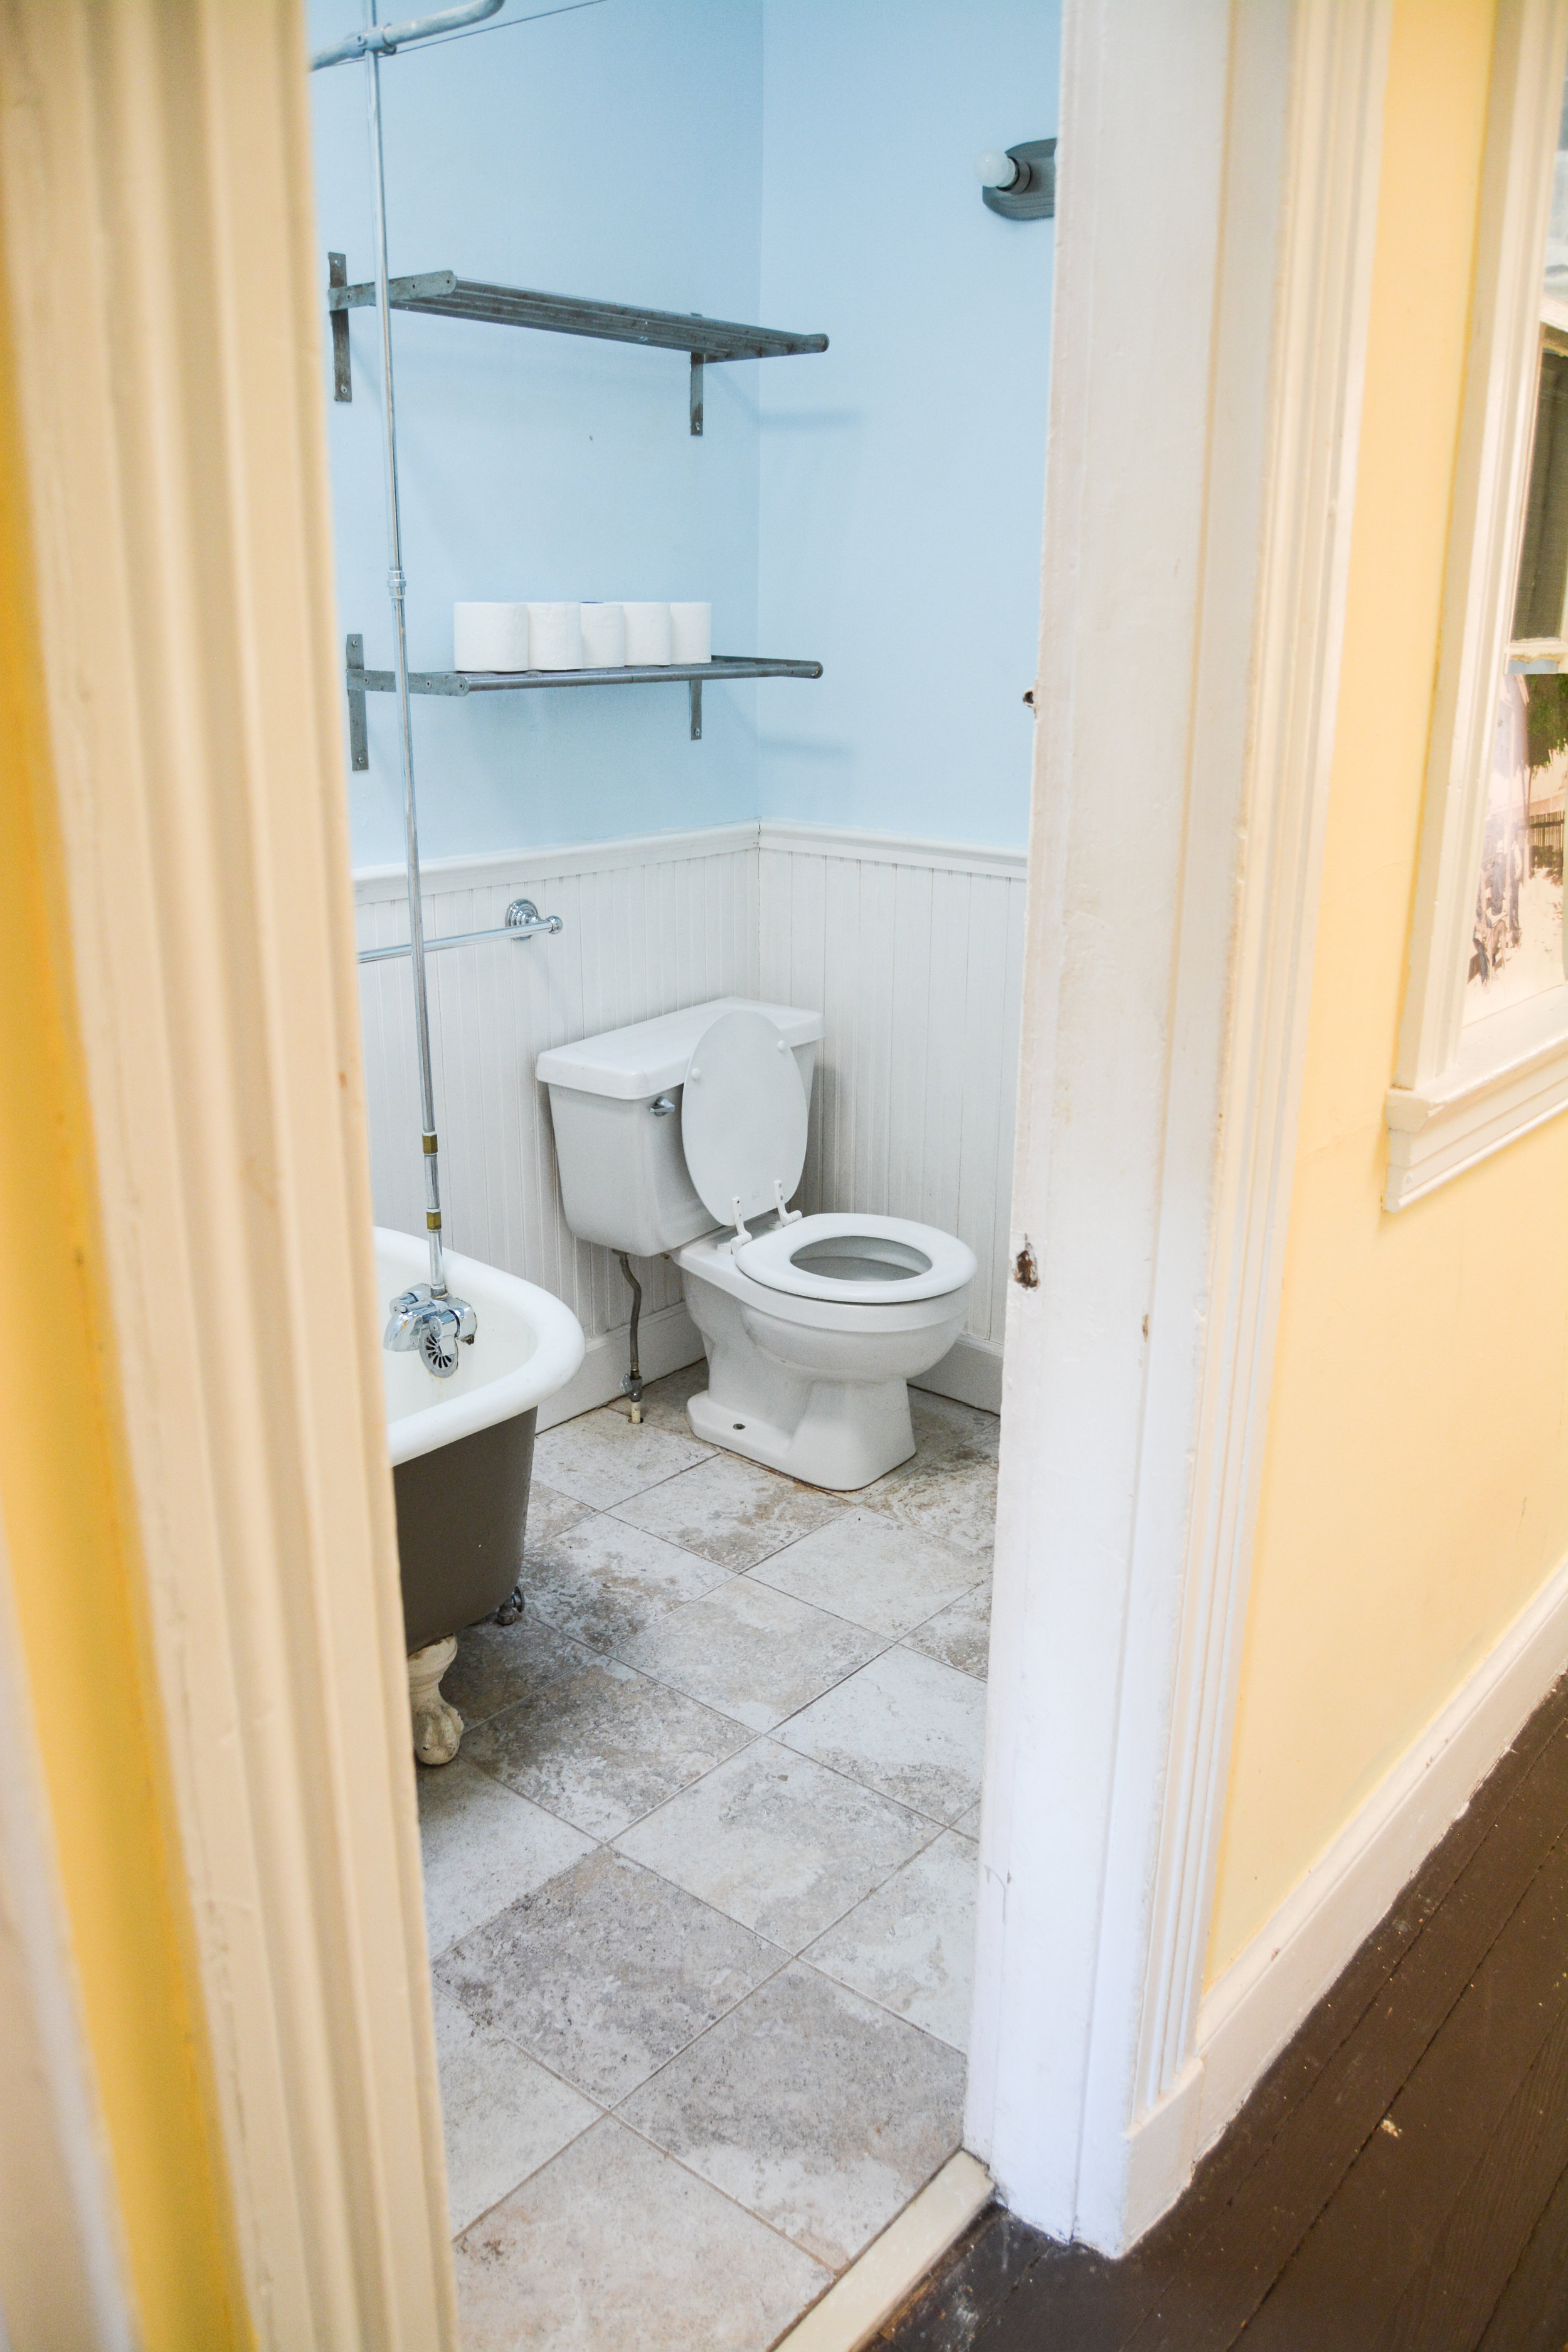
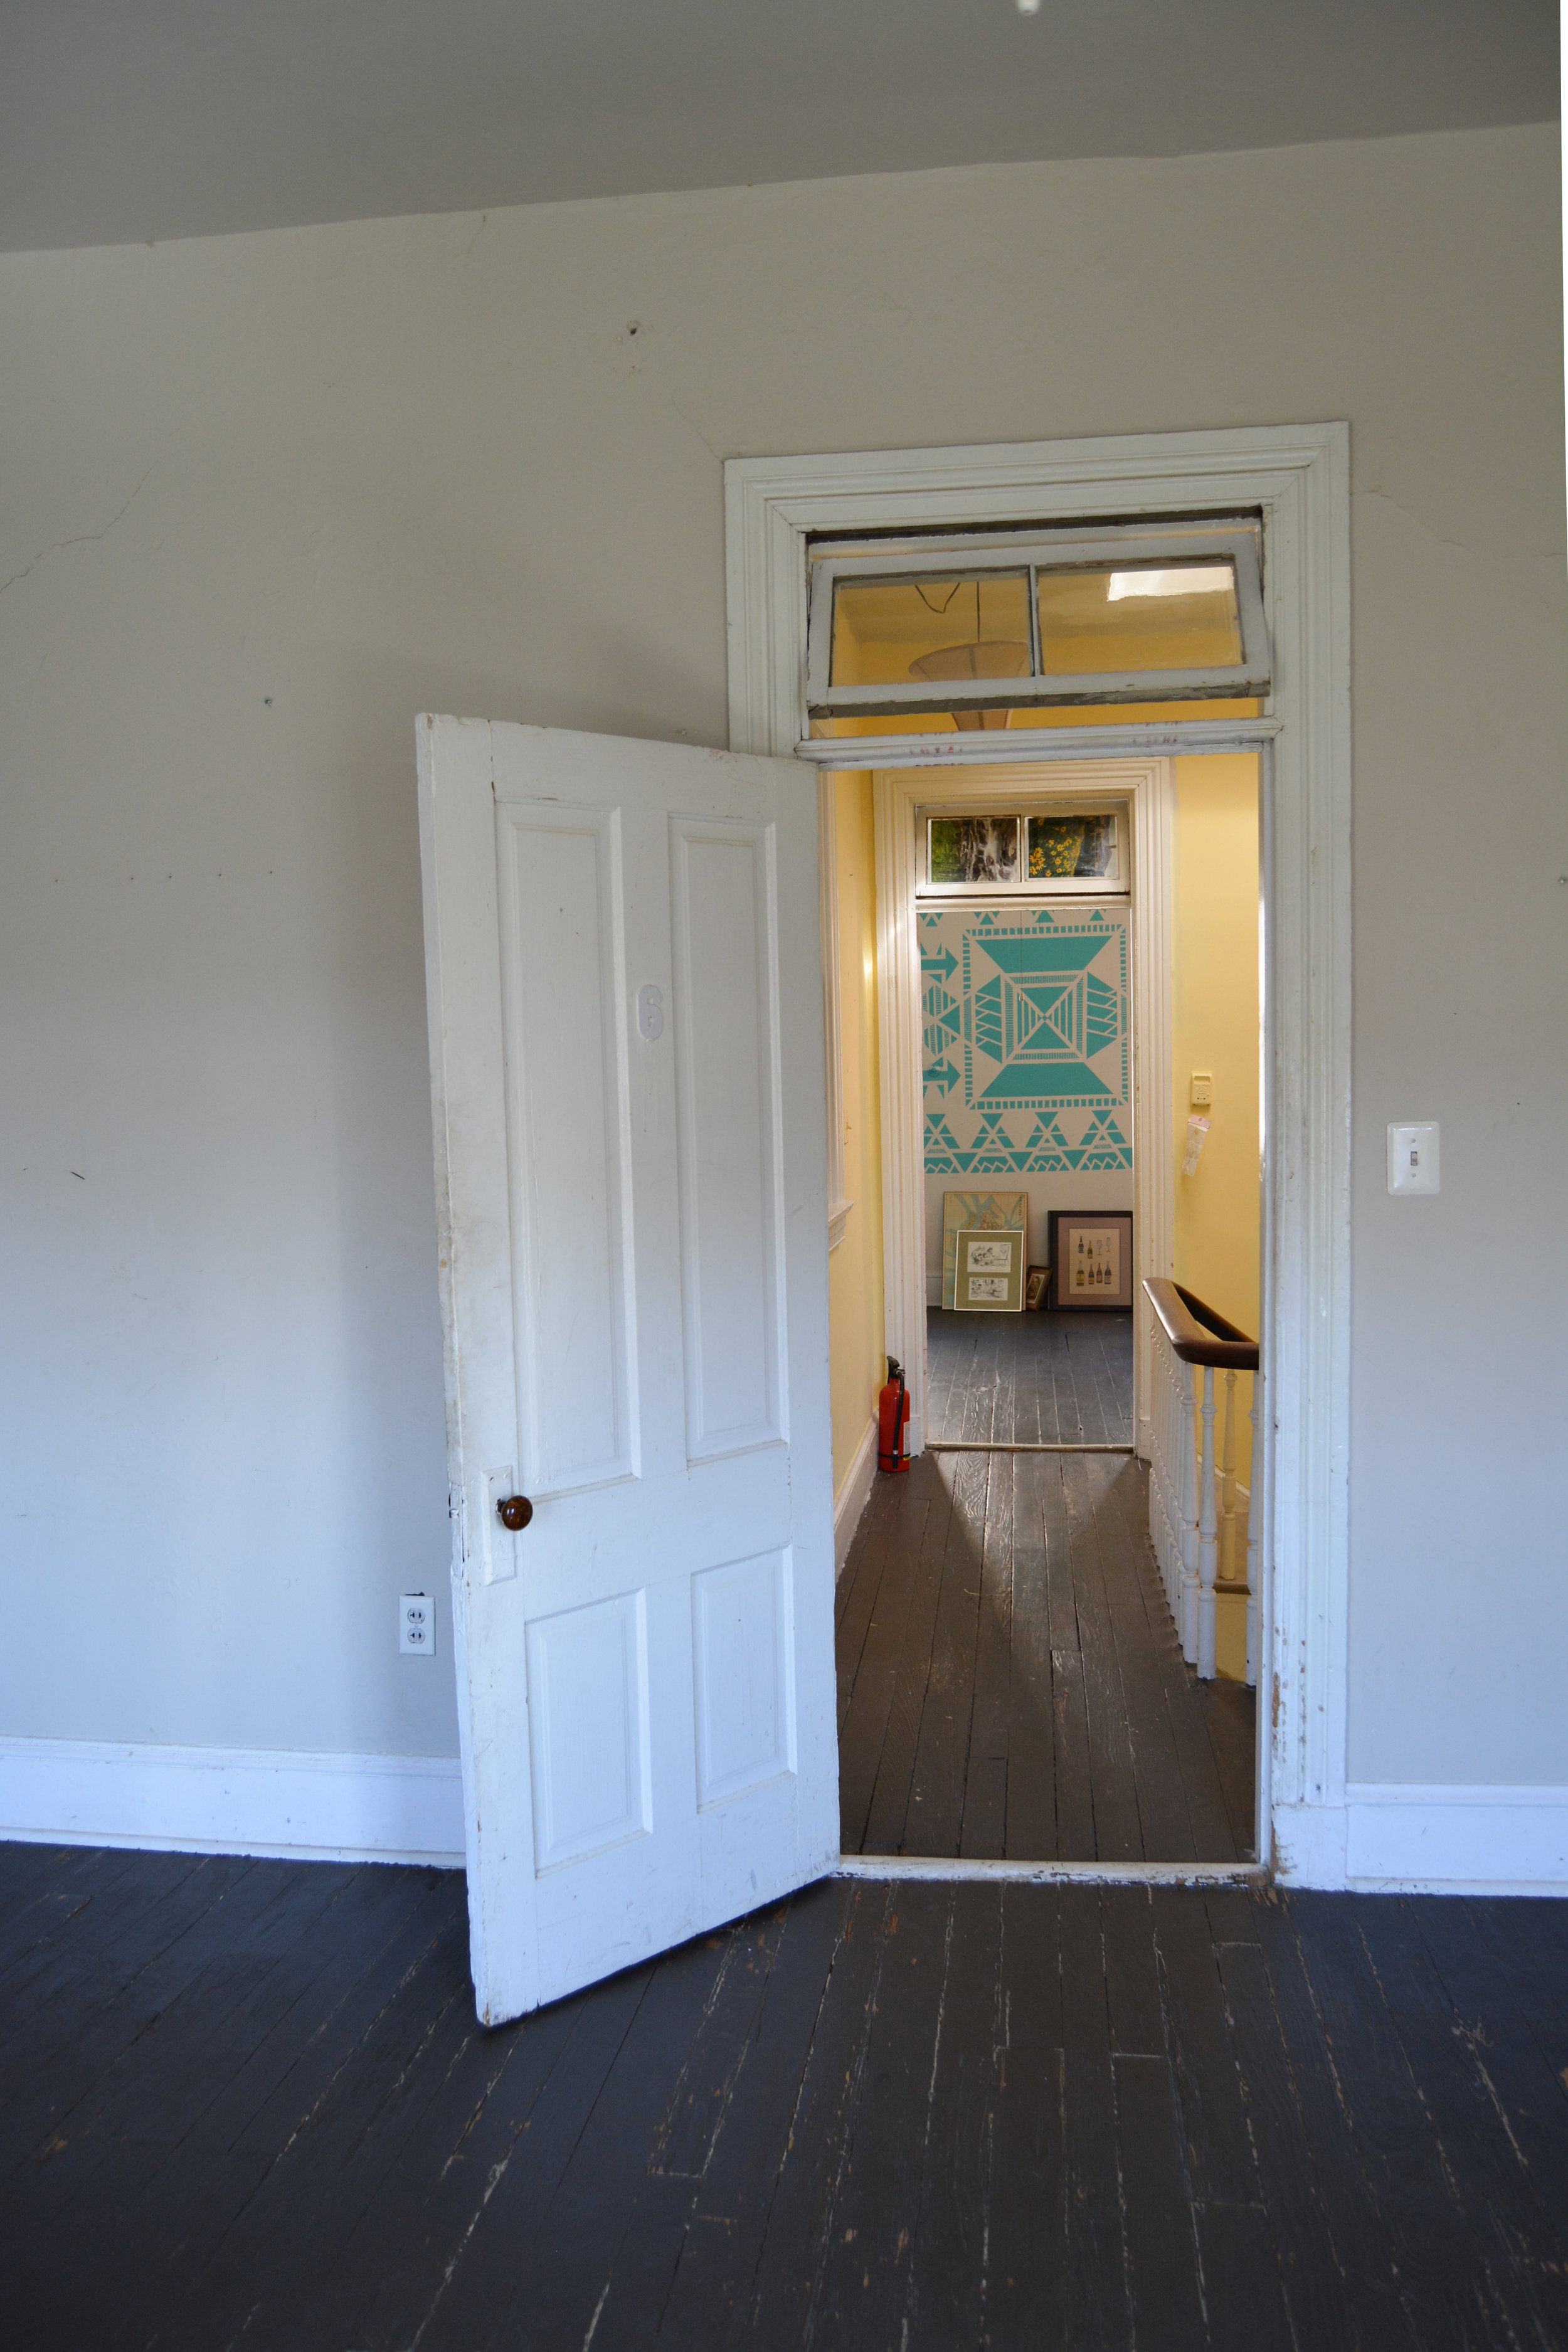
We haven't really talked about the basement on the blog before. When we bought the house, it had a small old kitchen in the back and a studio/junior one bedroom front room. The space was really quite nice, with windows in the front and back and high ceilings, but, like the rest of the house, in need of an update. 

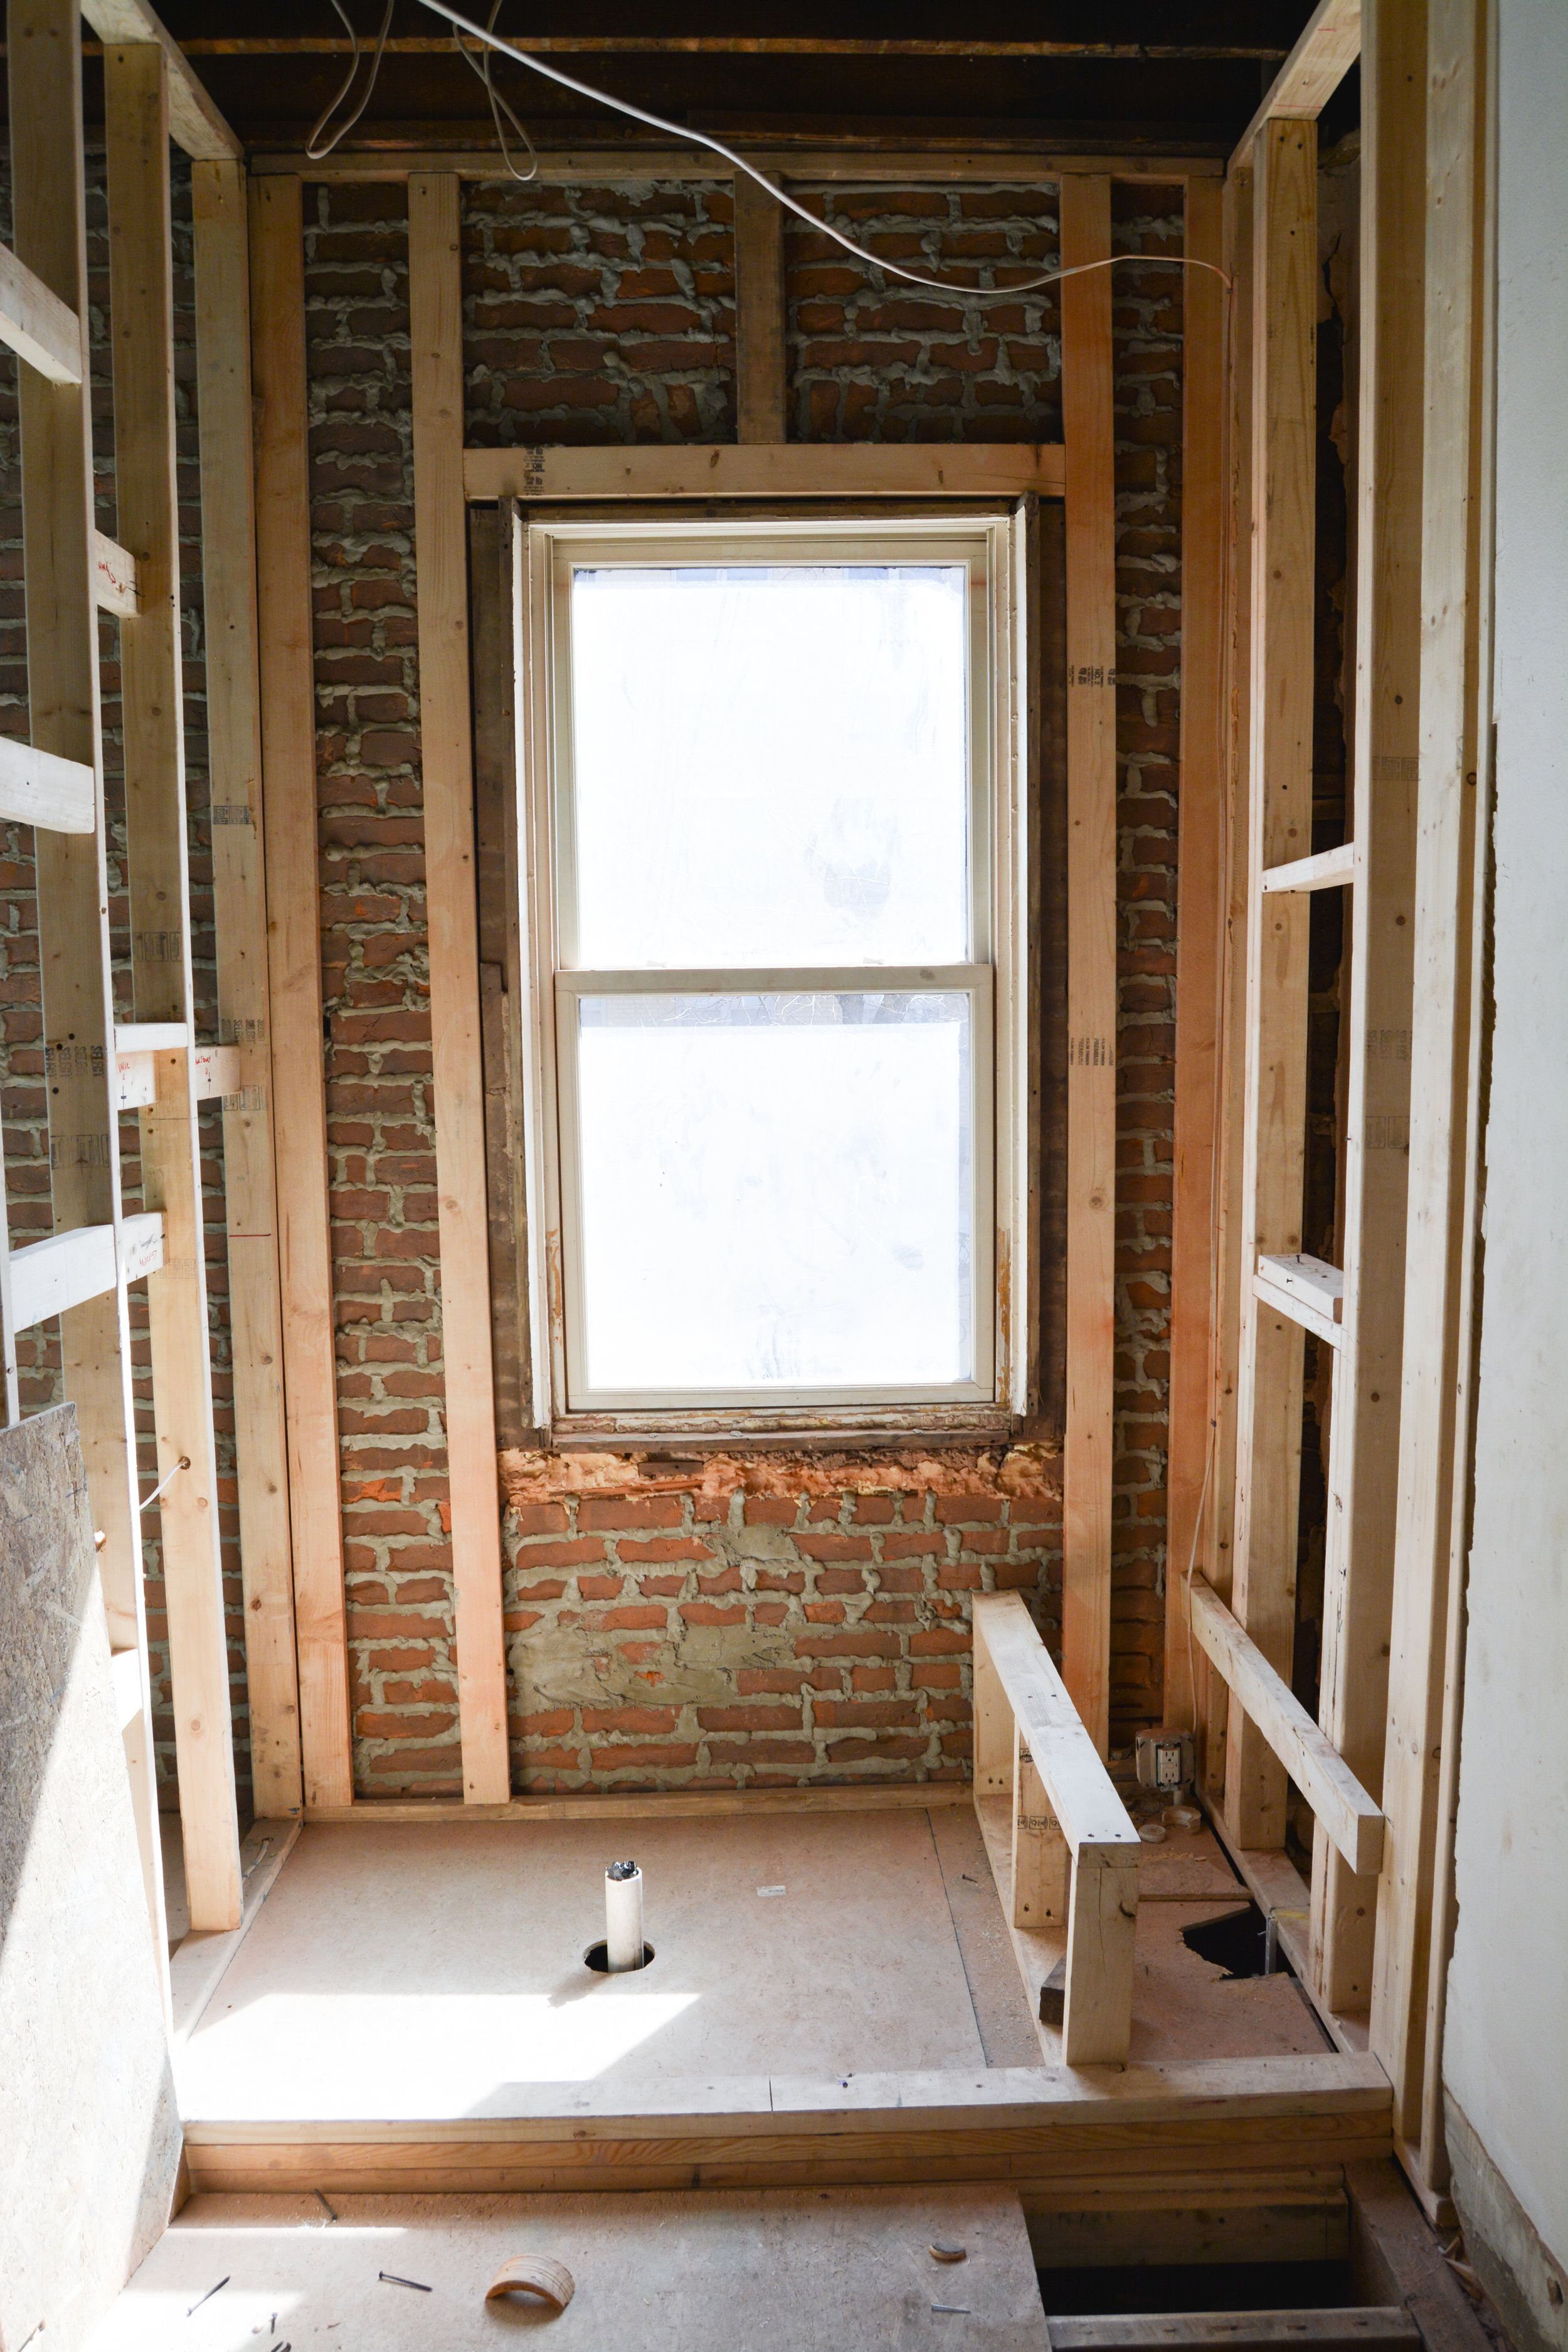
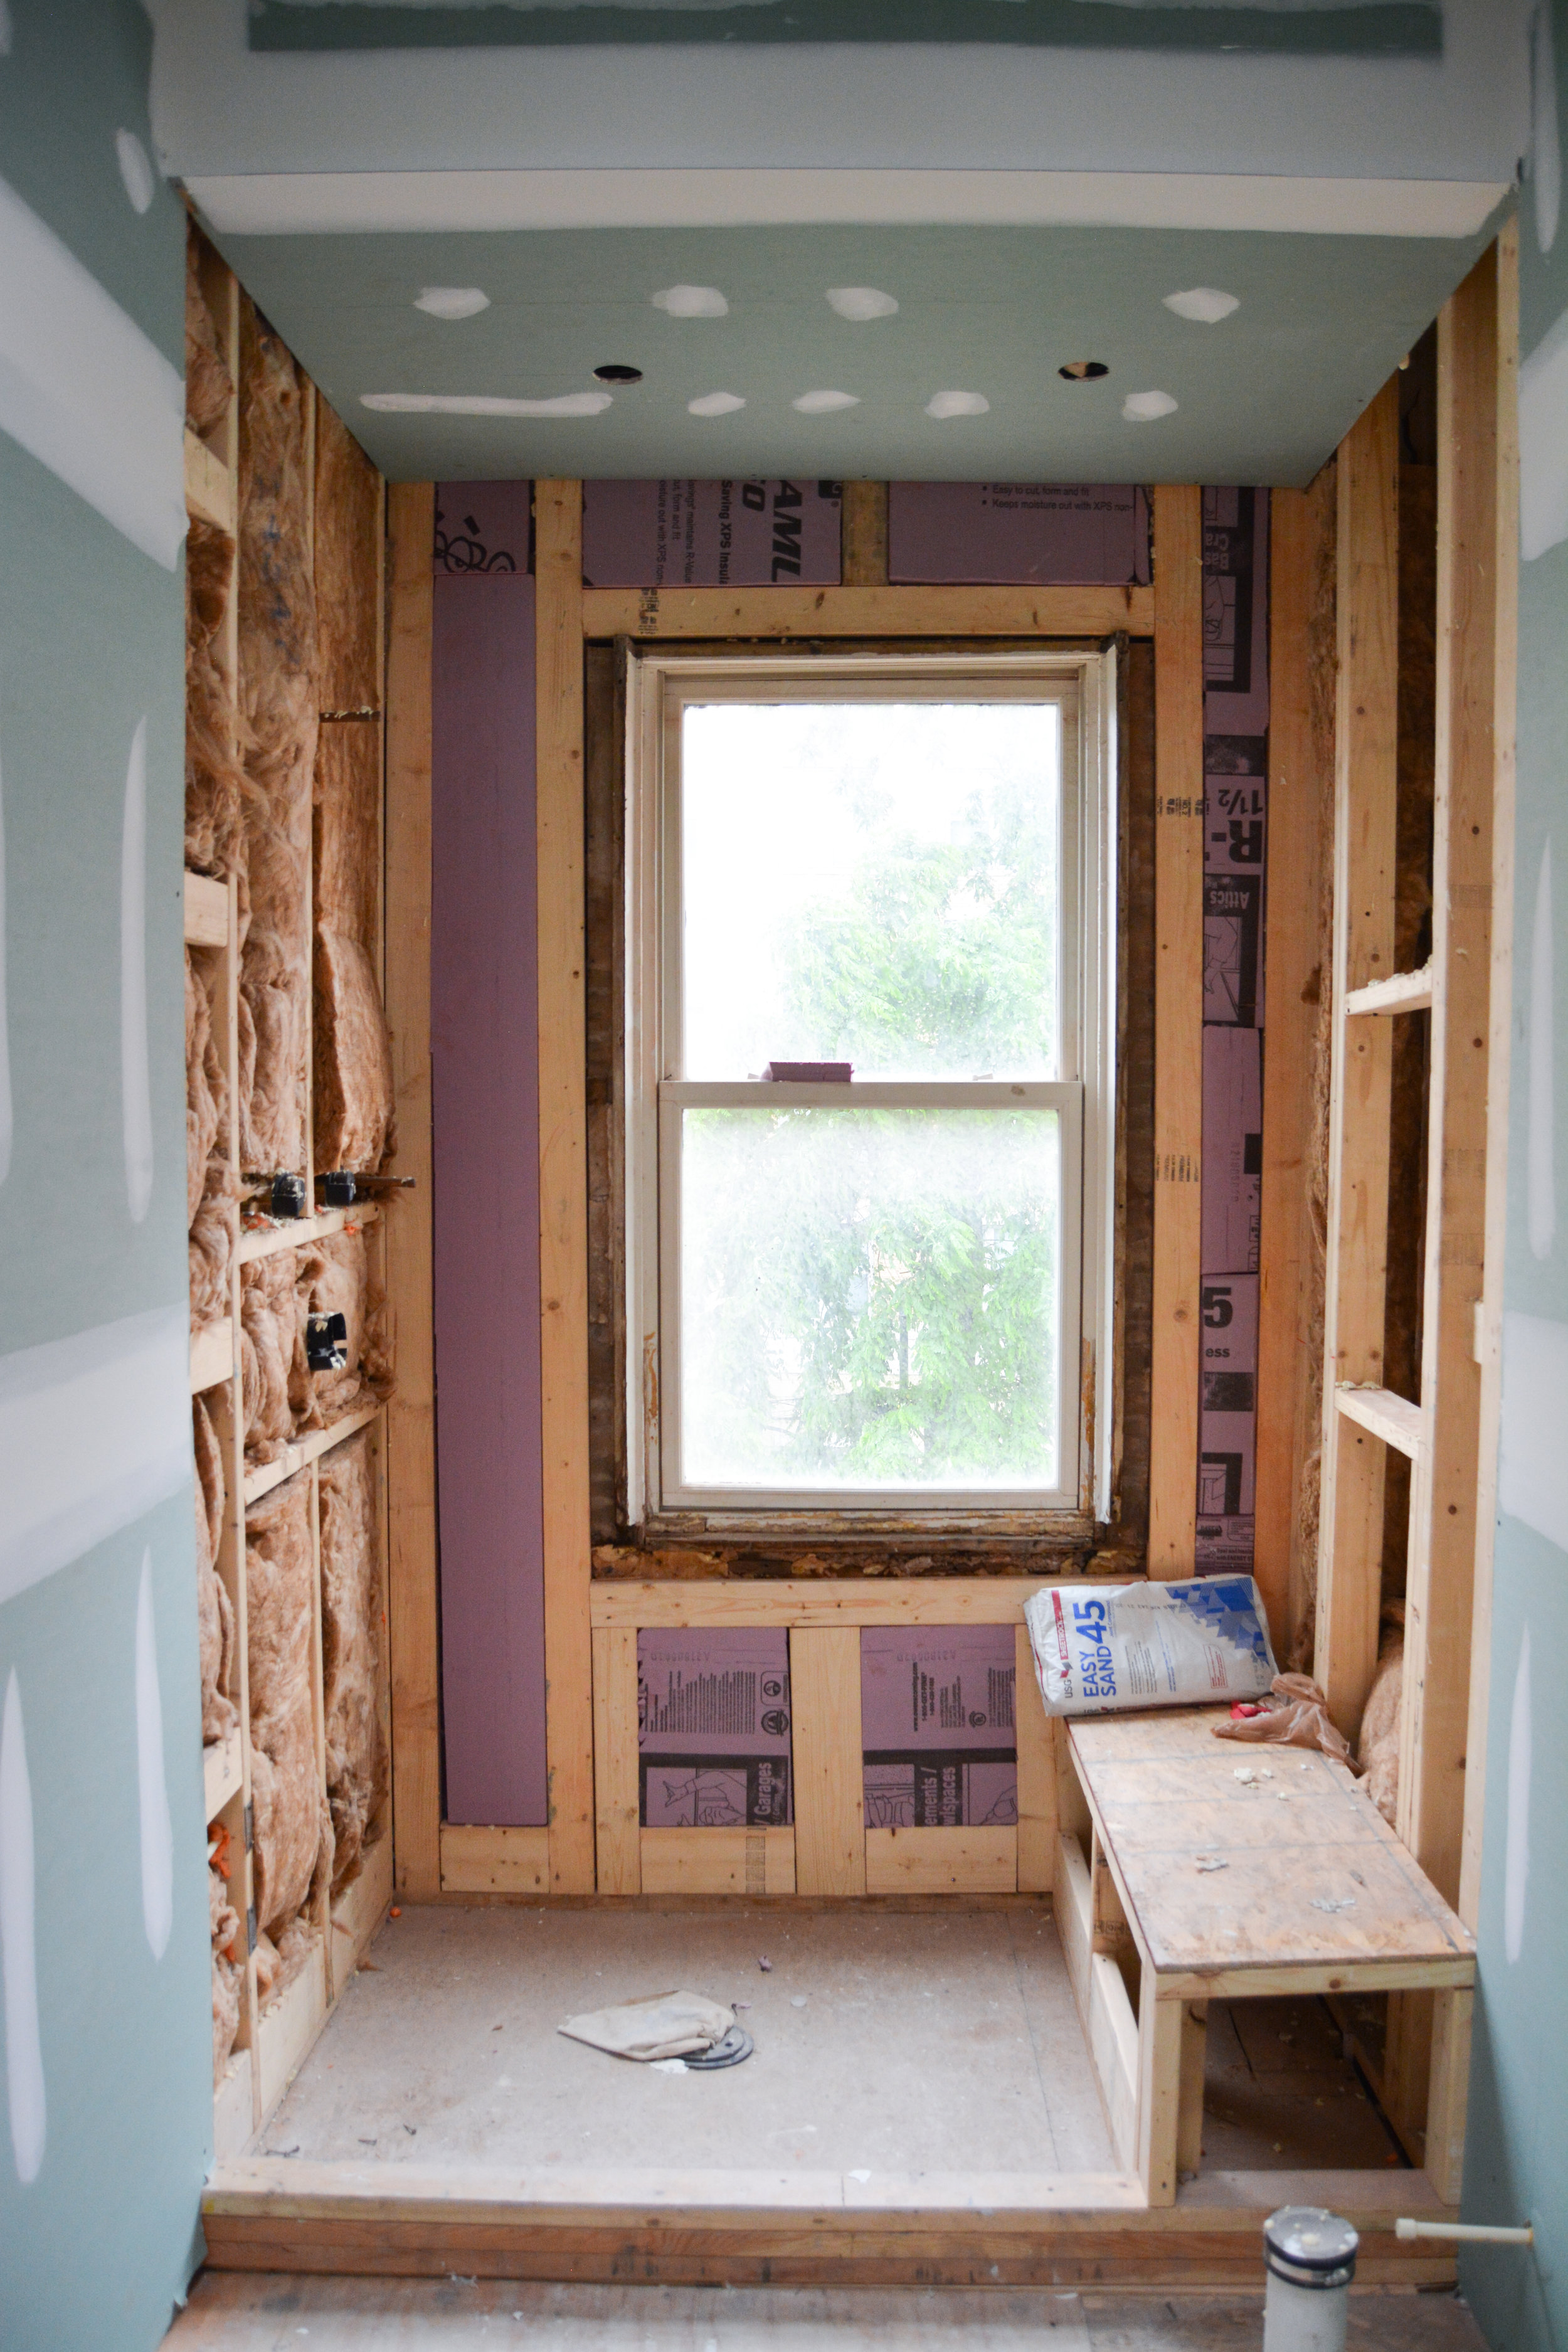
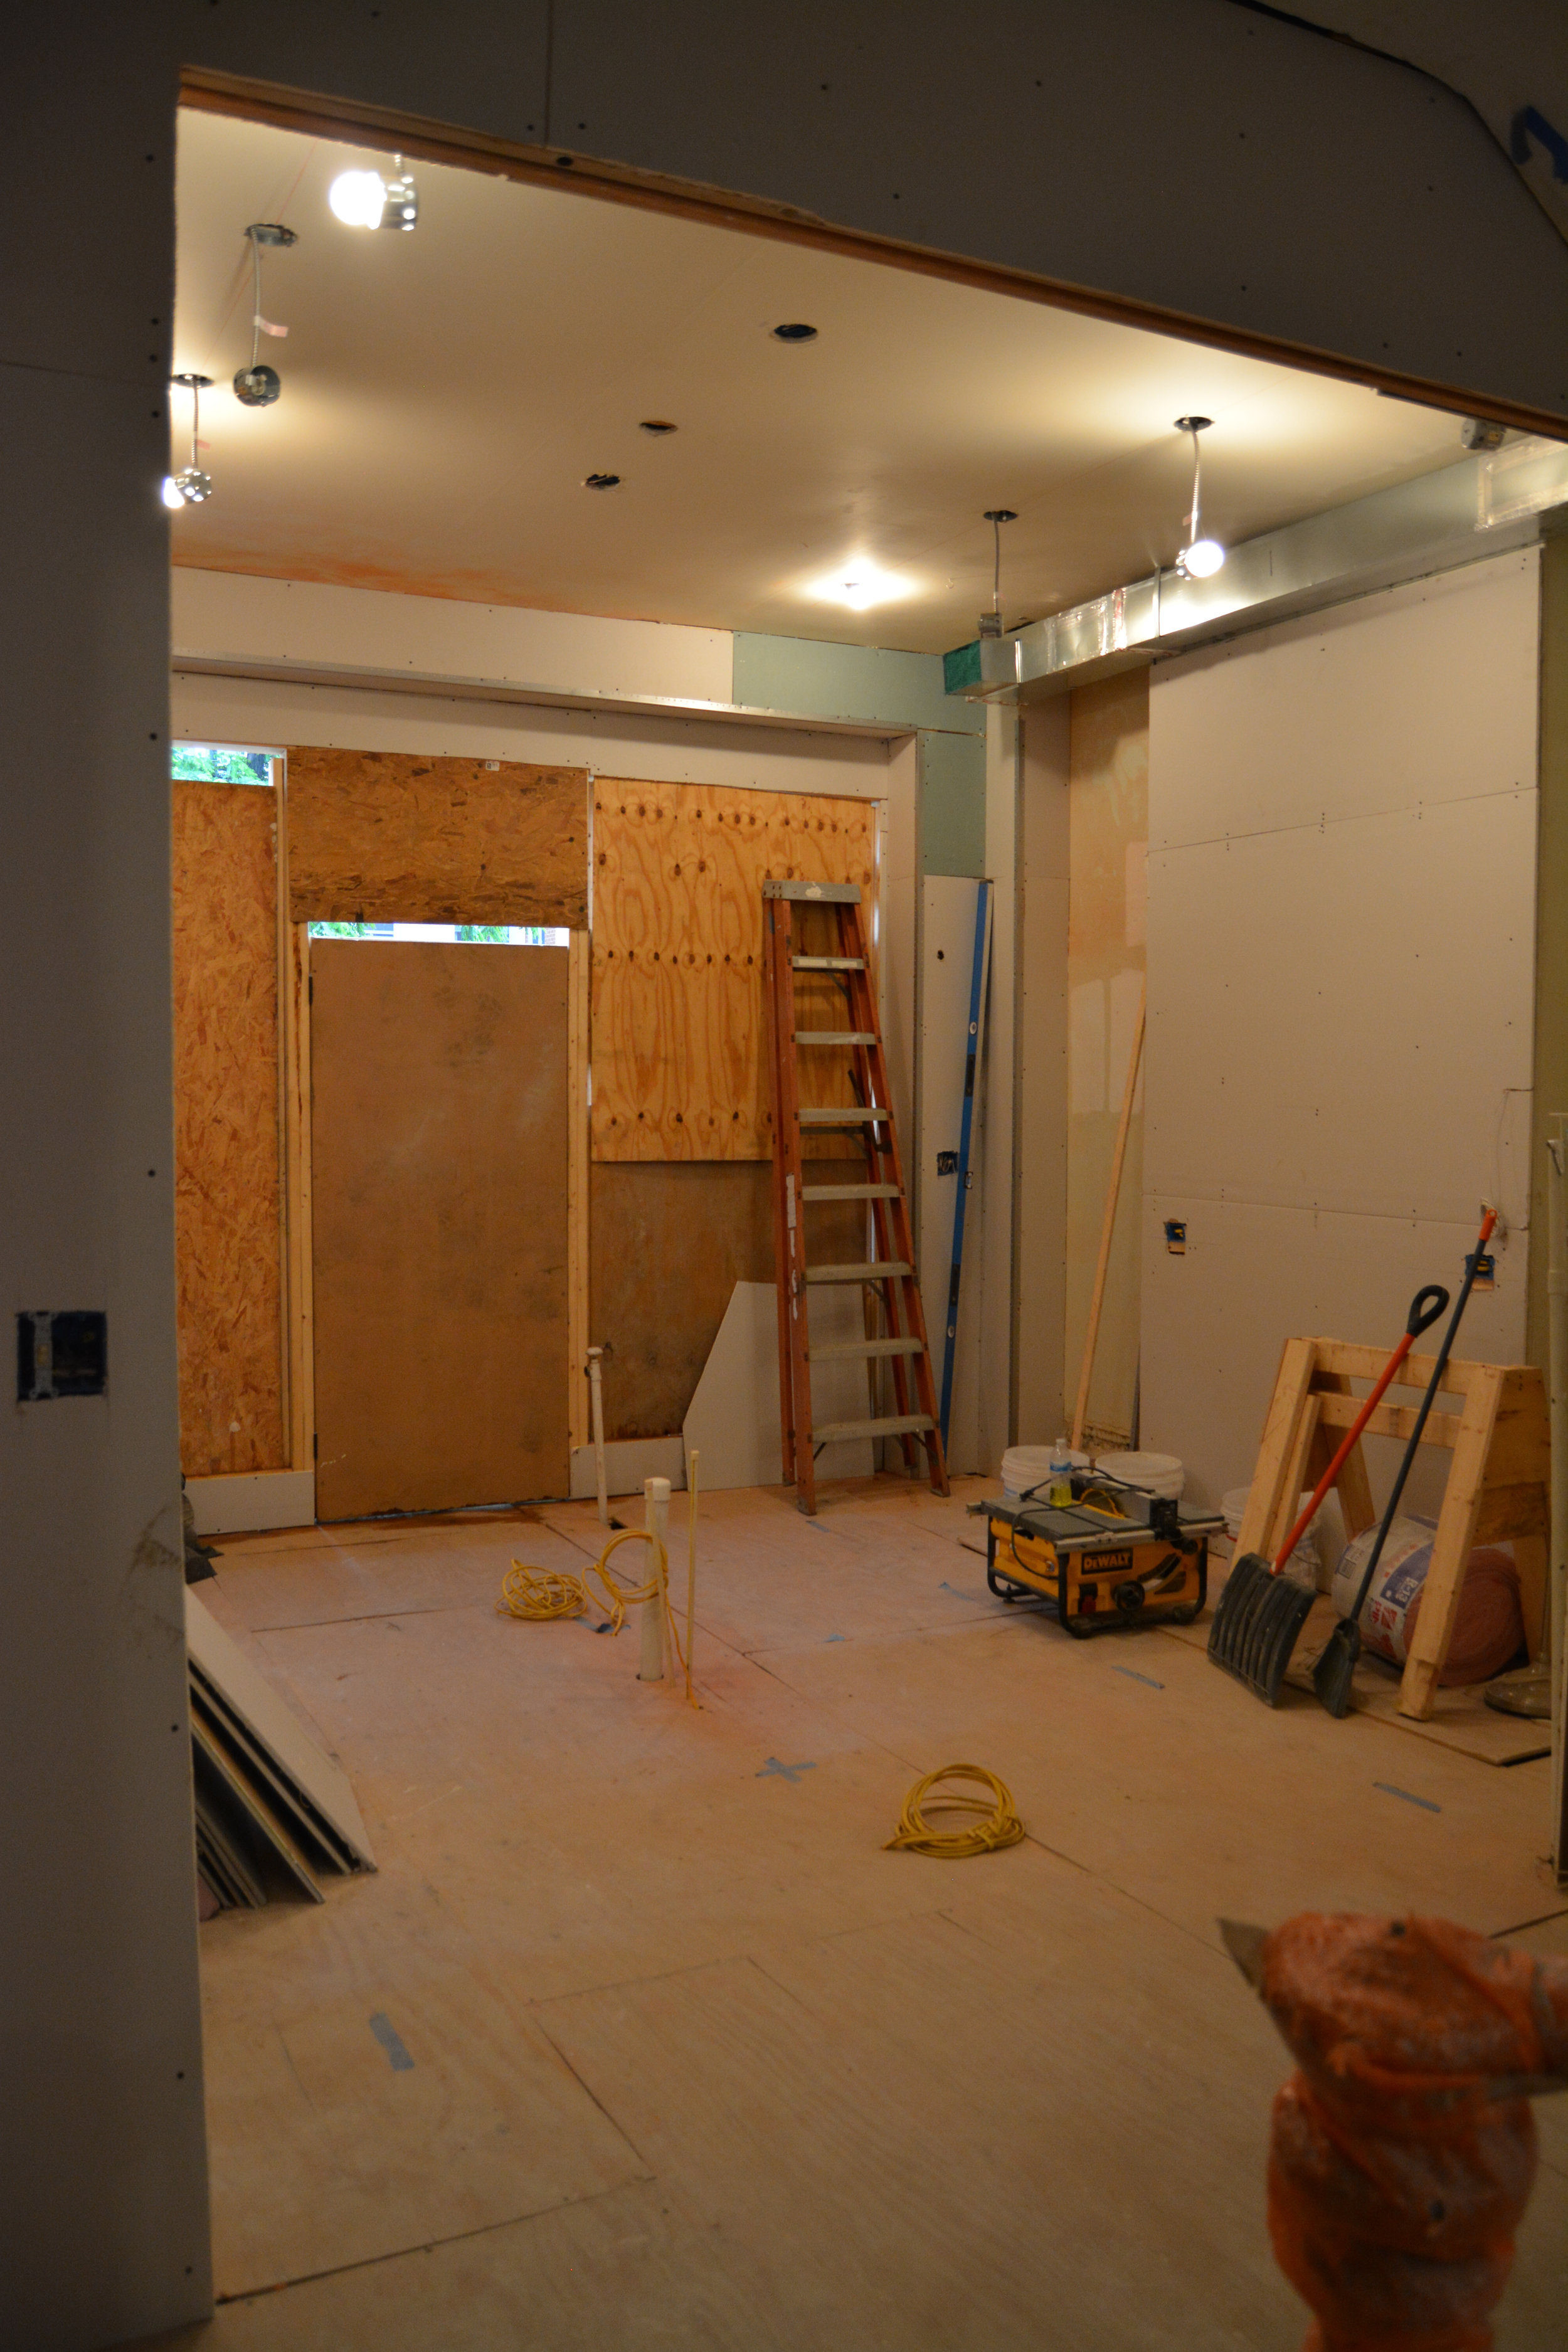
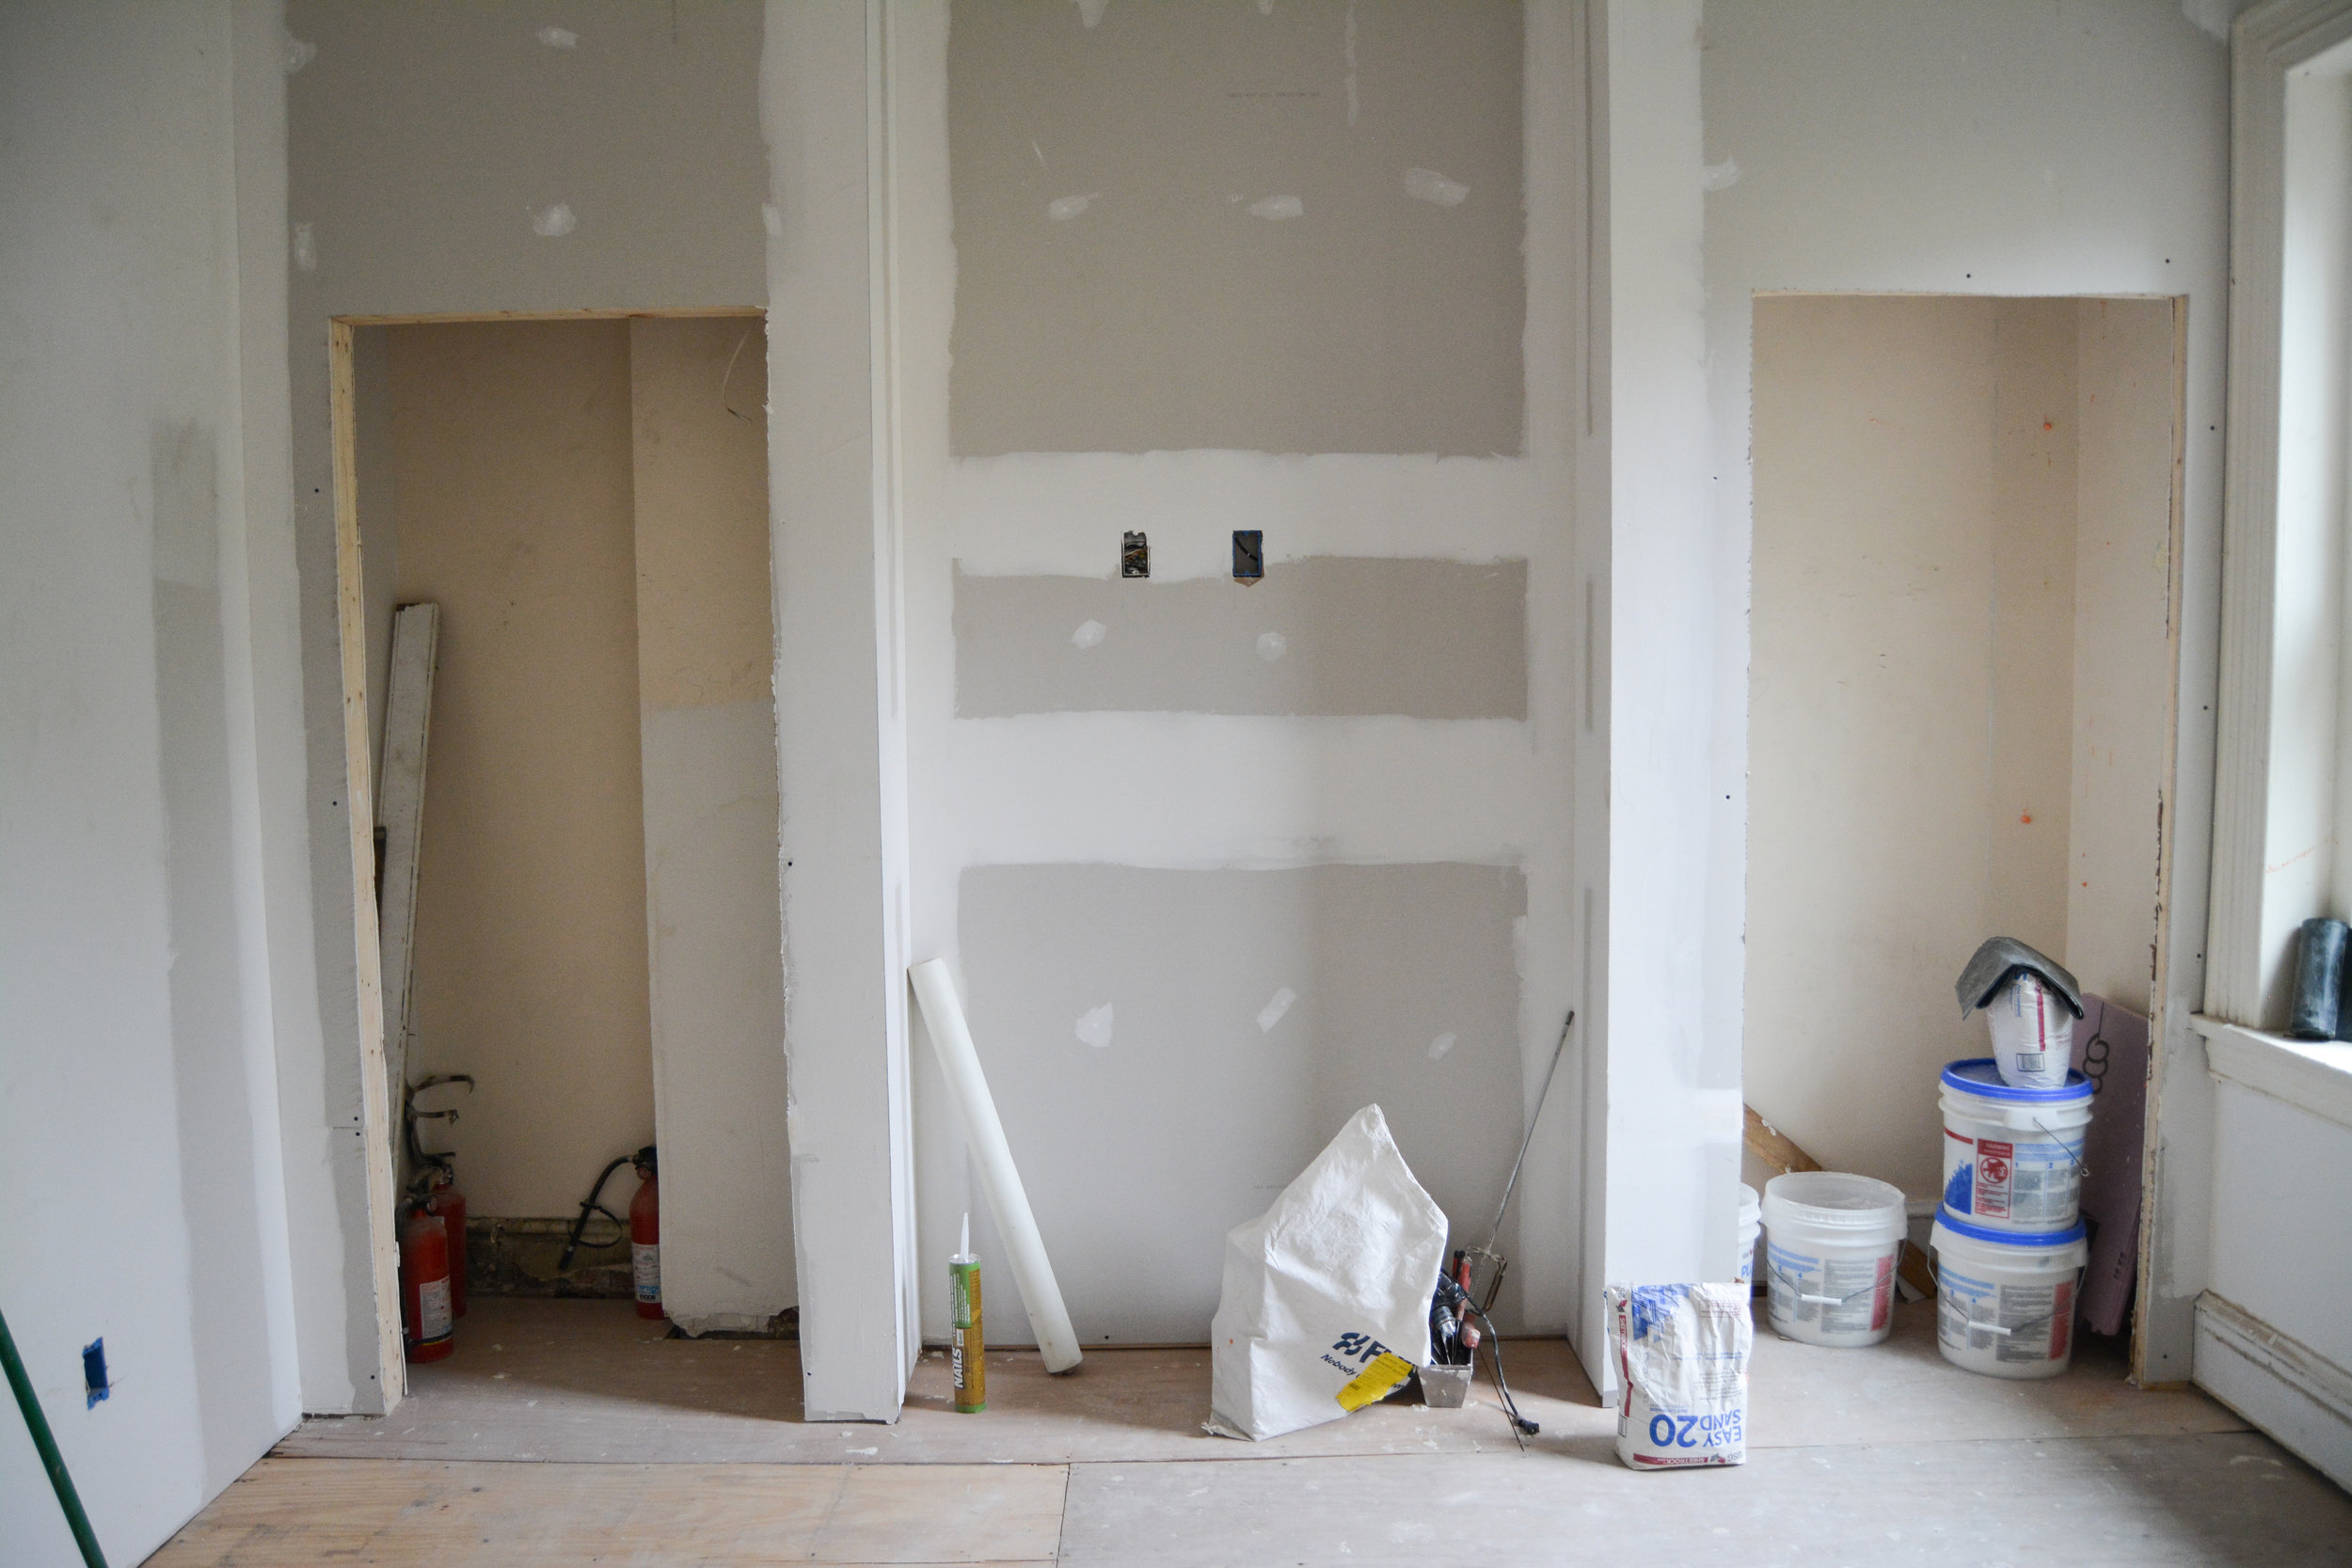
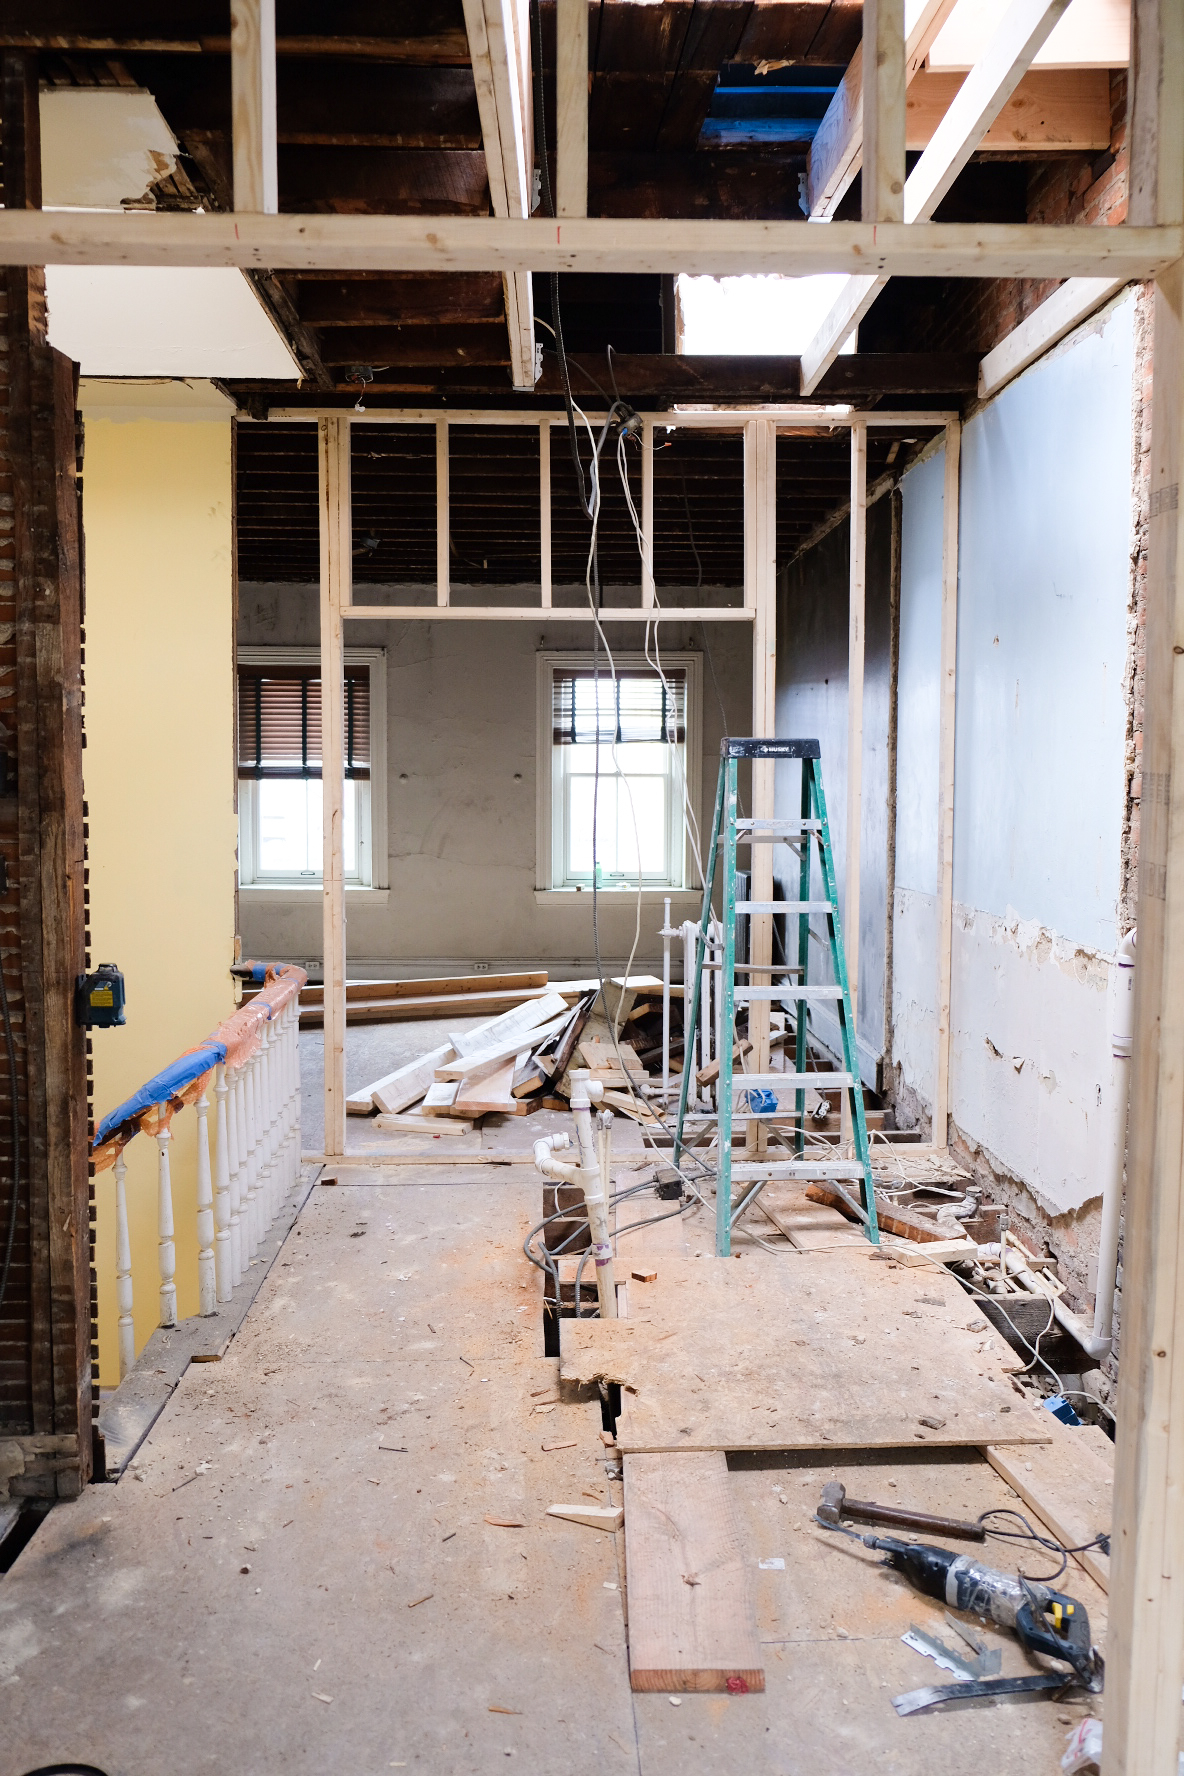
The plan is to update everything in the basement and add a laundry room. Unfortunately, when we pulled up the flooring we noticed that there were some wet spots in the floor and our plumber suspected that there was a crushed pipe under the cement. 

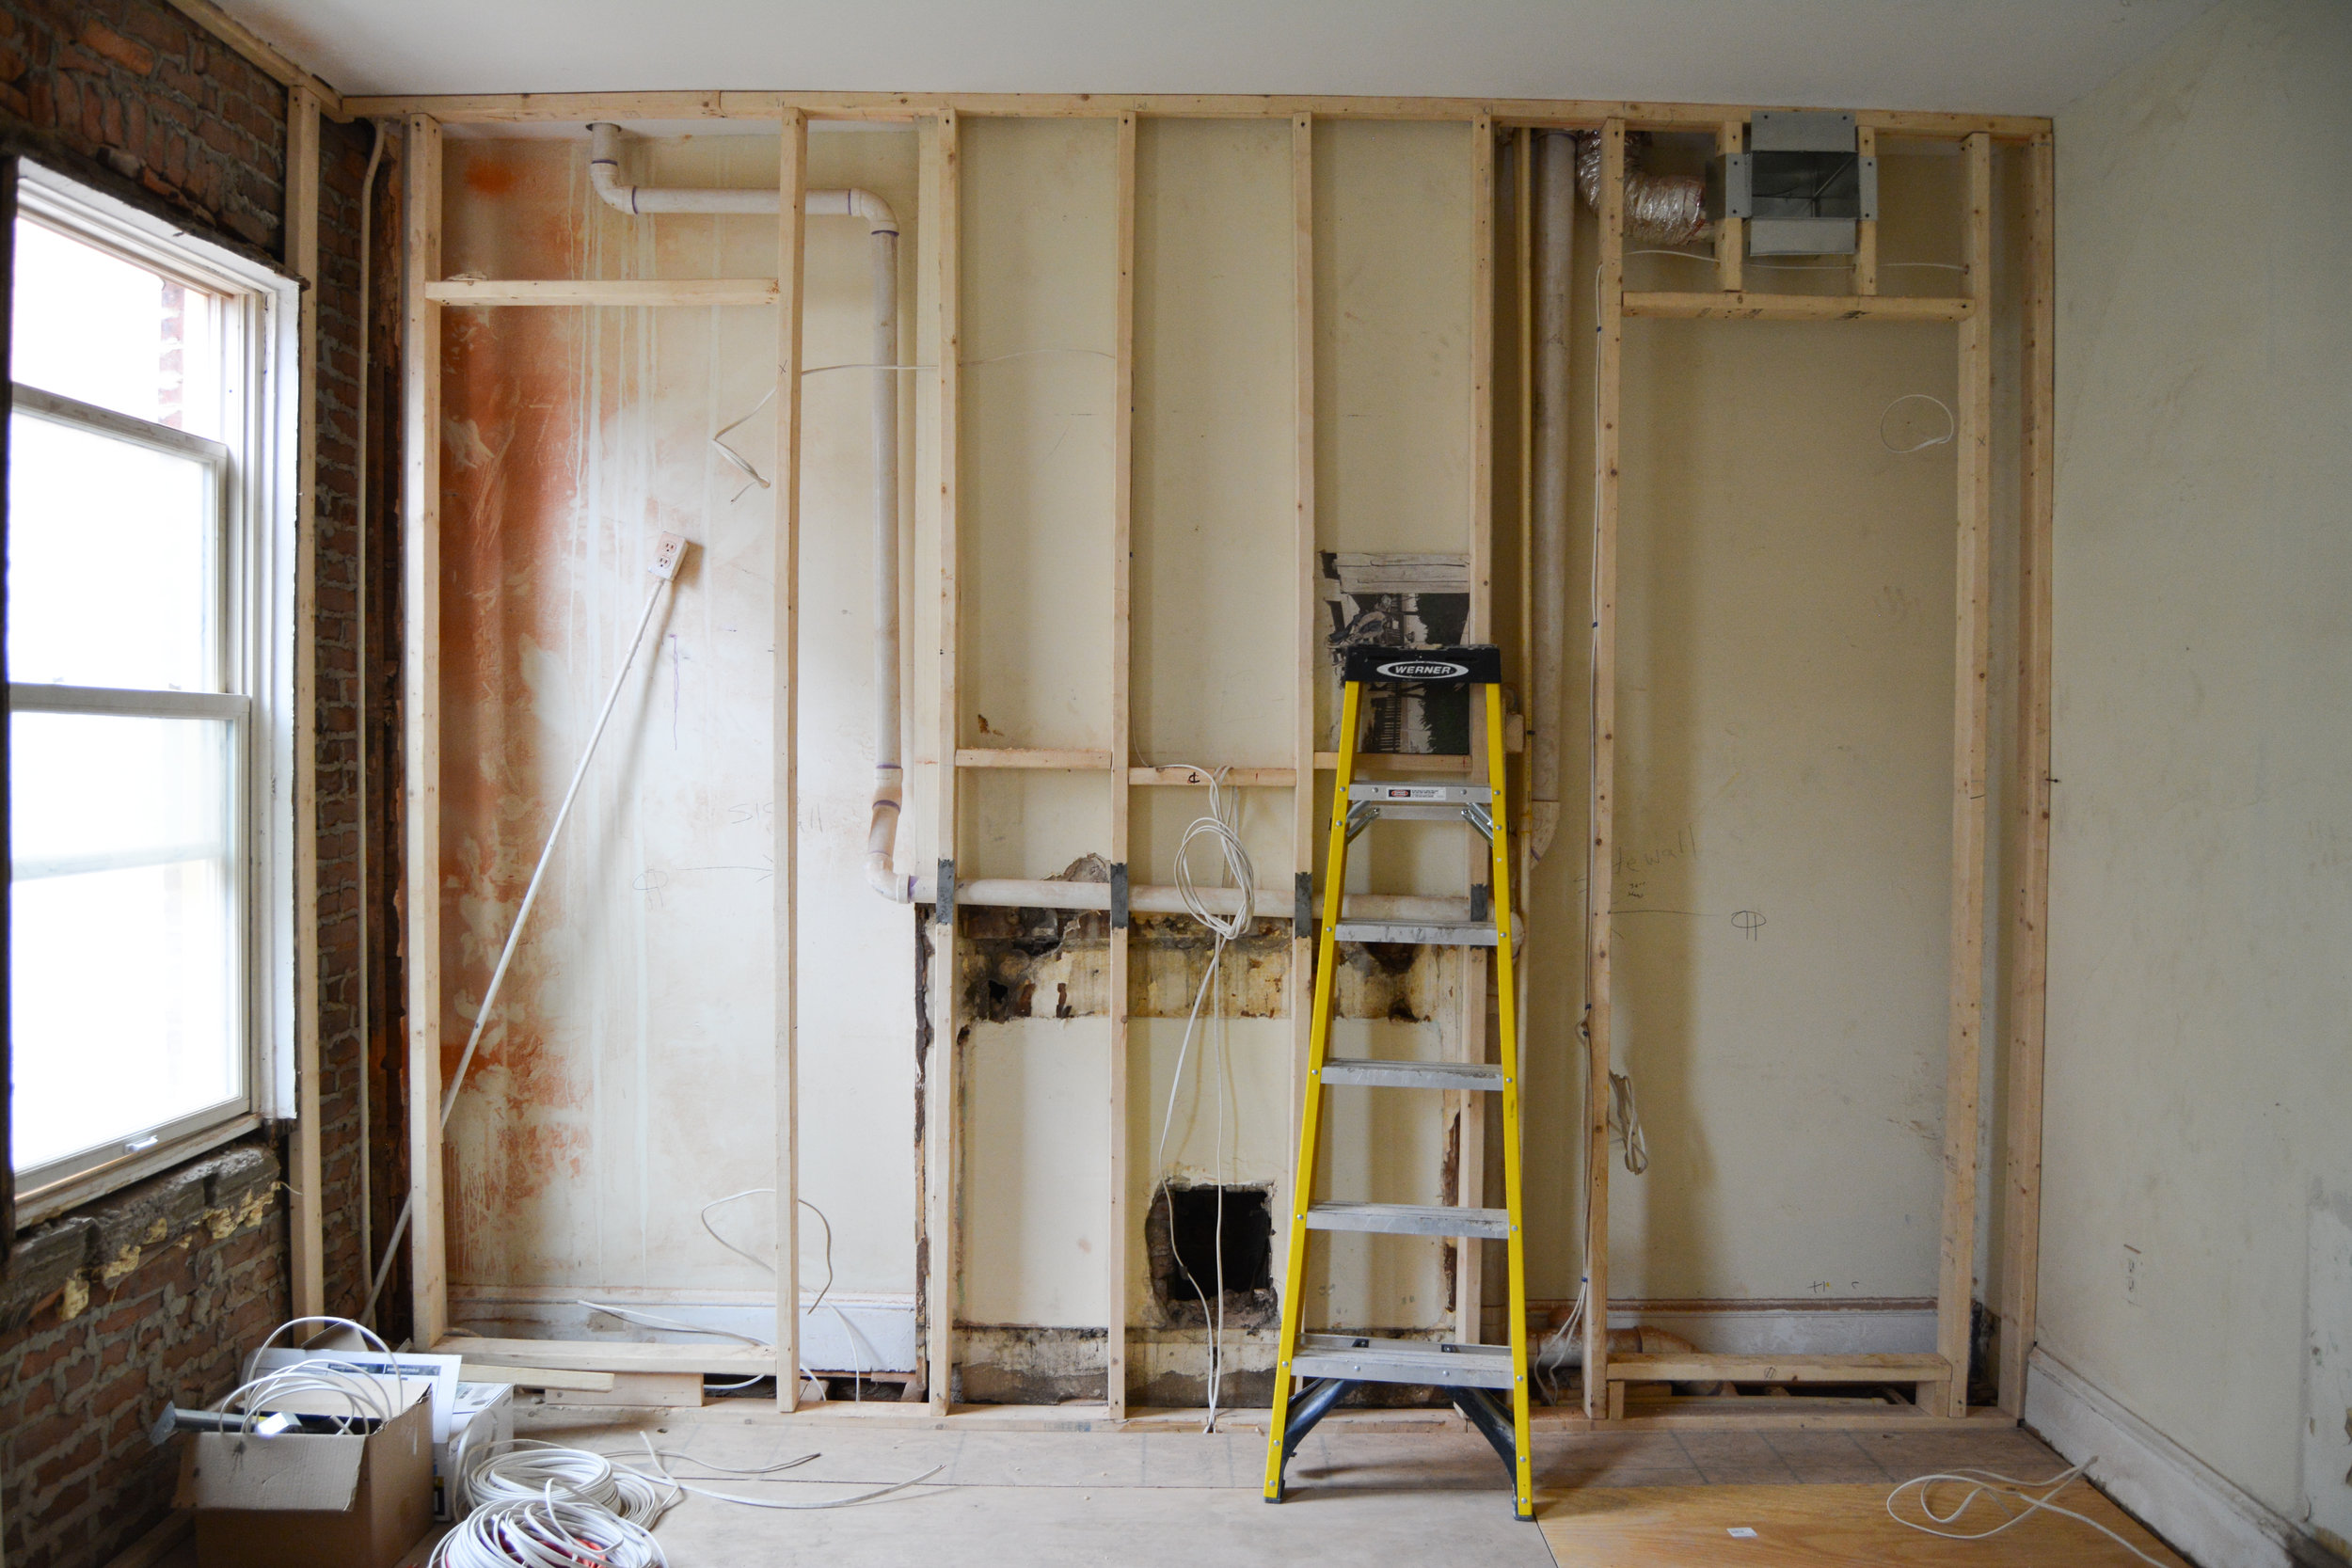
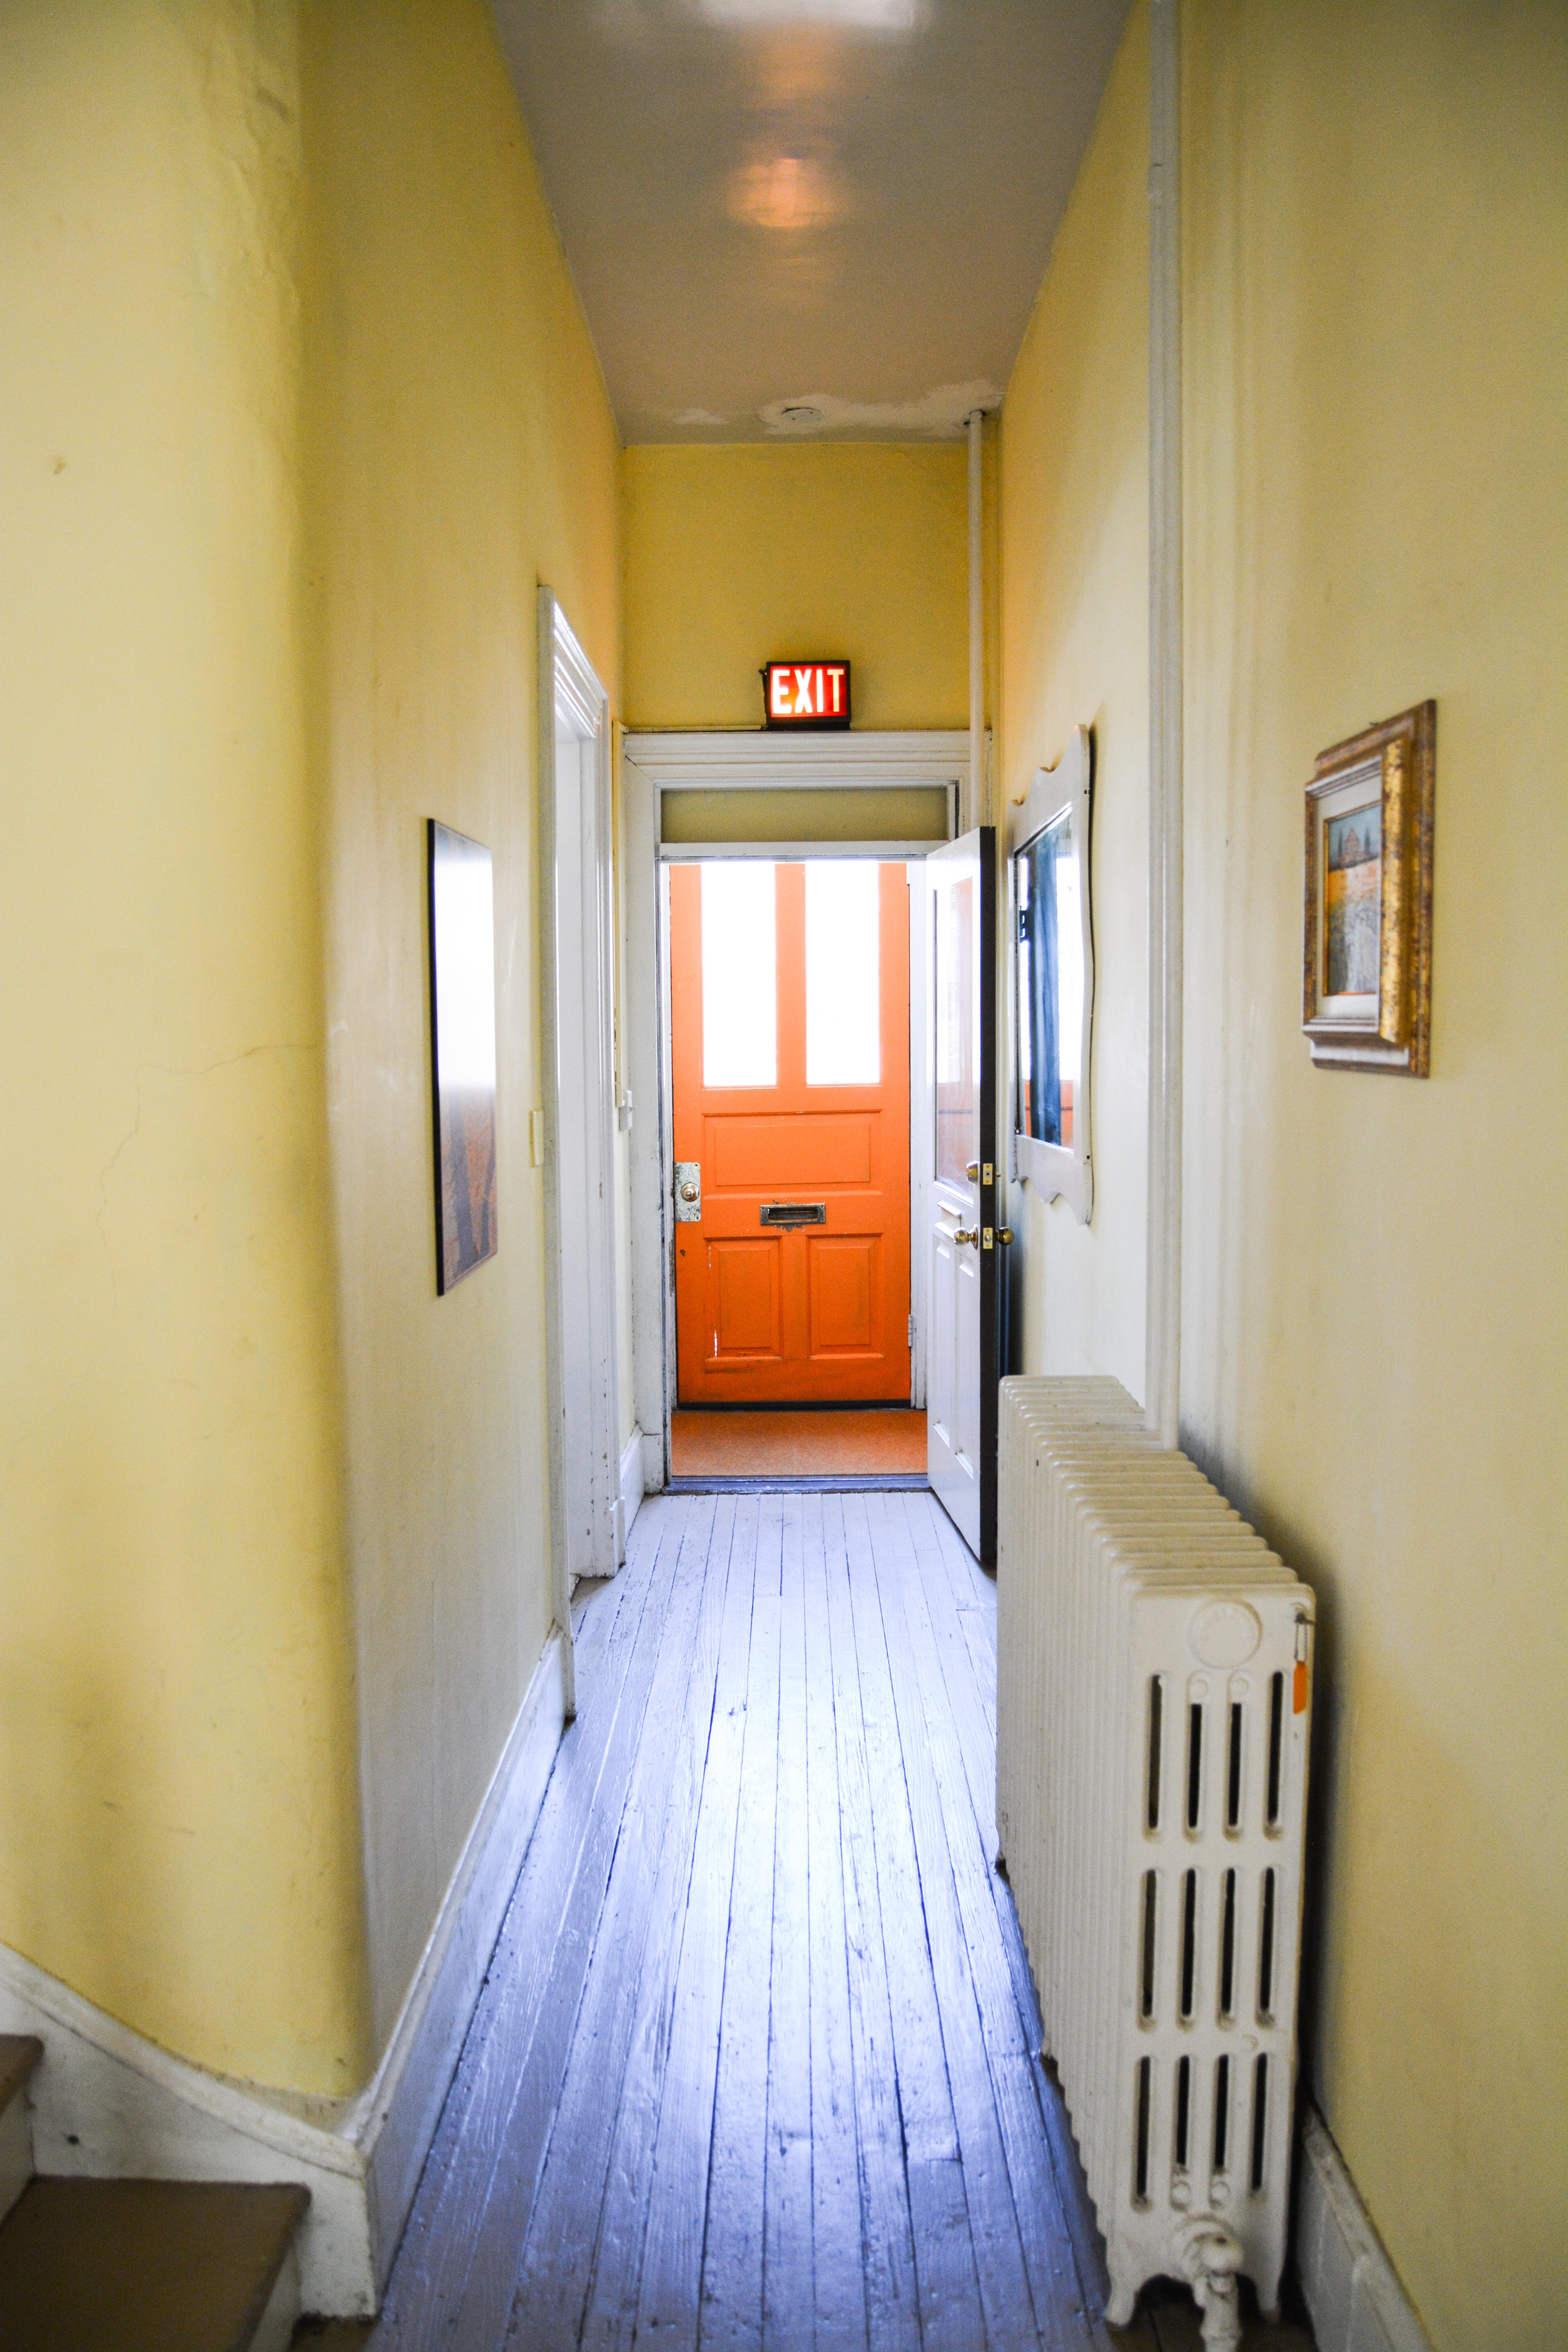
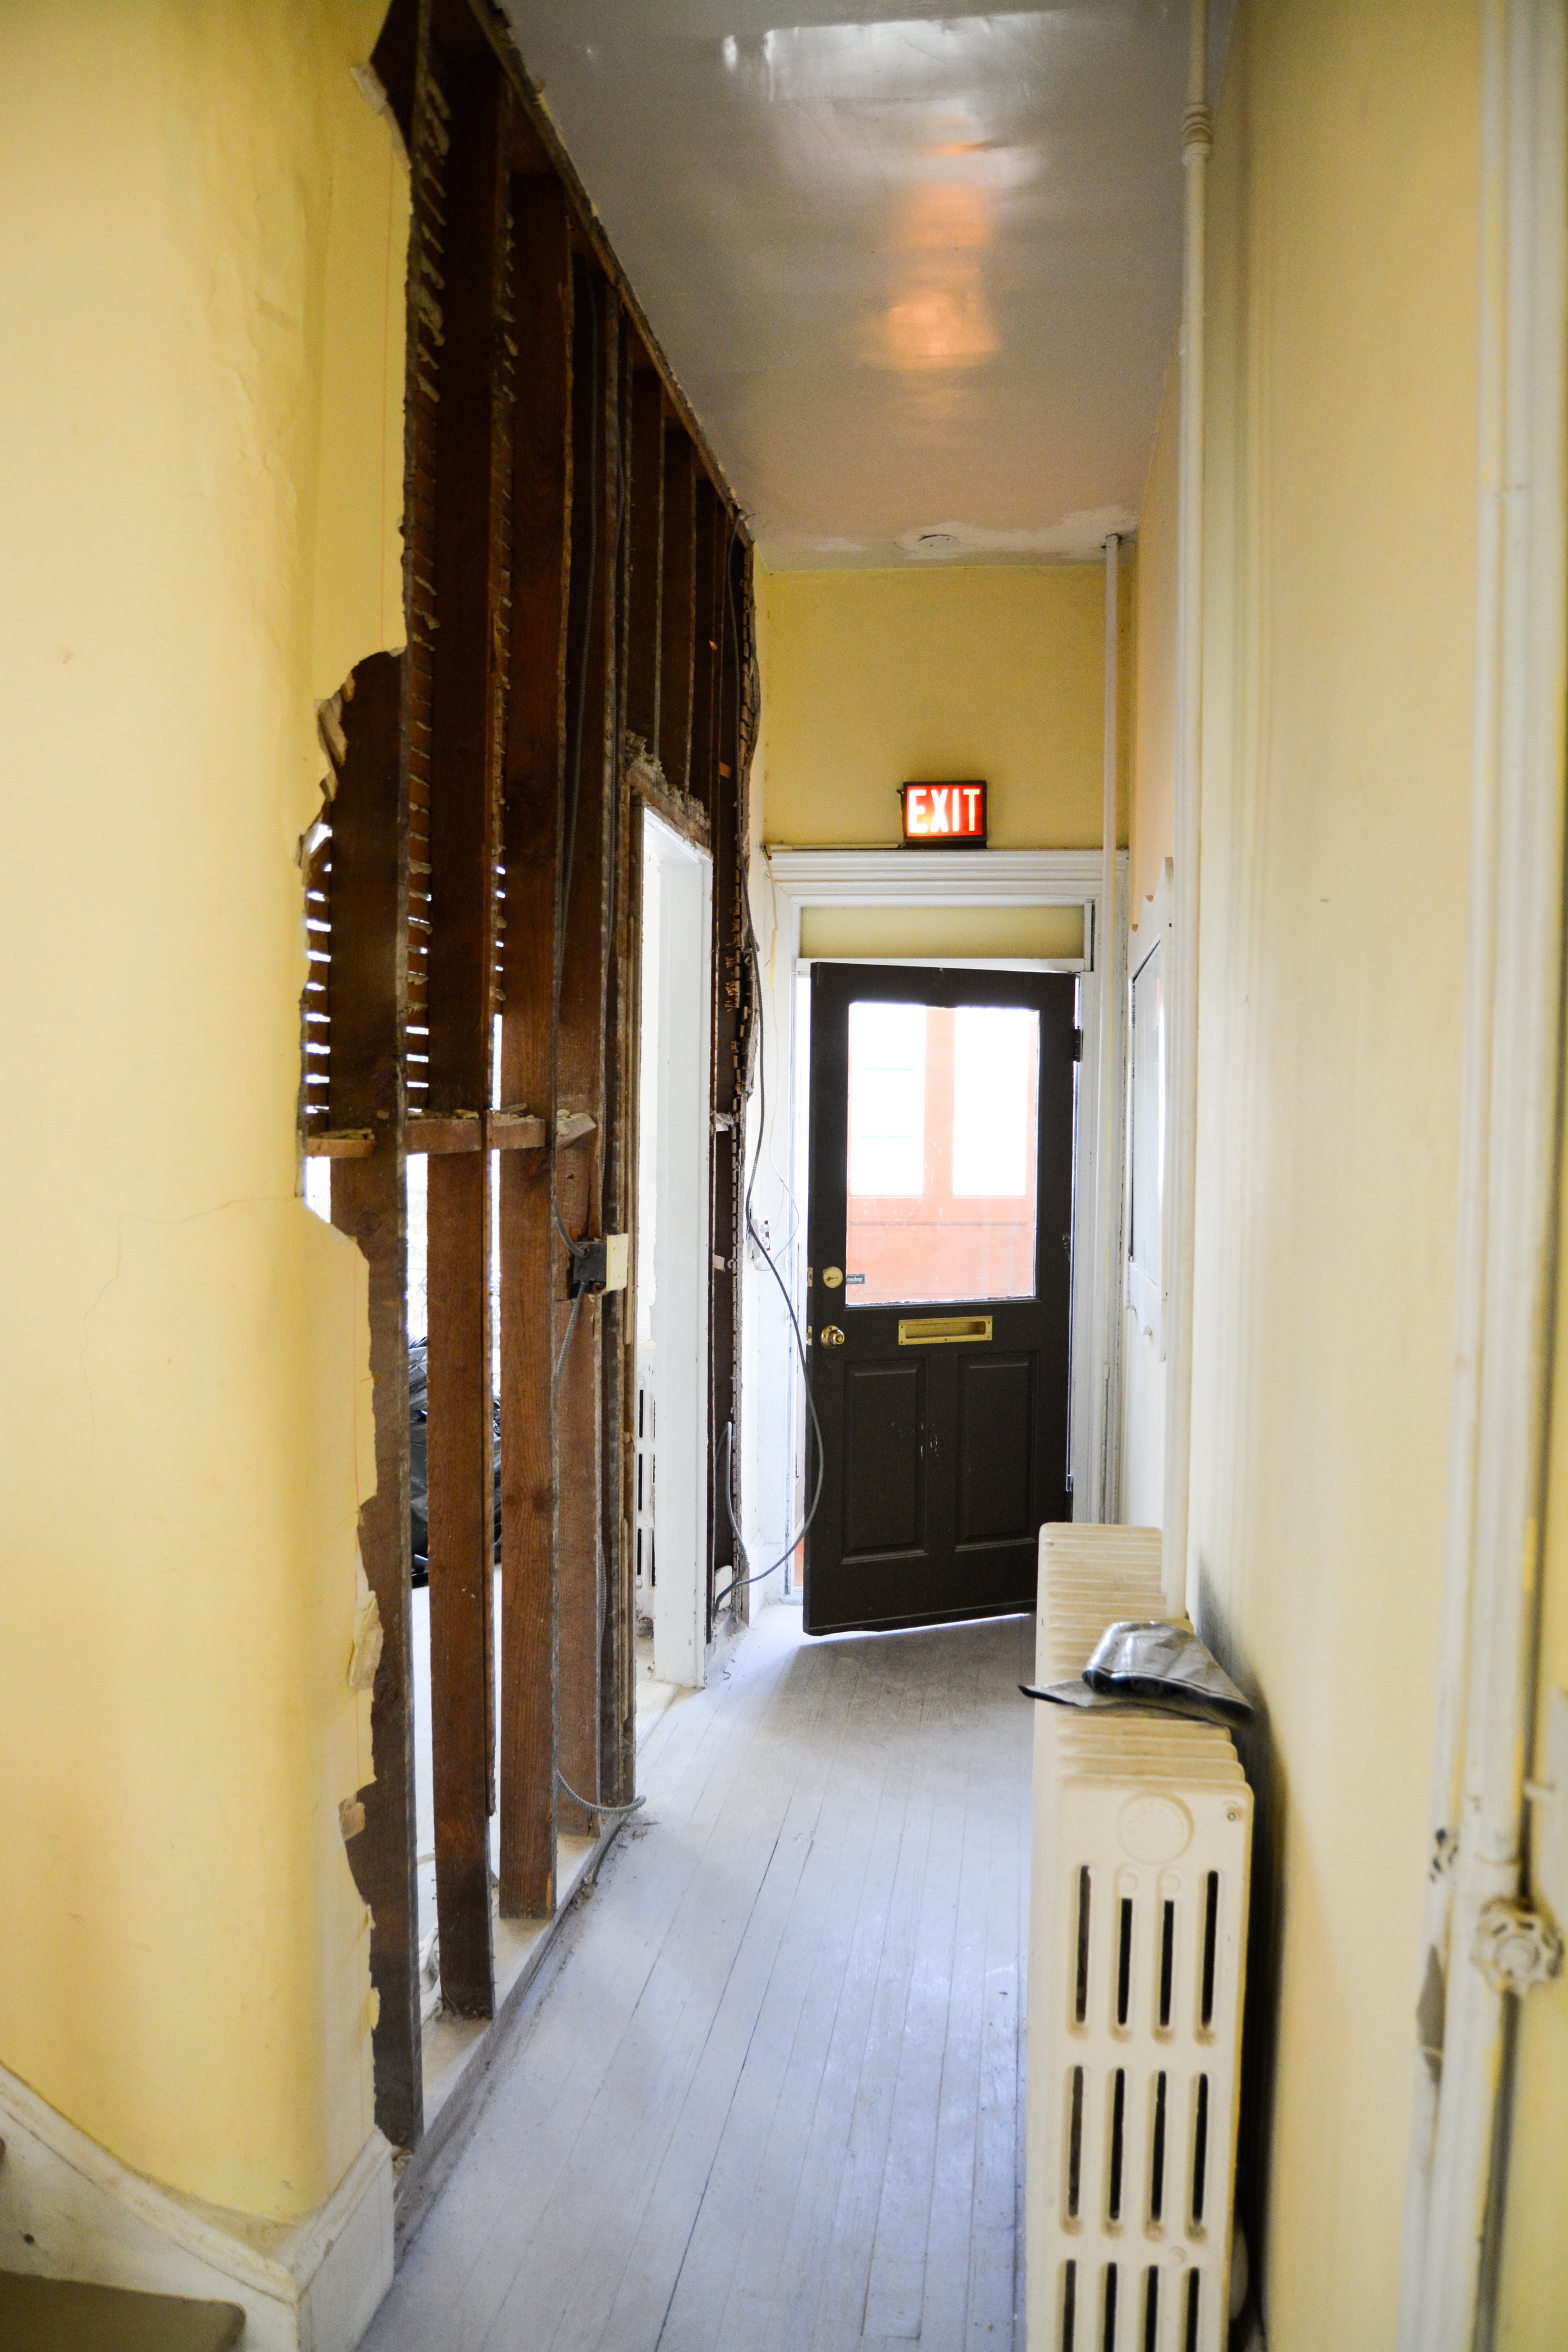
Here is what the basement looked like before the reno: 

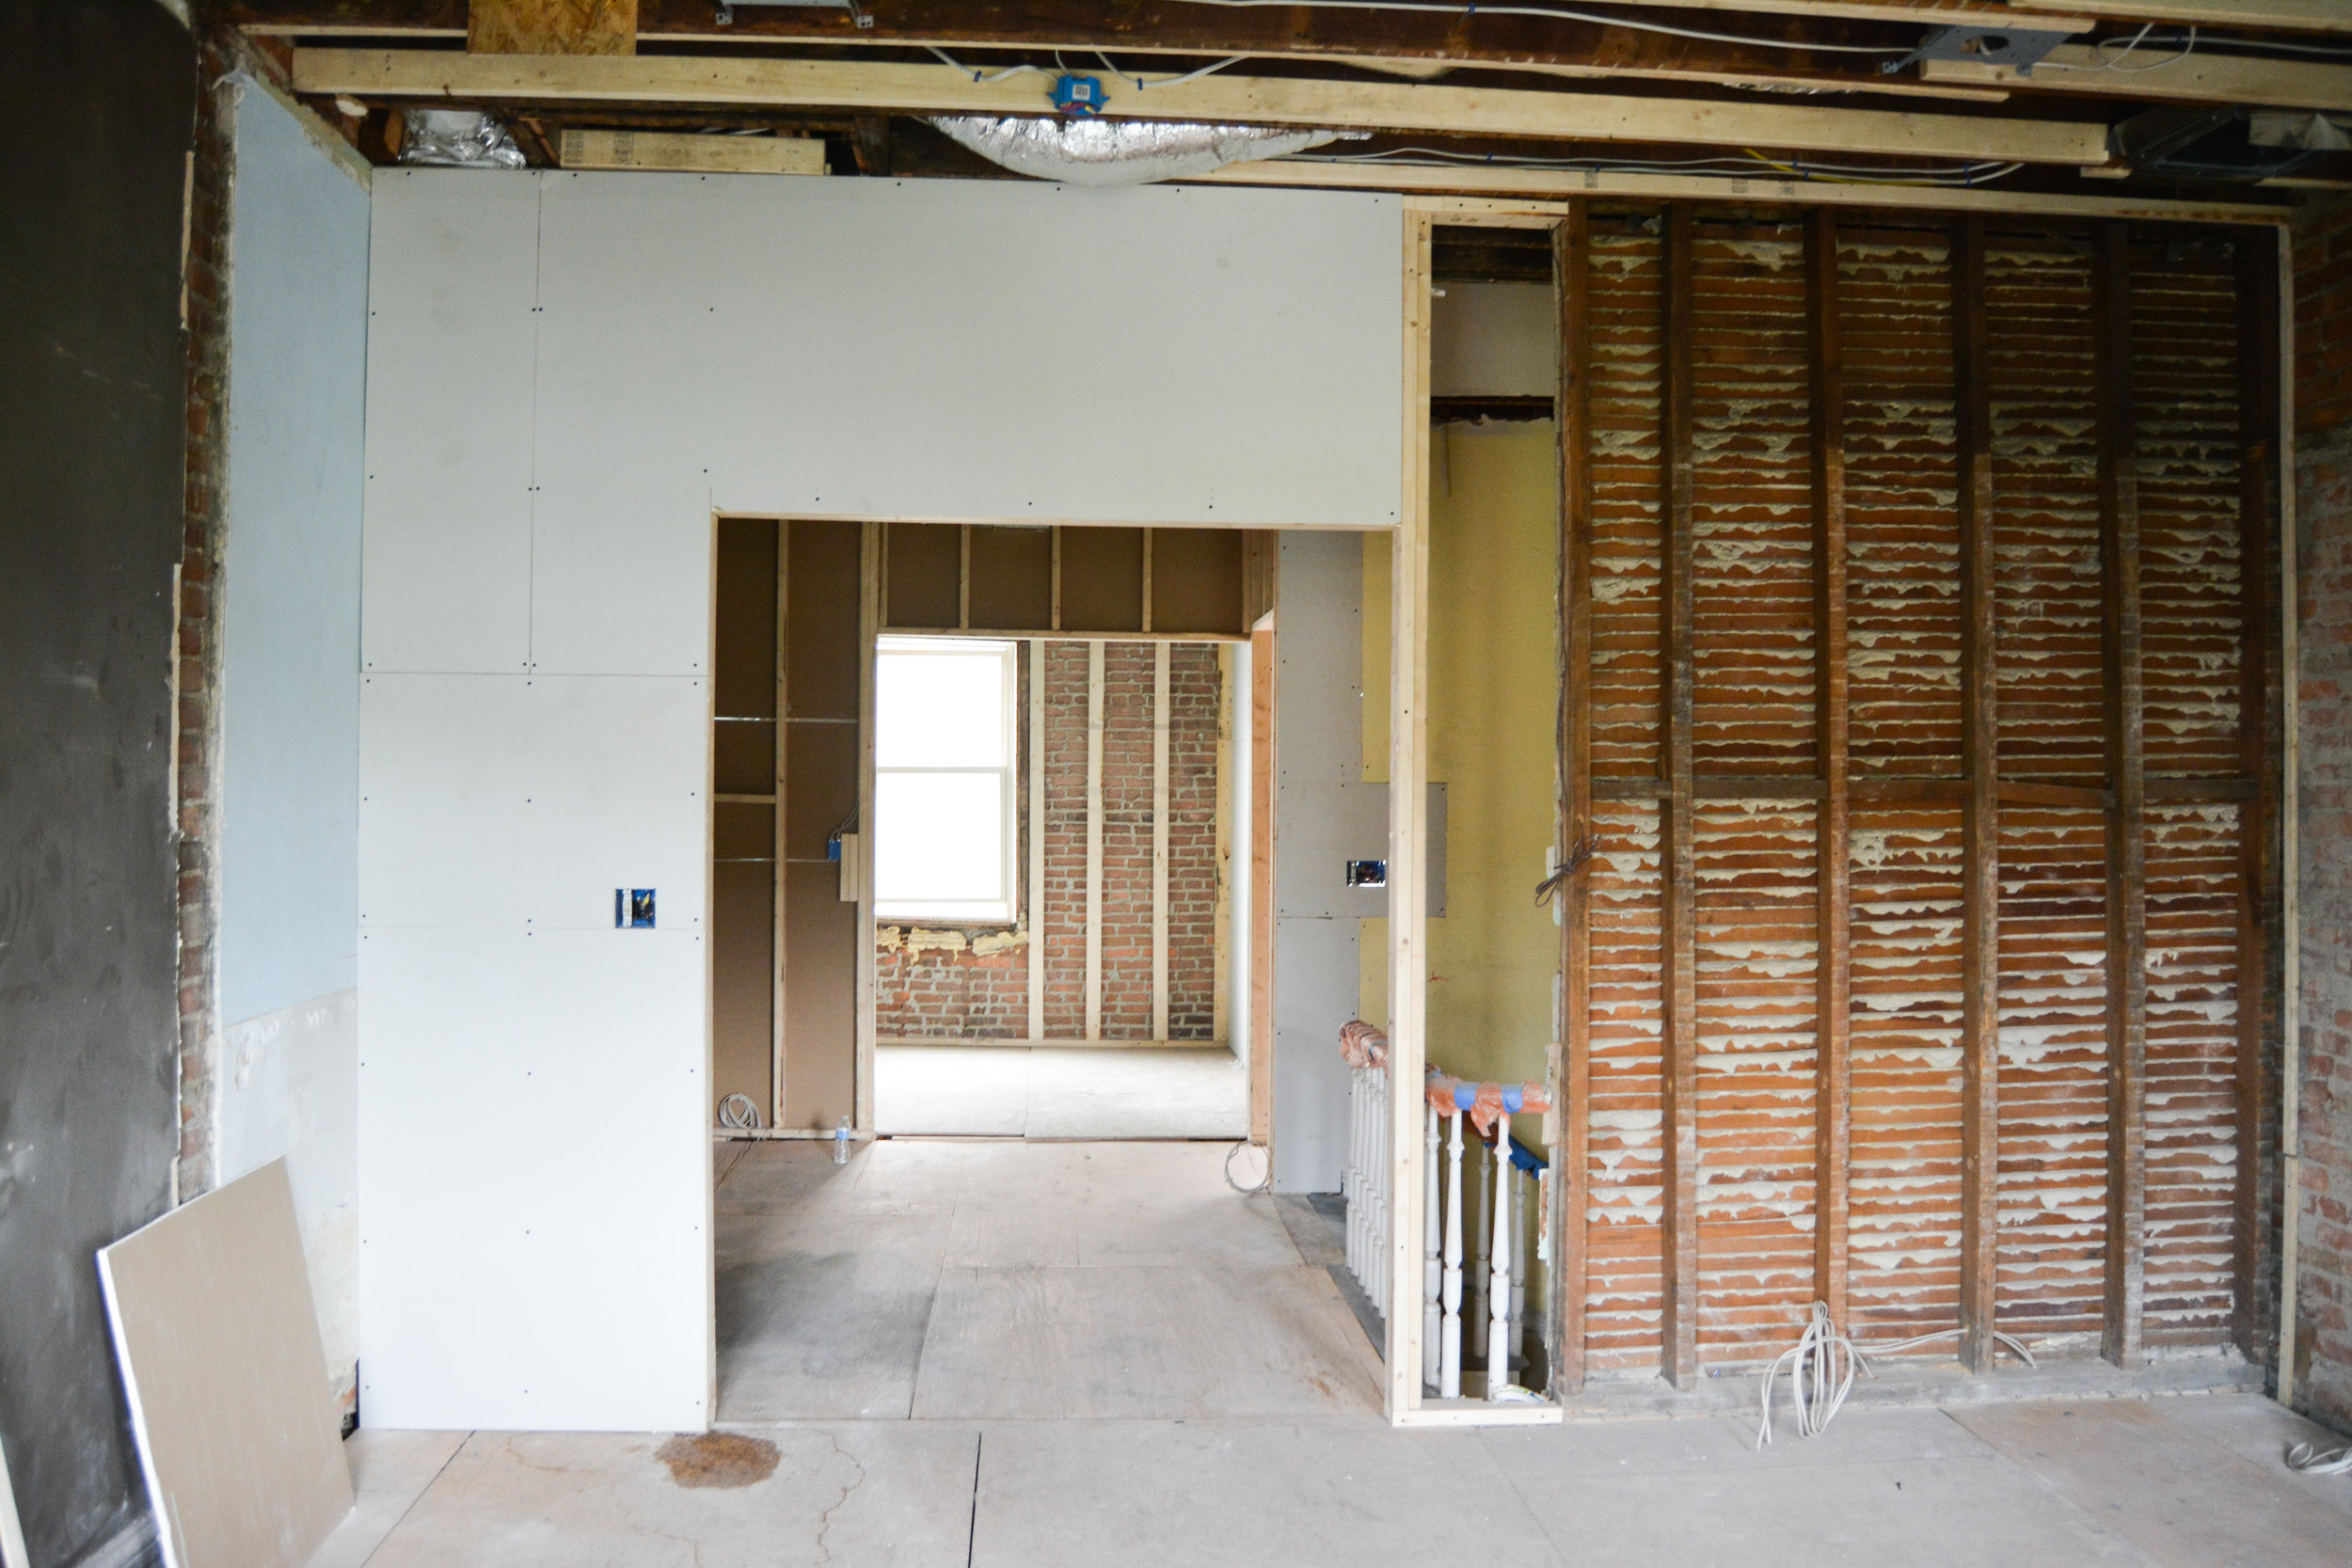
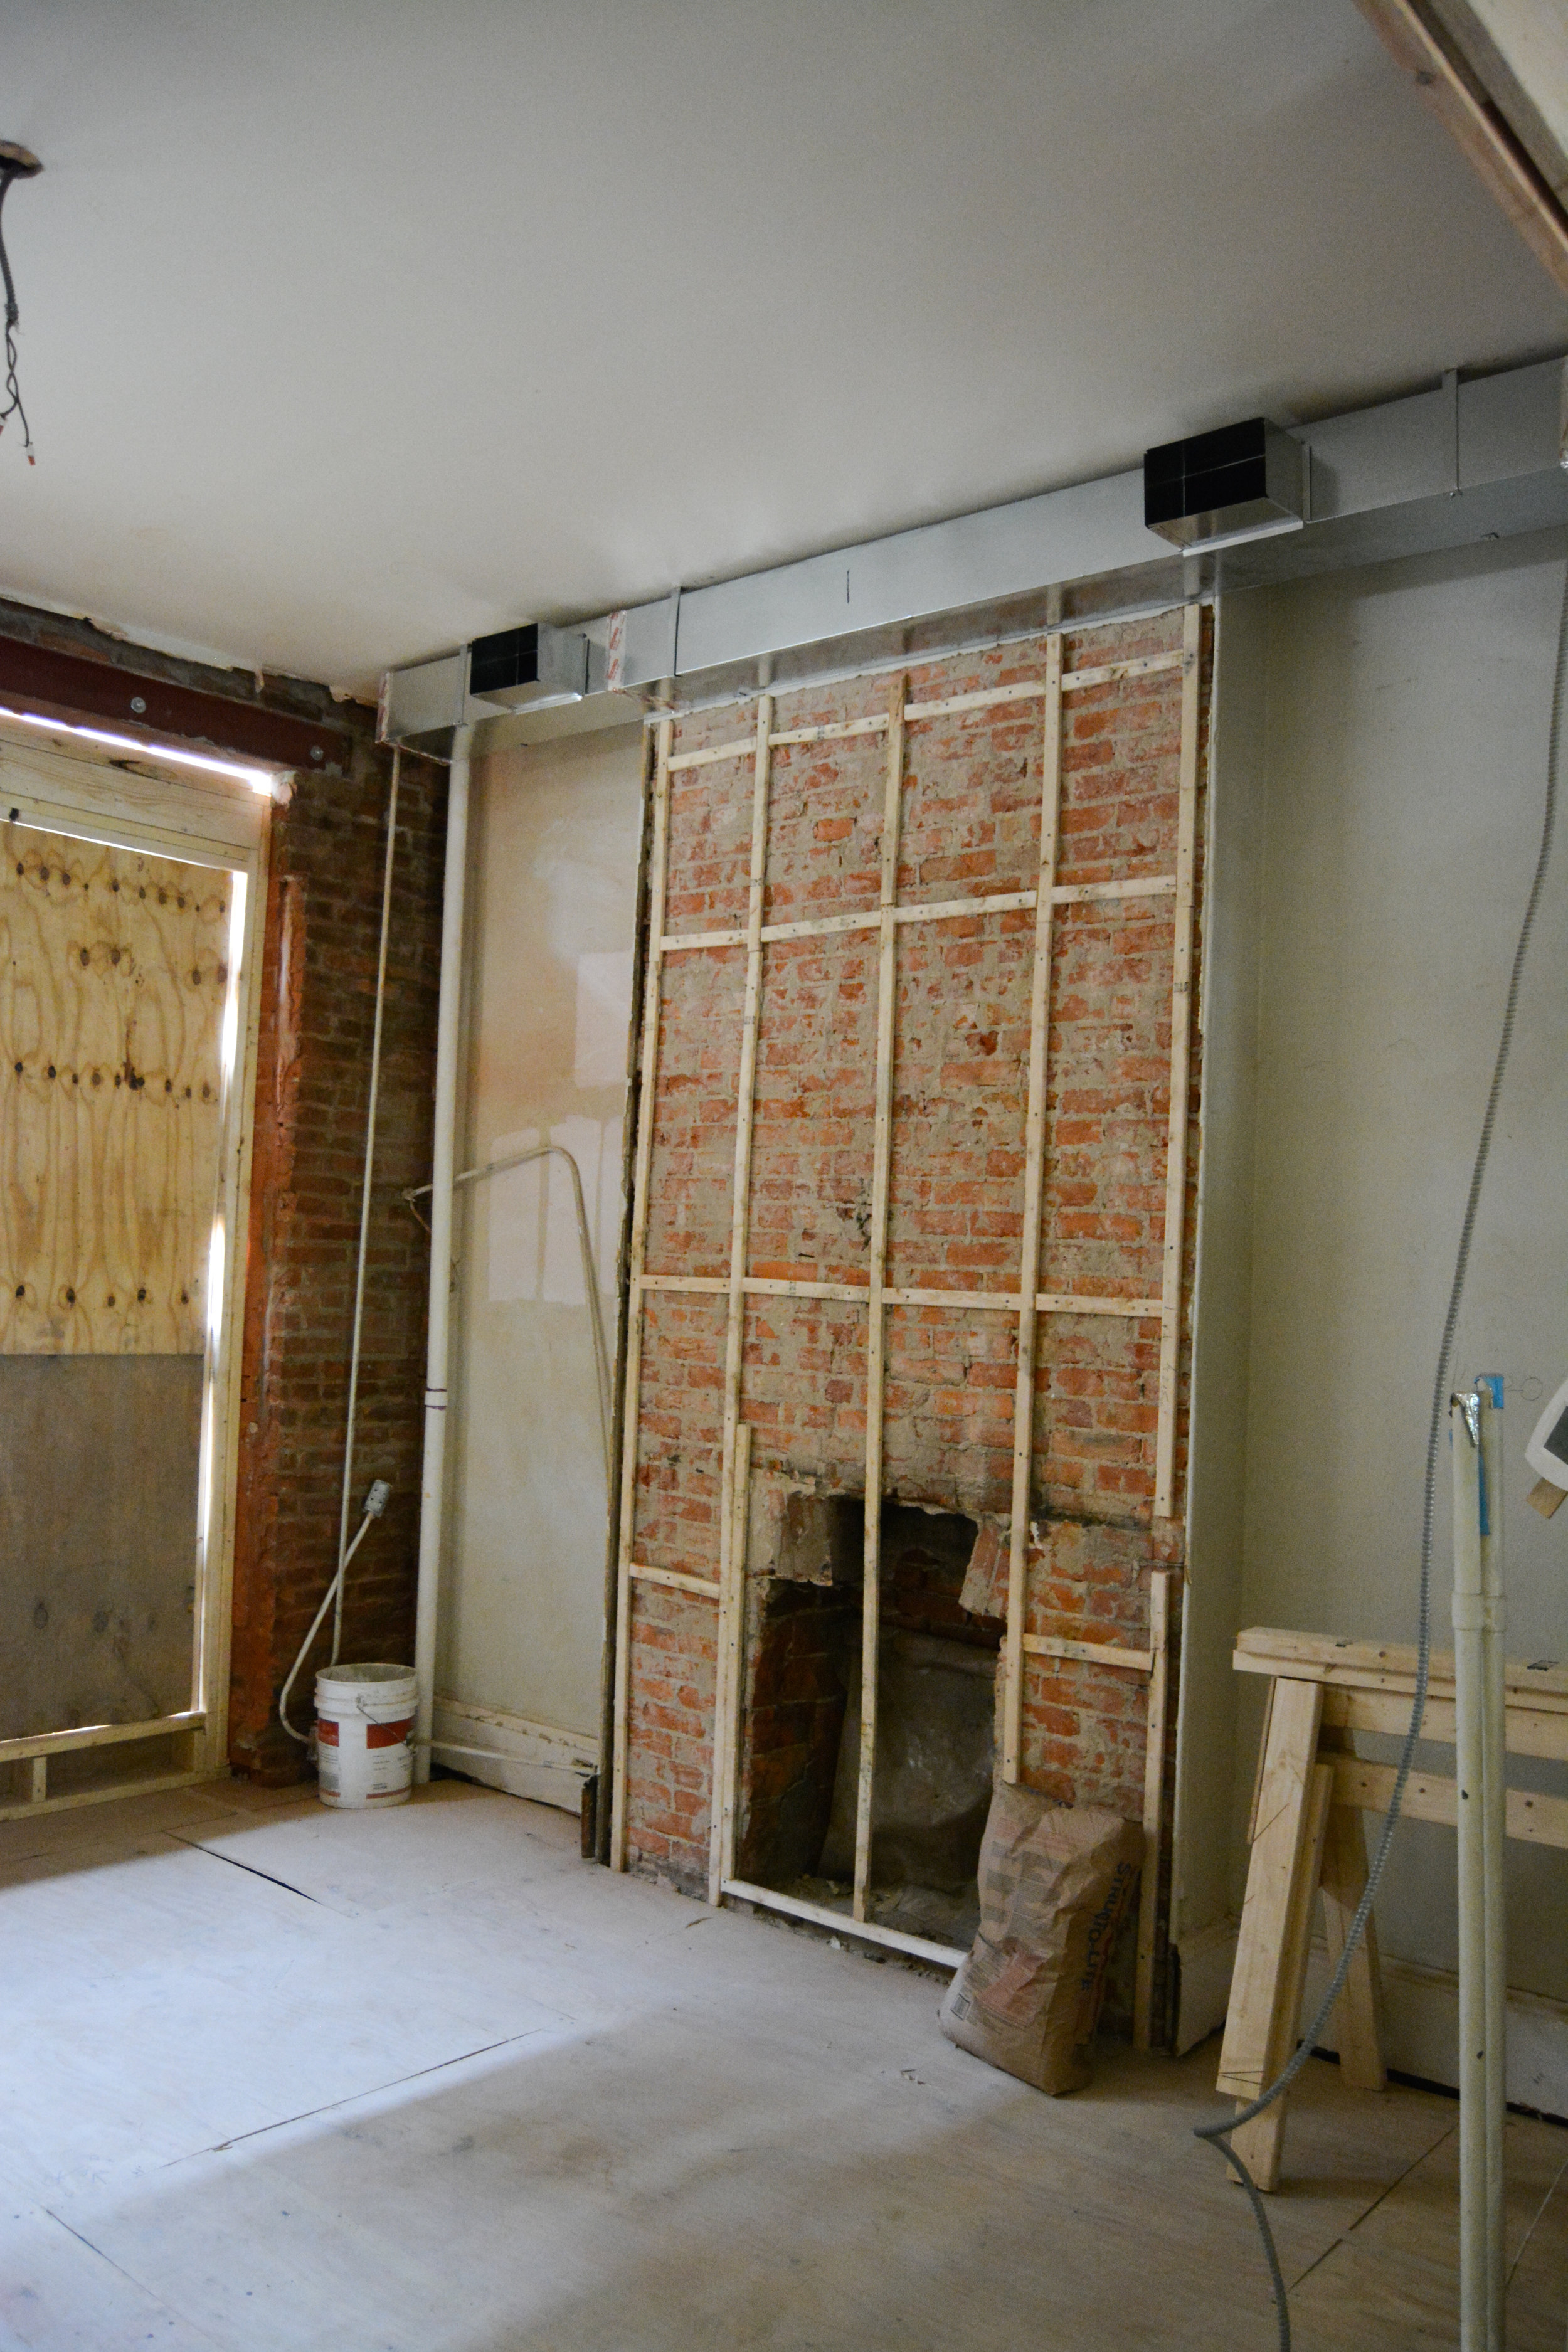
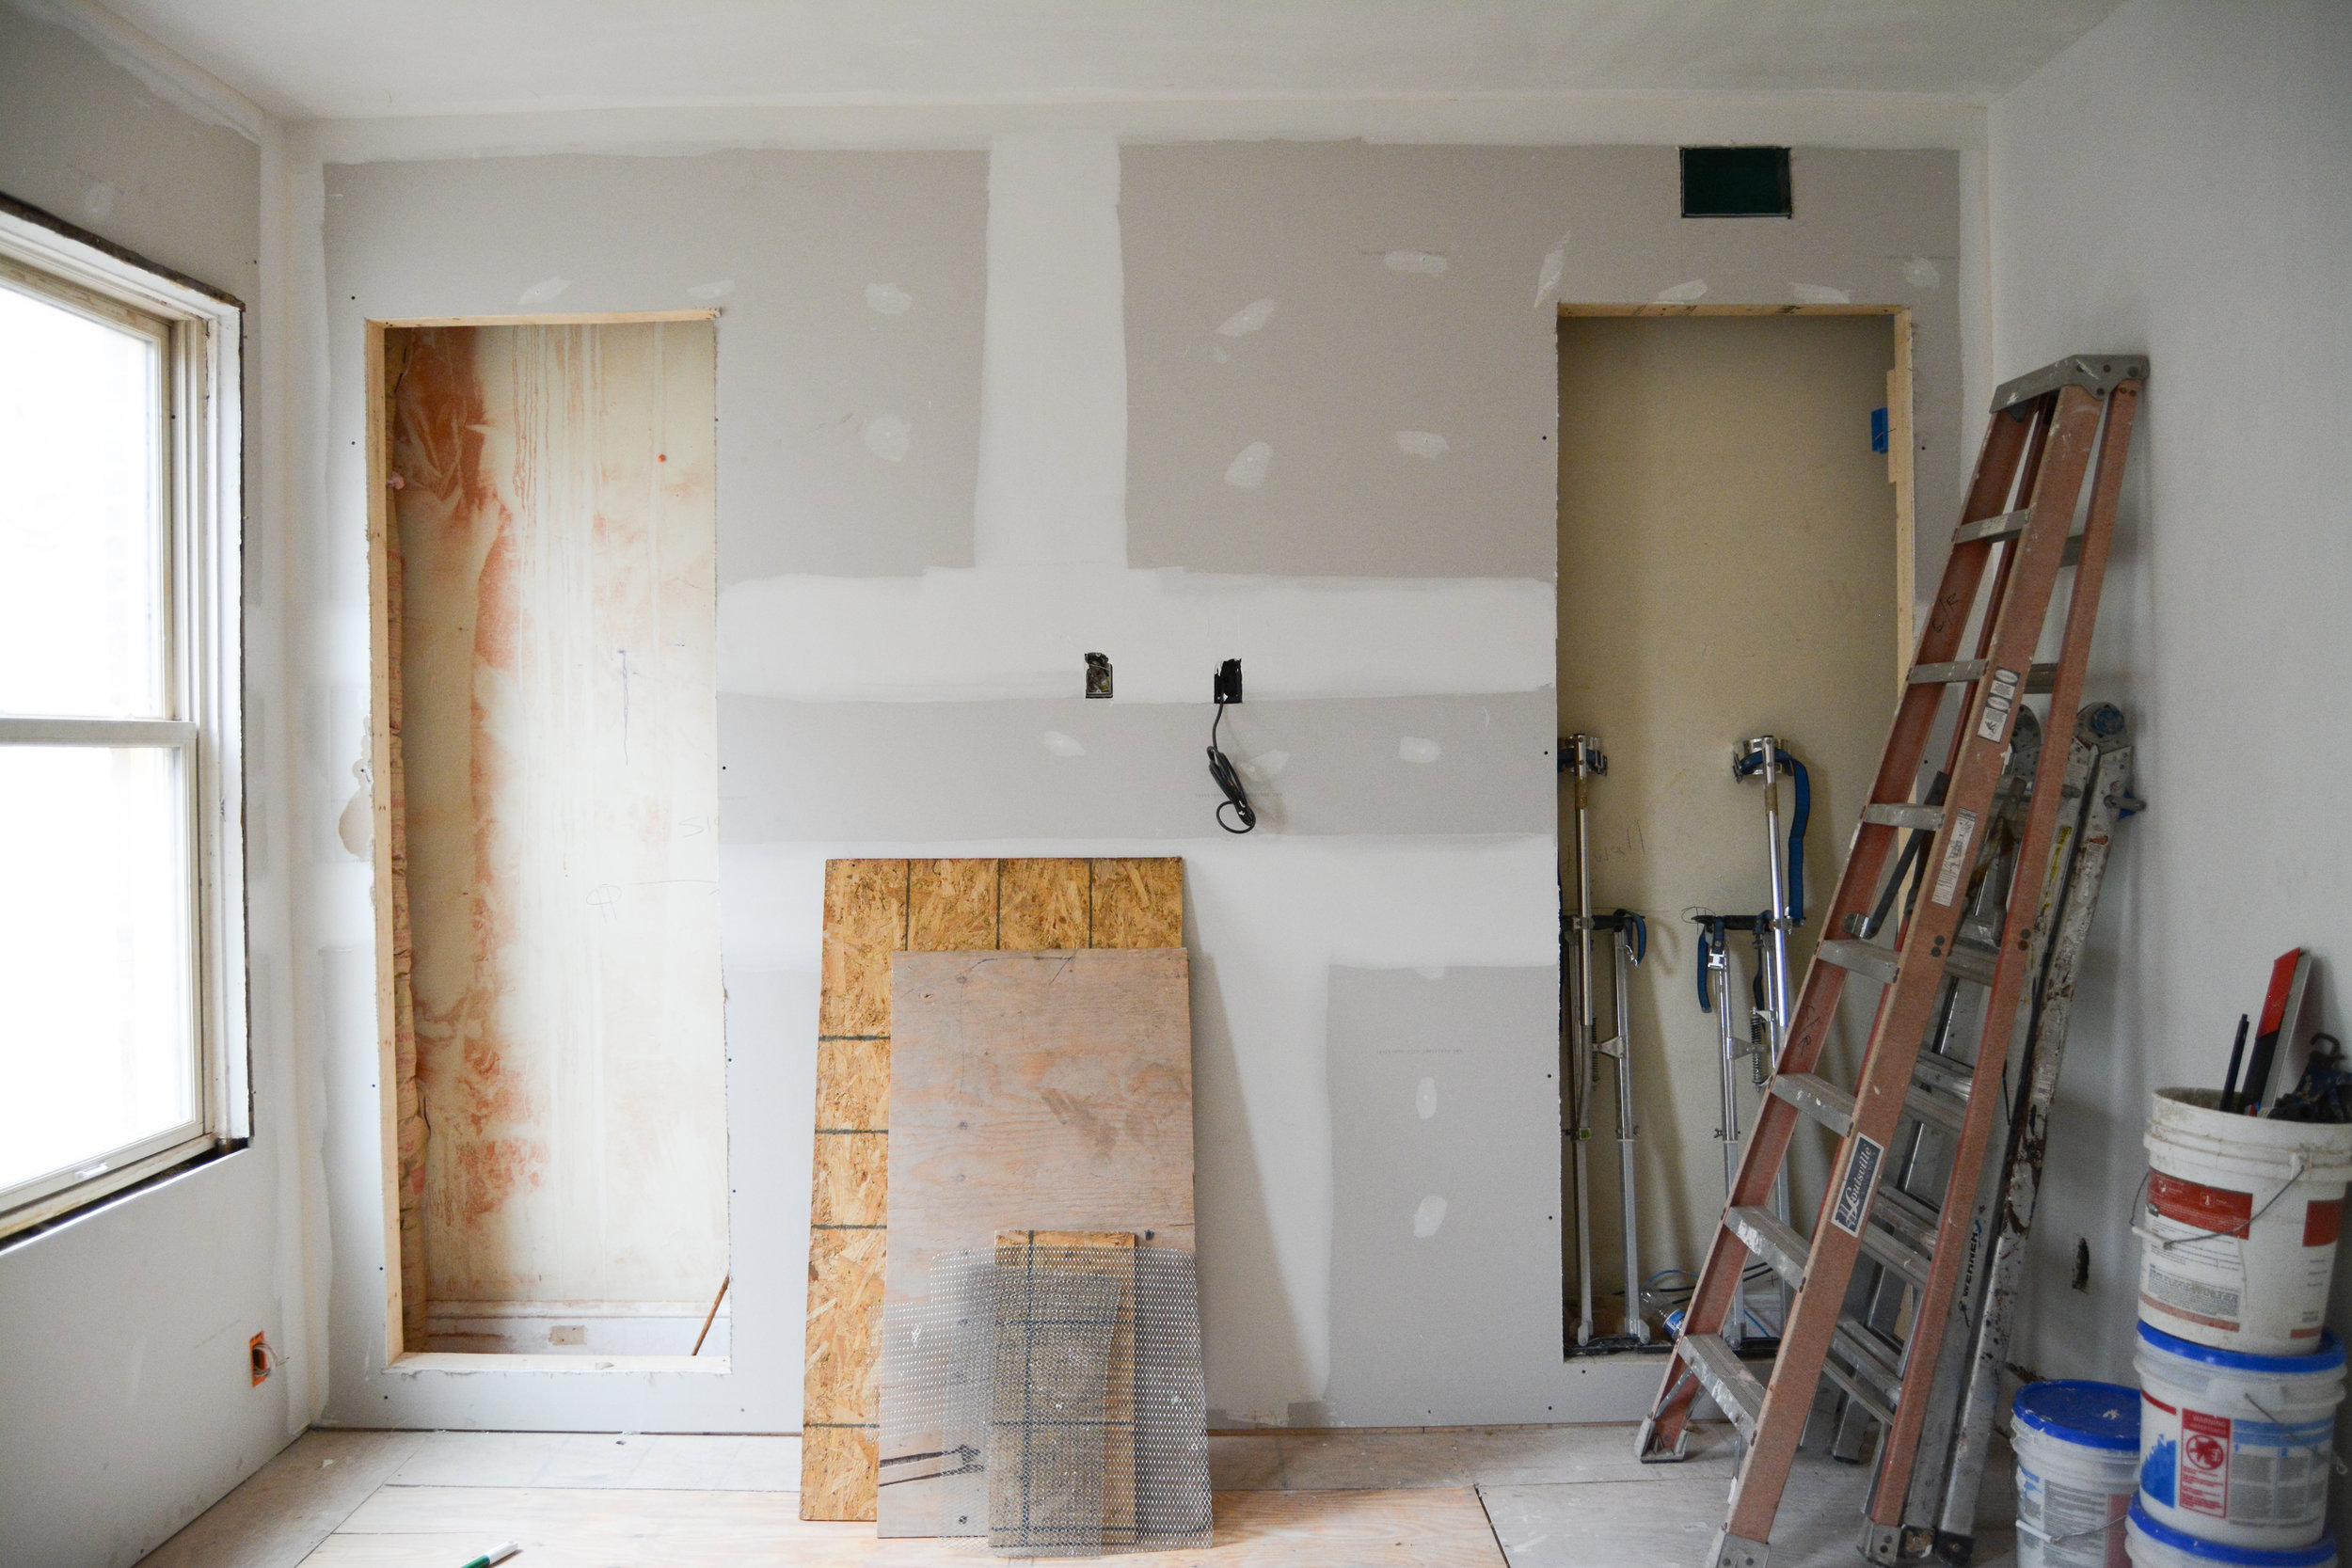
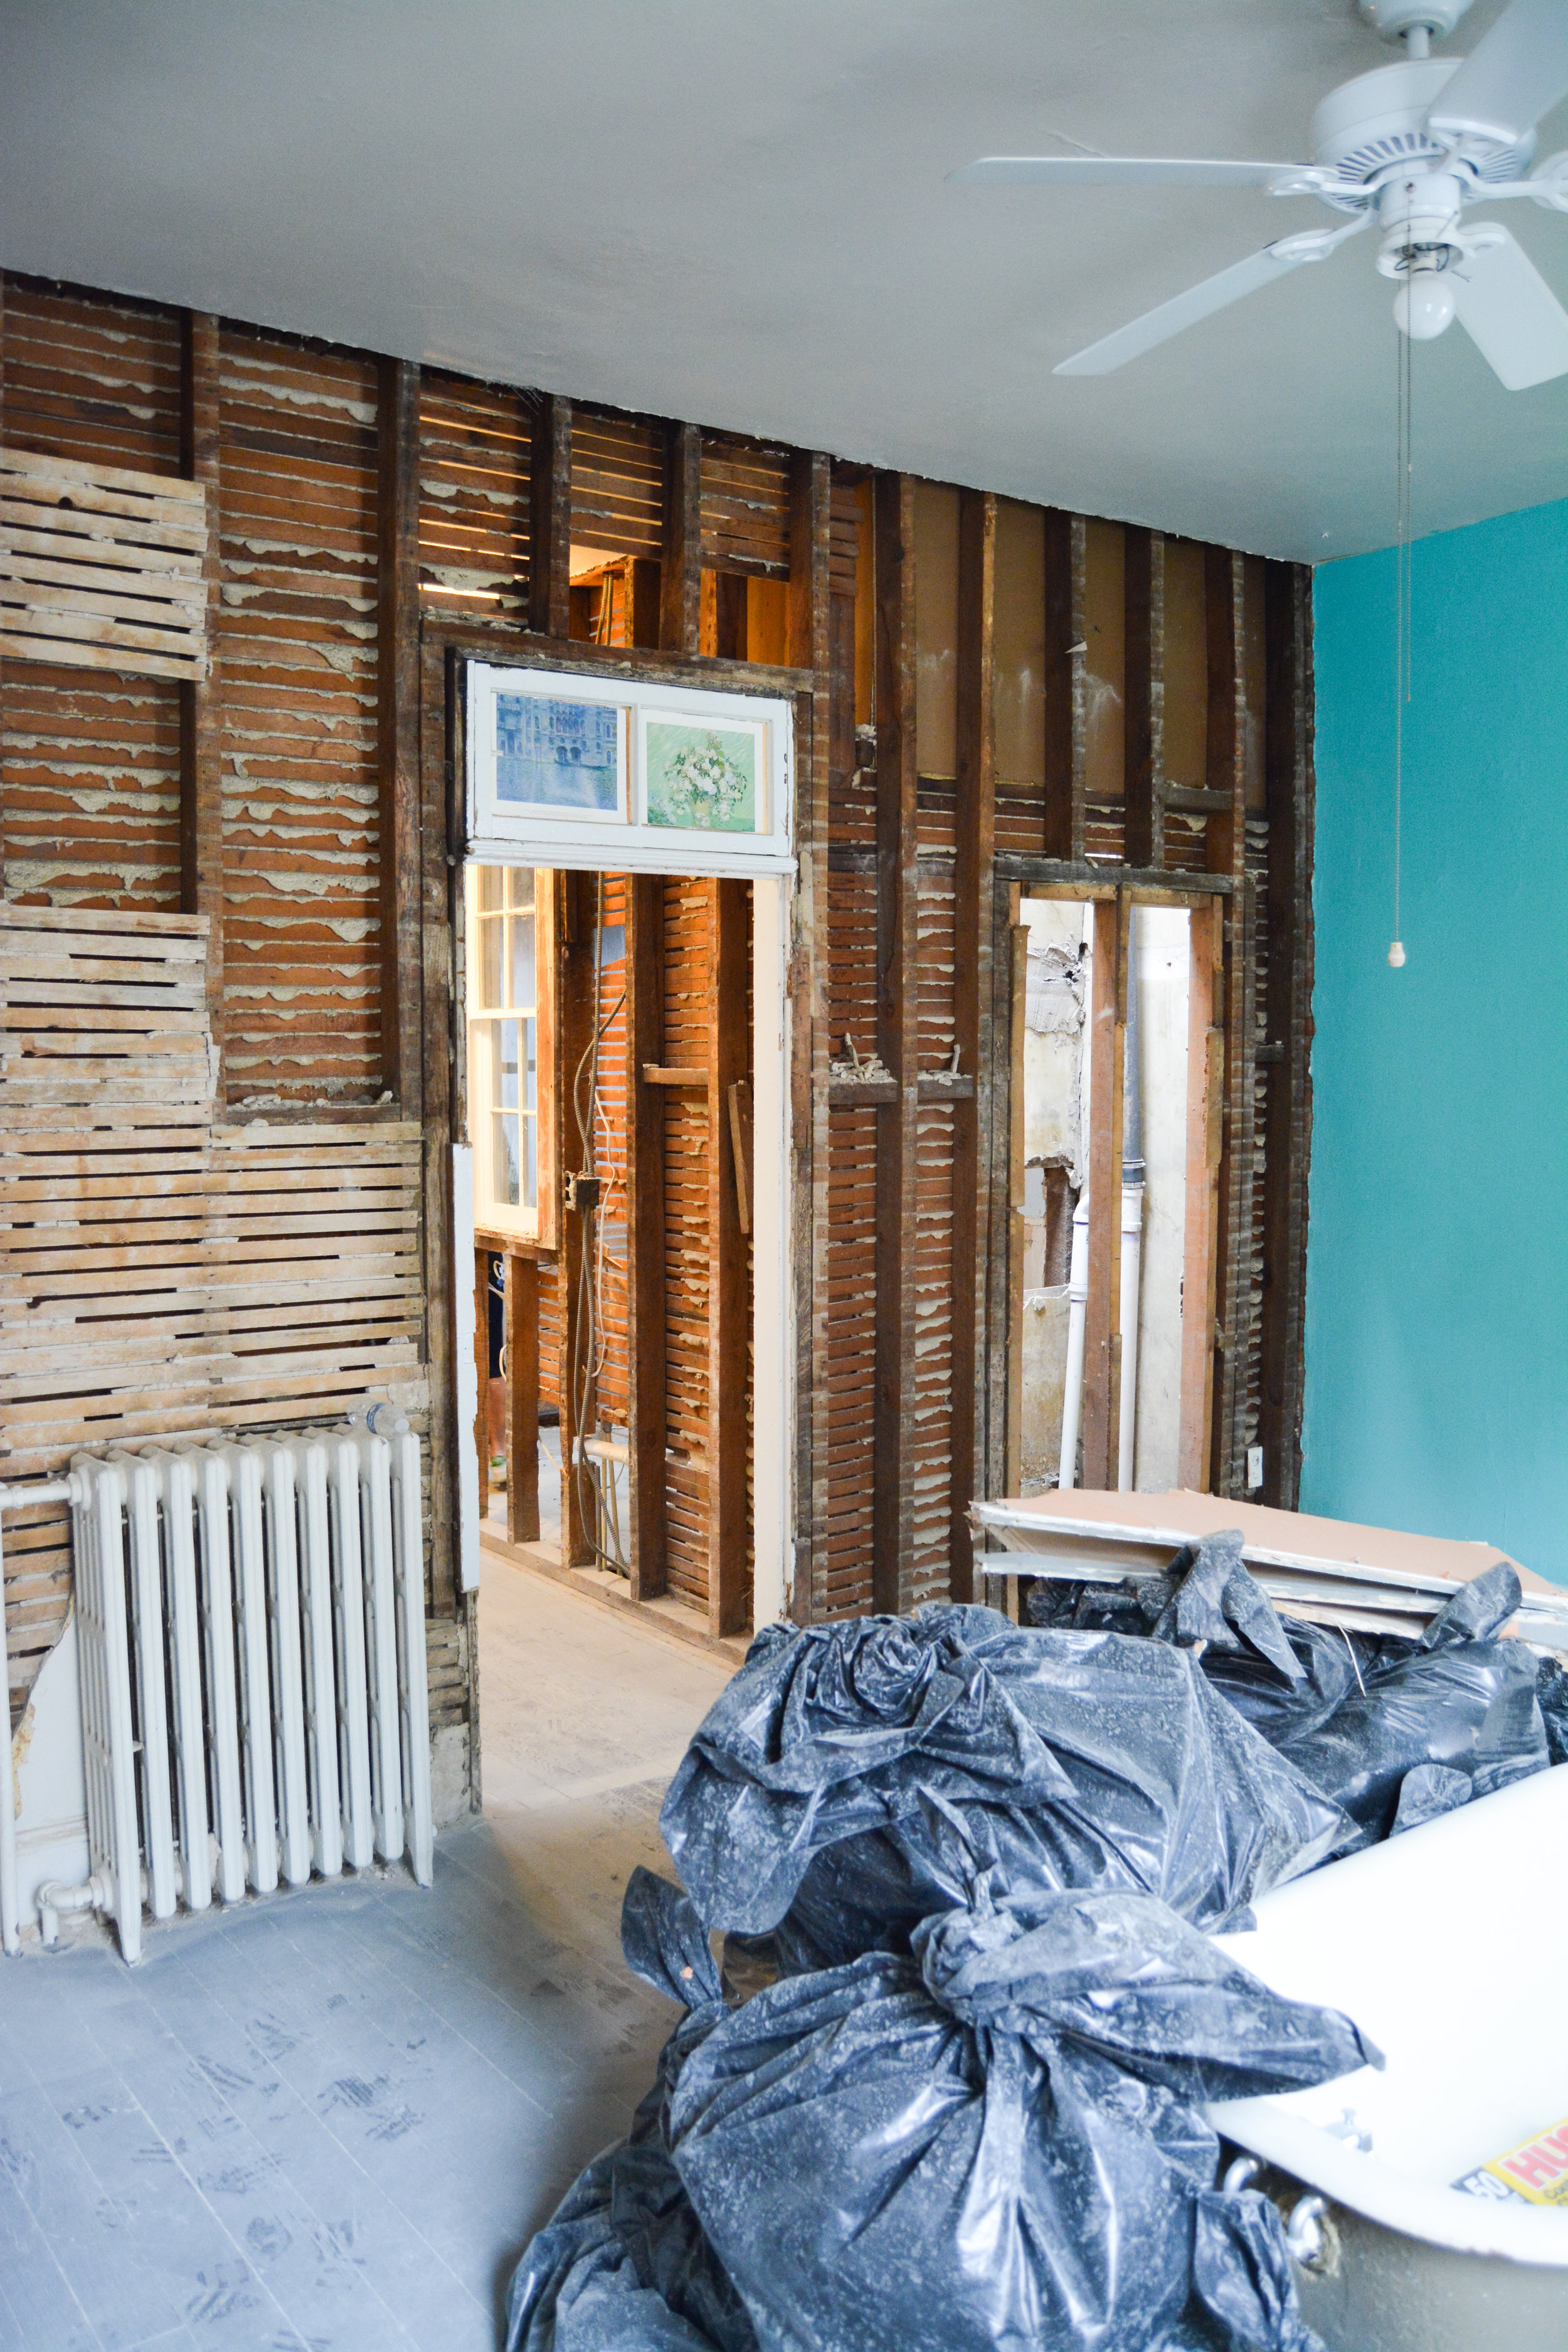
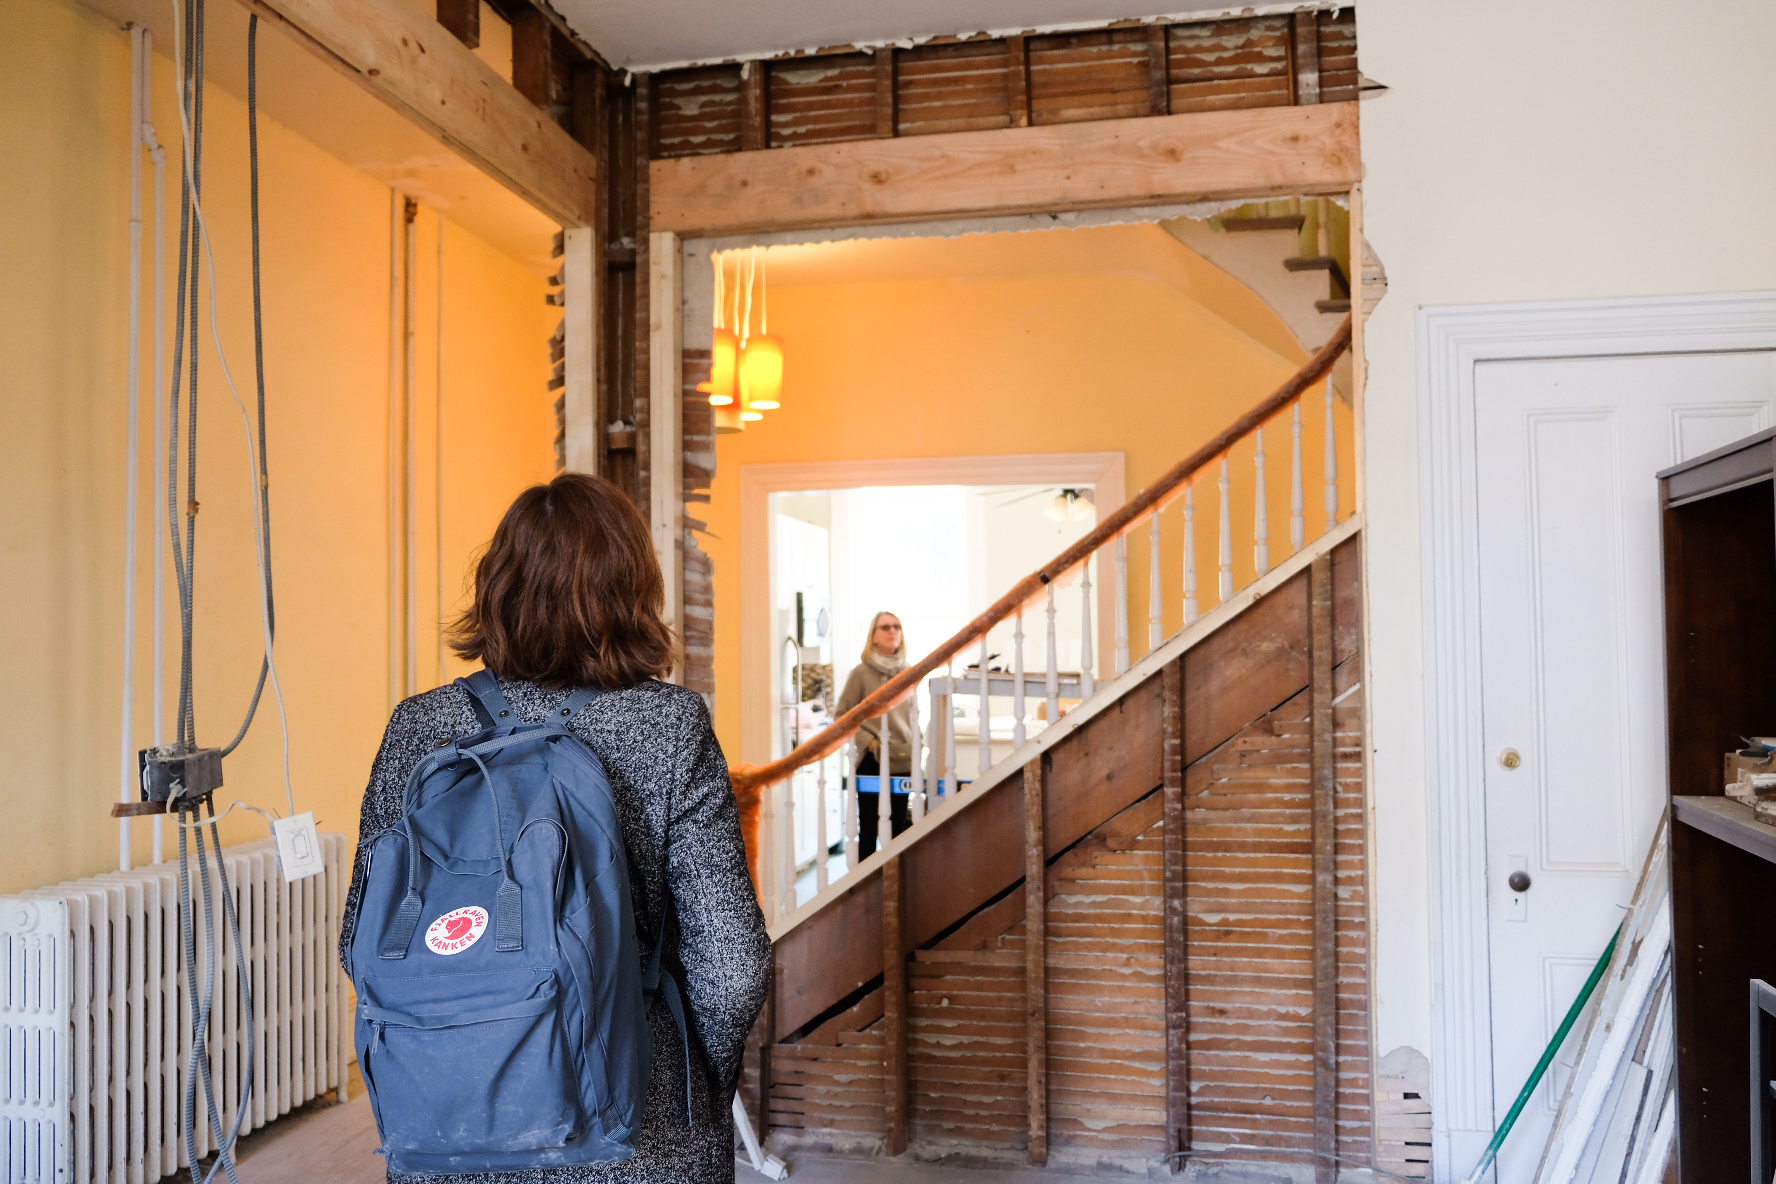
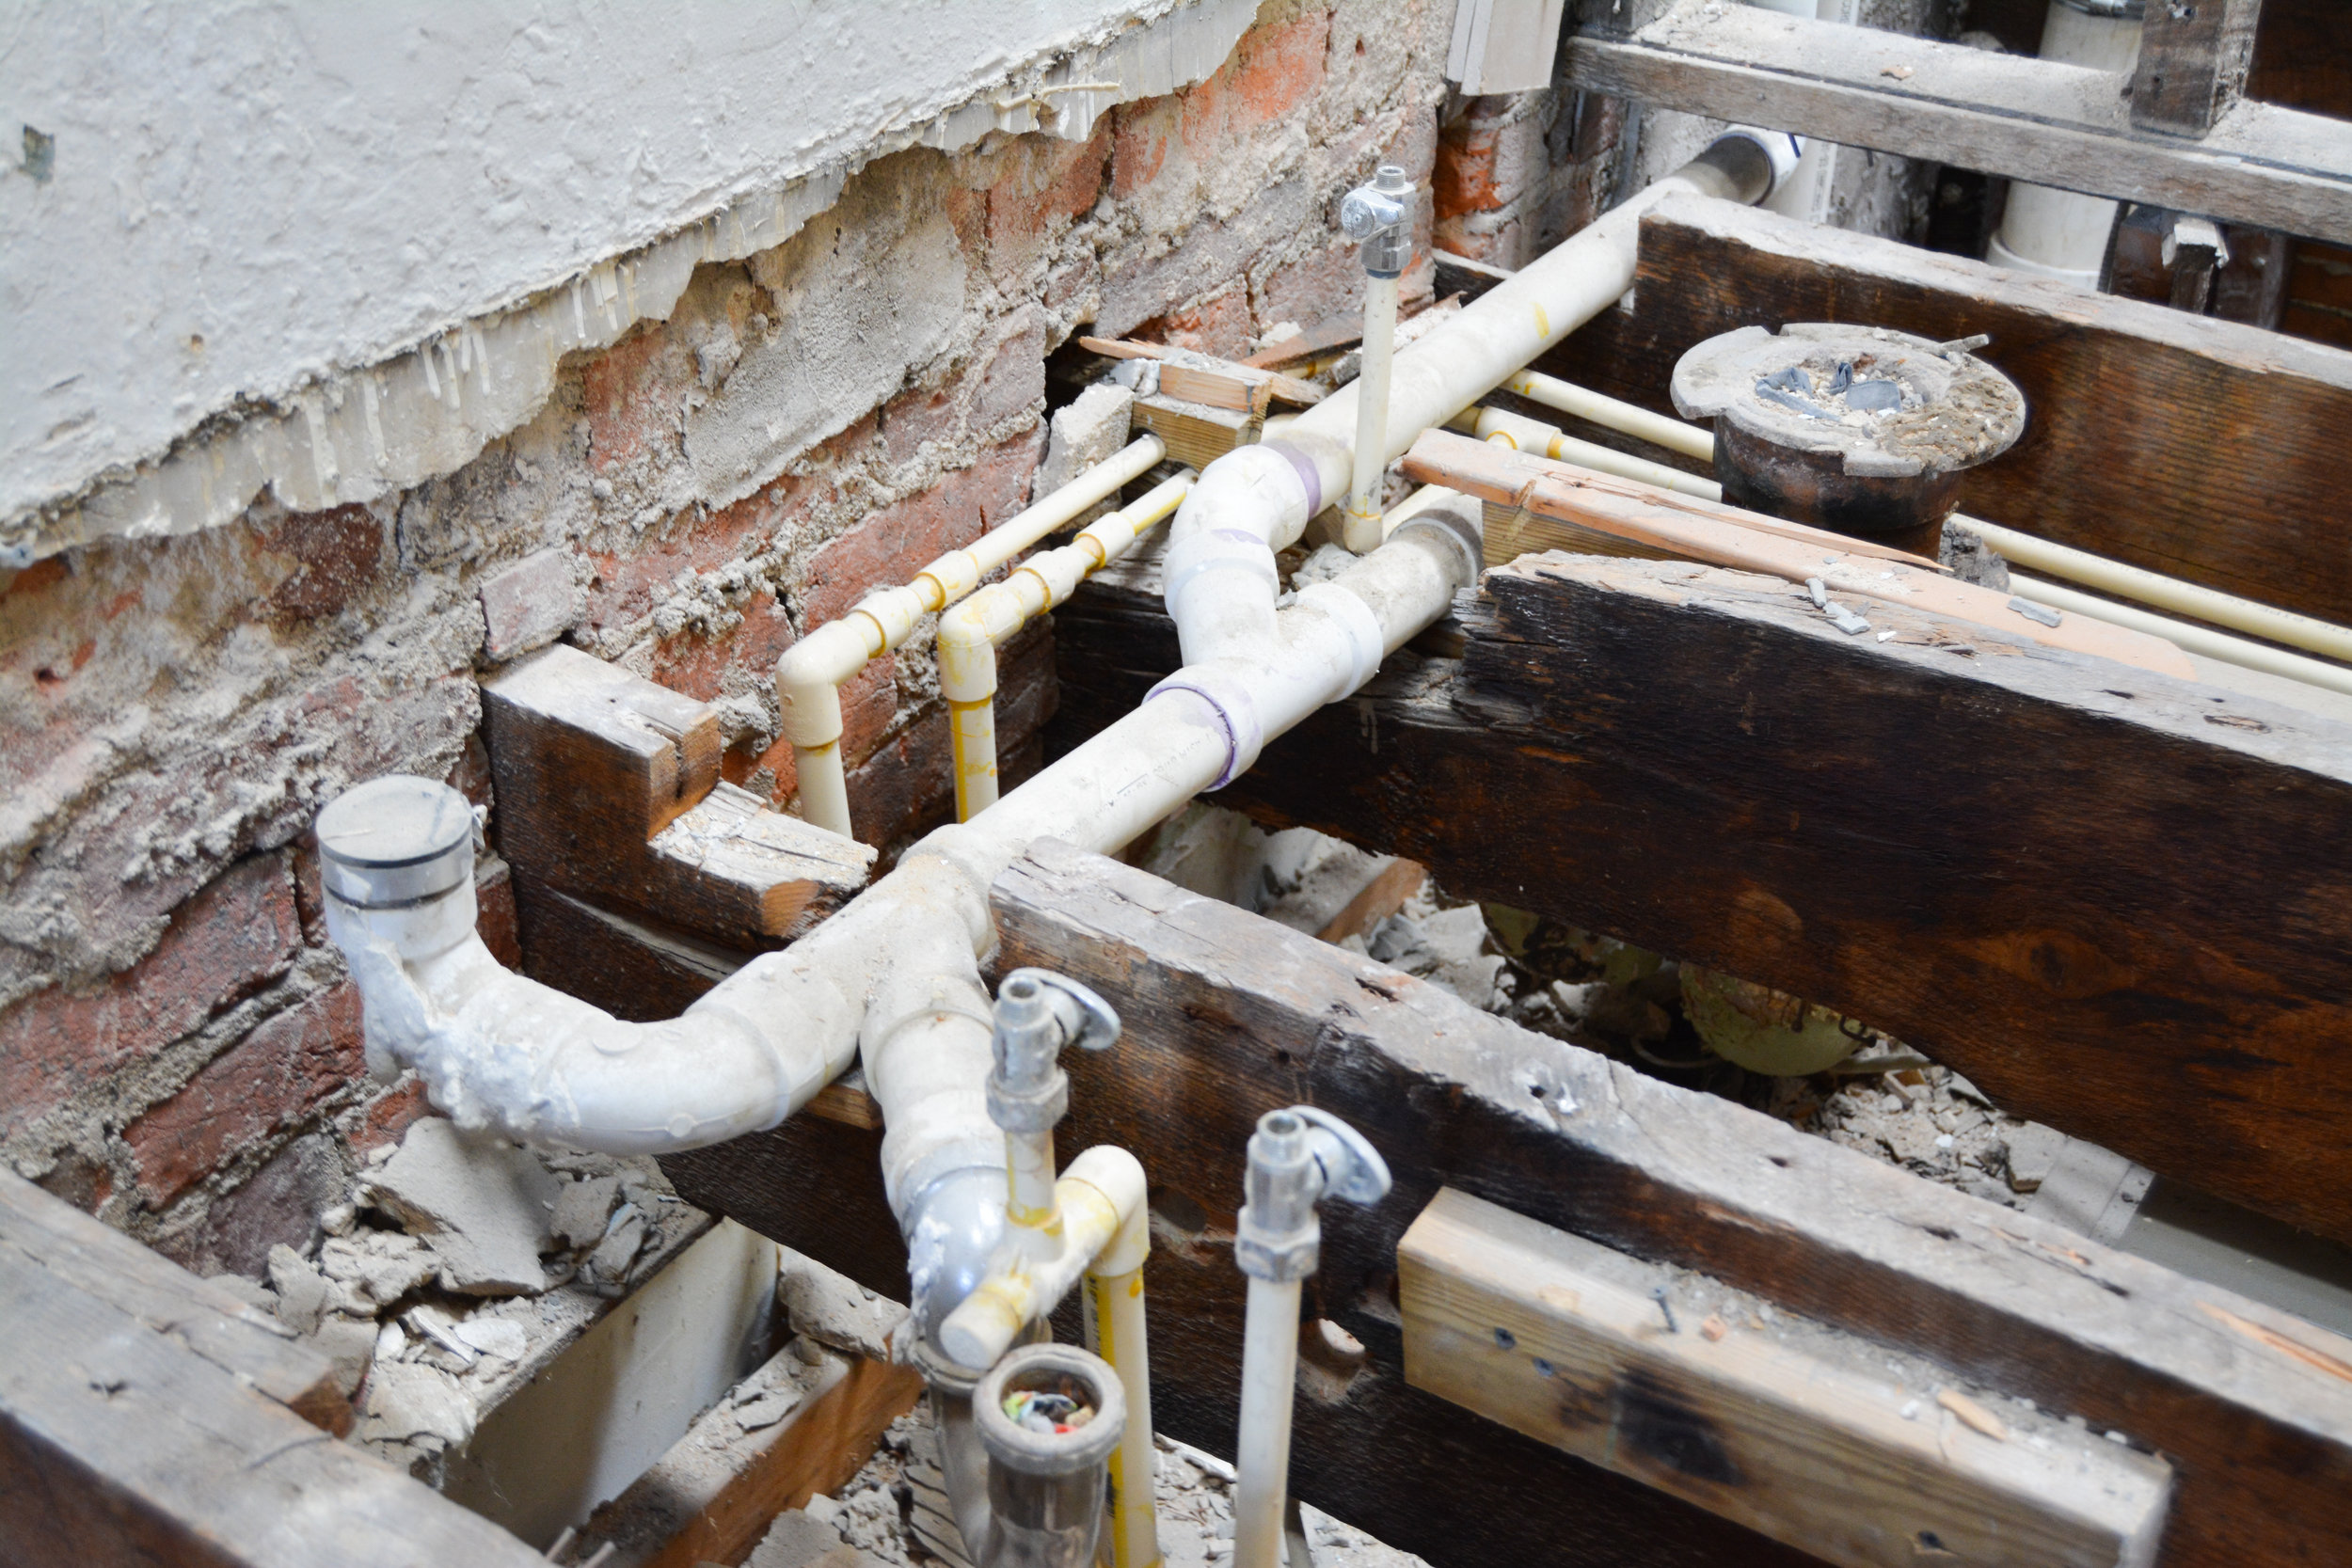
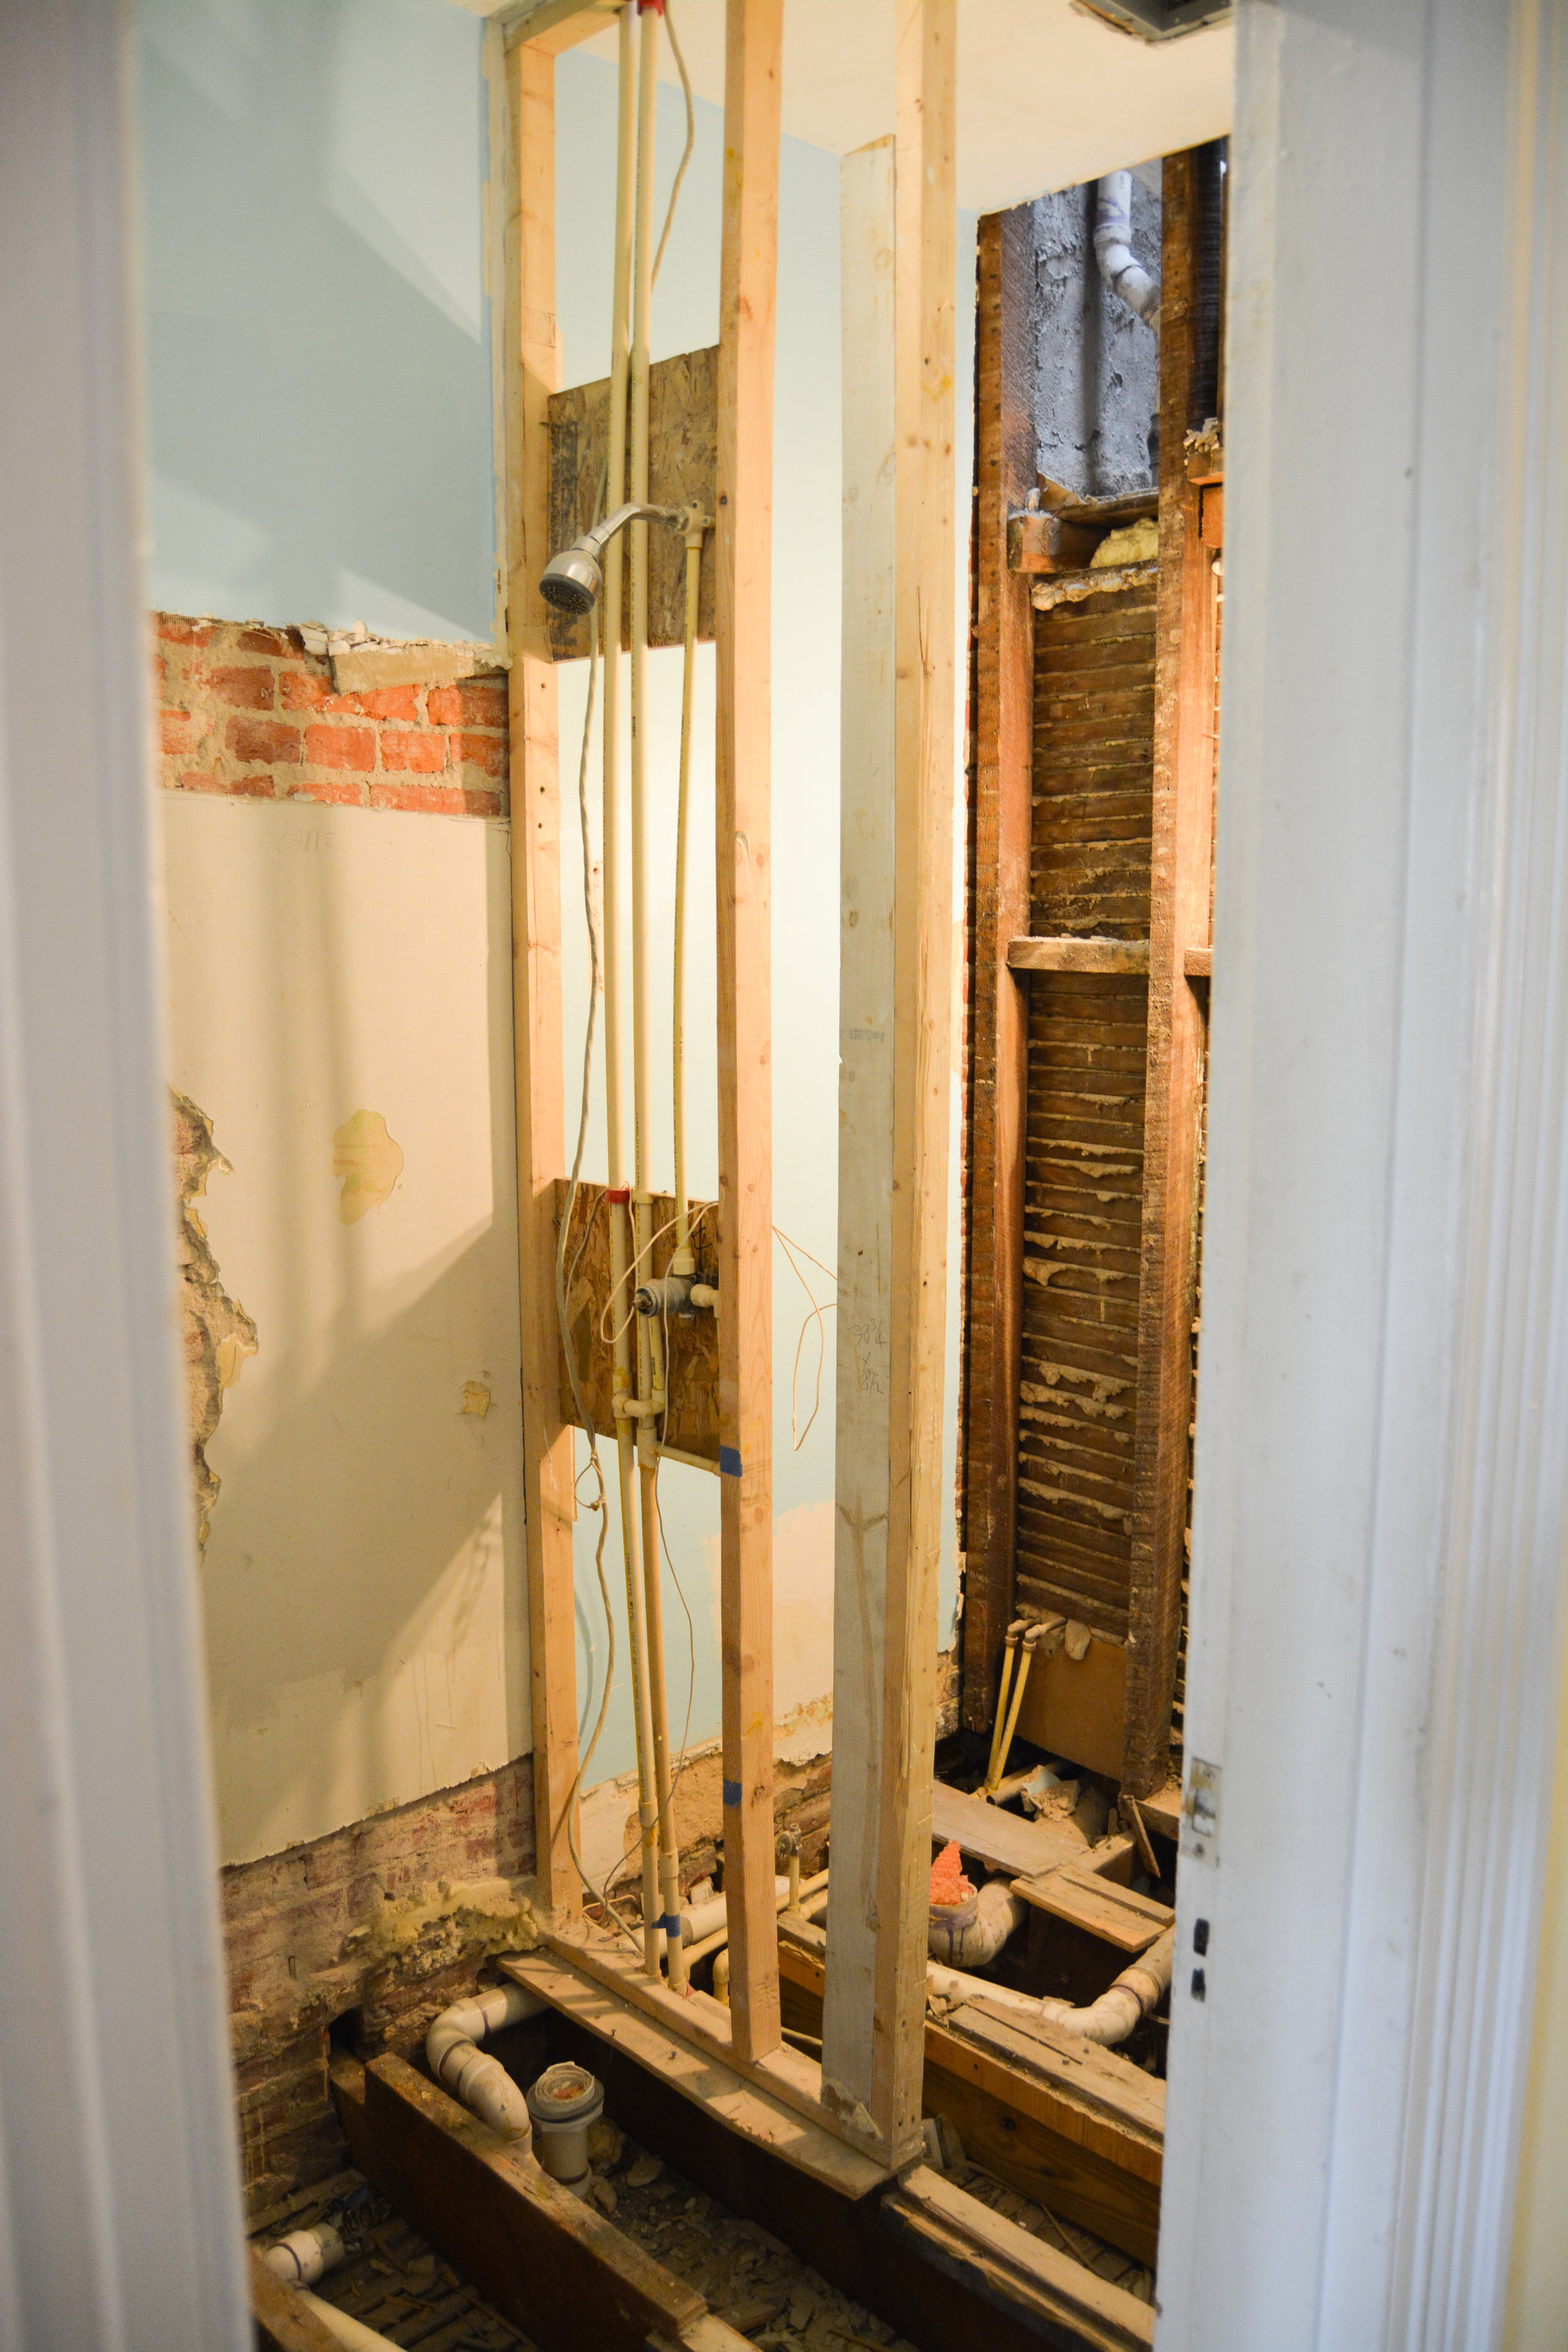
And here is what the basement kitchen looks like now:

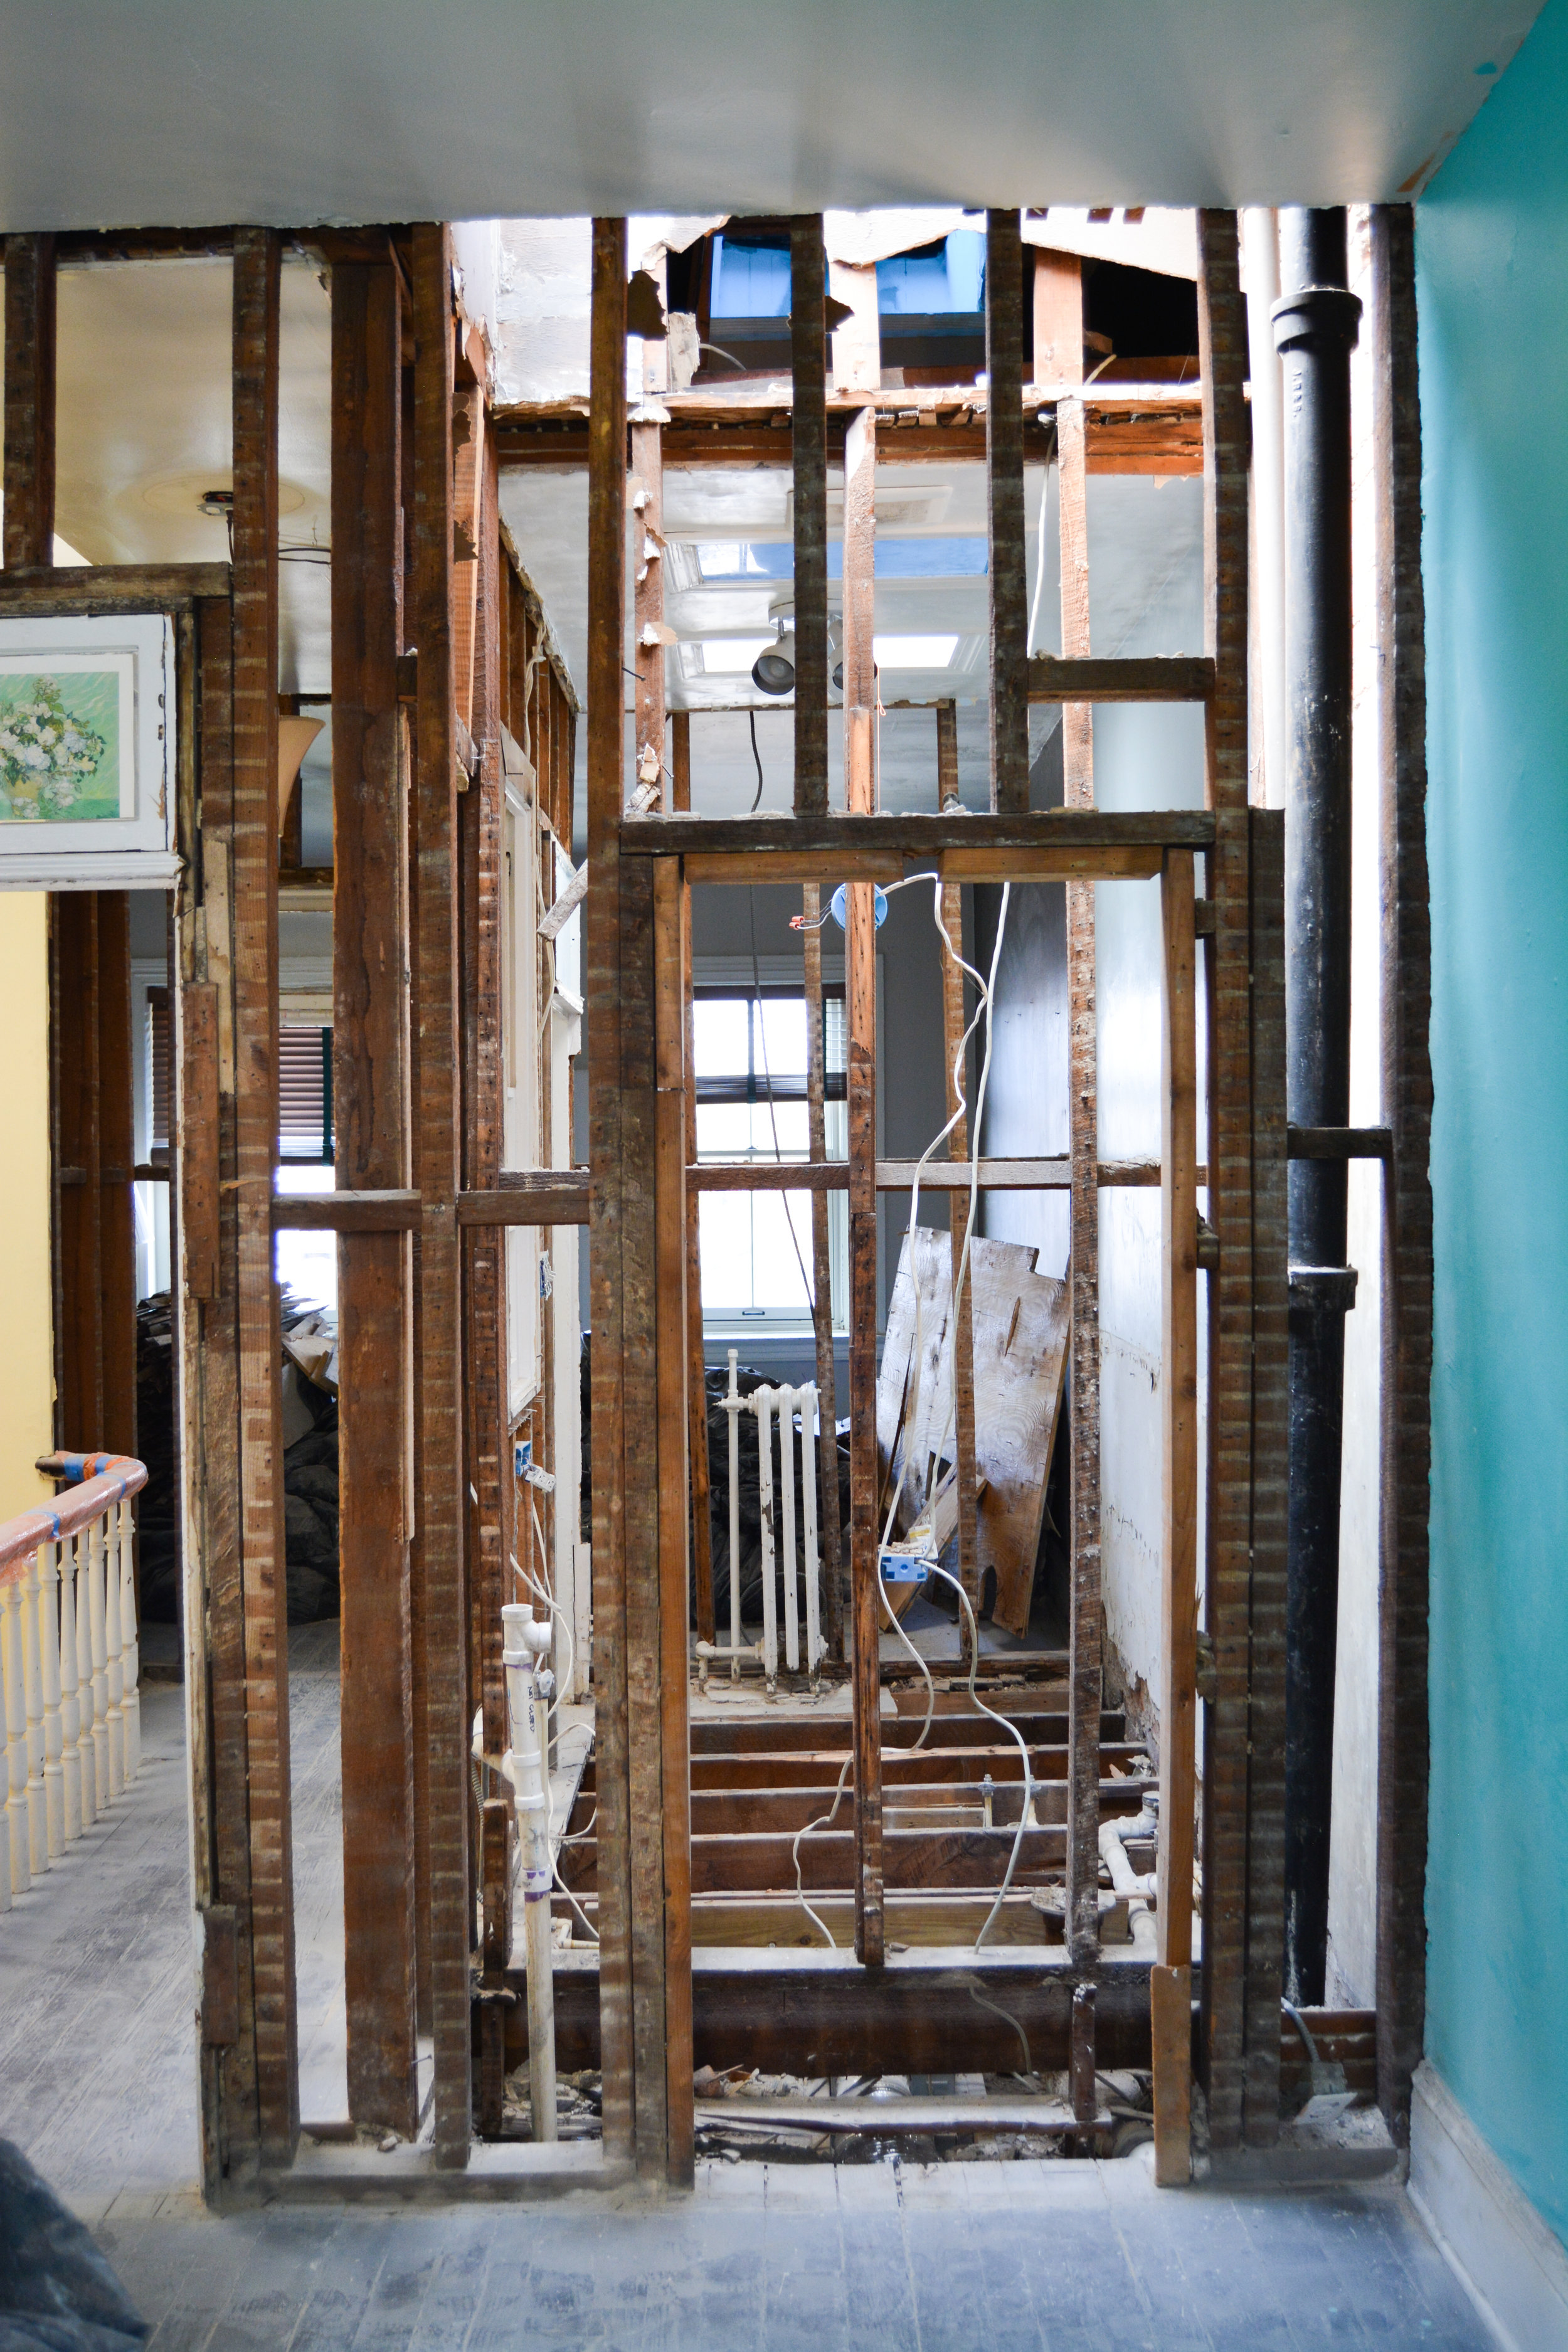
Yep.  It's not pretty.

The plumber confirmed that the pipe was crushed and dug up the floor to replace it. What we also found when he did that was that there is only a few inches of concrete between us and dirt - foundations weren't quite the same in the 1800s, I guess. Suffice it to say, the basement is going to need a bit more work than we anticipated. We'll give it a few weeks and then check back in . . . 

Reno Update!

It has been over a month since we last checked in on the blog, but that doesn't mean work has stopped at the house. On the contrary, things have been very busy! For most of April and May, the house was in various forms of disarray - there was a lot happening, but not all of it was super visible. In the last few weeks, however, things have really started to change - let's review!

1. We passed our HVAC, plumbing, and electric inspections for the top three floors!

April and May were the months to work on the guts of the house - HVAC, plumbing, electric, AV - all the internal pieces that ultimately get covered up by drywall but that are incredibly important to get right. Mastercraft Solutions, our contractor, had a great team and we were able to pass inspection on the first three floors of the house (don't ask us about the basement for now, please).

2. The skylights are in!

One of the most exciting developments of the last two weeks is that our new skylights are in!! It's just in time too because it has been raining non-stop in DC for the last week and a half.  

One of our favorite details in the house is the skylight at the top of the central staircase. The old skylight was covered by dirt, which prevented the light from filtering through the house (check out the before photos above). That is no longer the case! The above picture is from a grey day, but the light coming through helped brighten the upper two floors of the house. We couldn't be happier.

3. We have recessed lighting!

Passing the electric inspection means that we have recessed lighting!! There is still more work to do on the lighting front, but it is so exciting to be able to turn on the lights in the kitchen. 

4. We have dry wall!

Finally, one of the most visible changes of the past few days is drywall. Having passed inspection, we could hide all the wires behind smooth walls. We never realized how quickly drywall went up - the team hung drywall for almost the entire house in a two-day period. We'll put up more before/after pics later this week so you can see all the changes. 

A Mortar-fying Experience

It's been a few weeks since our last post and we have been quiet on the blog because we have been working through our first real issue of the renovation (😱).  

Part of the renovation includes taking out the back wall on the first floor to create a wall of windows and an exit out to the garden from our kitchen. To do that, masons had to put up steel beams to hold the weight of the house and knock out the bricks underneath. The beam went in and the next day,  the plaster (read:wall) on the second and third floors had shifted (read: slumped). When we pulled the plaster off, it became clear the bricks were held together by pretty much nothing.  Over the past 130+ years, the mortar holding the bricks together had basically turned into sand, leaving the bricks completely loose in the wall. 

We immediately called in our structural engineer who assured us that we did not need to entirely replace the wall, we just needed to re-point it with new mortar. Our contractor got that process underway immediately and voila, we have newly mortared walls! We are still looking into whether we need to do the front wall to (please, no), but we are hopeful this is the first and last costly issue of the renovation.  🙏

In other news, we officially have a hole in our kitchen where the windows will eventually be! For now, here is a picture of the hole covered over - isn't it beautiful? It gives the back of our house a wonderful cave-like quality. 

Demo Update: Master Suite

The third floor is coming along nicely. As you can see in the pic above, the construction team has widened the master bedroom and the third-floor bathroom has been moved to the back right corner (not pictured) to make way for our closet (yay!!!). The floor is currently unrecognizable but we are already dreaming of the finished product.

Update photos are below!

Demo Update: The Living Room Wall

It was love at first sight.  Walking through the house - even though it was a bit run down - it was clear the moment we saw it that there was so much potential.  After our first walk through we were already imagining what we could do with the space. One of the major changes we talked about was opening up the wall to the living room. It was totally walled off with a small doorway, cutting off sound and sight to the rest of the first floor. 

Over a year later, the wall has finally come down. While we have been in demo mode for a month, and other floors are totally unrecognizable, the living room wall coming down made the renovation feel real. It's a big milestone and we are excited about everything else to come.

We've included a few before and after pics below so you can see how far it's come (and how far we have to go):

Sister Act

Our house is seriously old (b. 1875!). Going into this renovation we had a year to prepare ourselves for the horrors that lay behind the walls, below the floors, in the ceilings, and who knows what else. One of the things we heard from other intrepid renovators was that bathrooms in old homes are notorious for having problems and that, guaranteed, we would find the home's joists were ripped up to make way for plumbing. 

Sure enough, we found some messed up things under our floors. Here is a close up of what our joists look like: 

Our contractor told us that our joists are actually not as beaten up as other homes he has seen and that the easy fix for joists is a process called "sistering." (Sorry, everyone, this post is not actually about the film "Sister Act," though I did listen to the soundtrack while drafting this). 

In order to re-enforce a weakened joist, the approach builders often take is to attach a new joist alongside the old one (a sister joist!) in order to improve the joist's structural integrity. Needless to say, our bathrooms needs some sistering. We'll report back when it's done!